Facebook is one of the most popular places to promote your products online.
In this guide, I will show you how to create your WooCommerce product feed for Facebook.
Follow these easy steps to generate a WooCommerce Product Feed for Facebook
Step 1: Create New Feed & Feed Mapping #
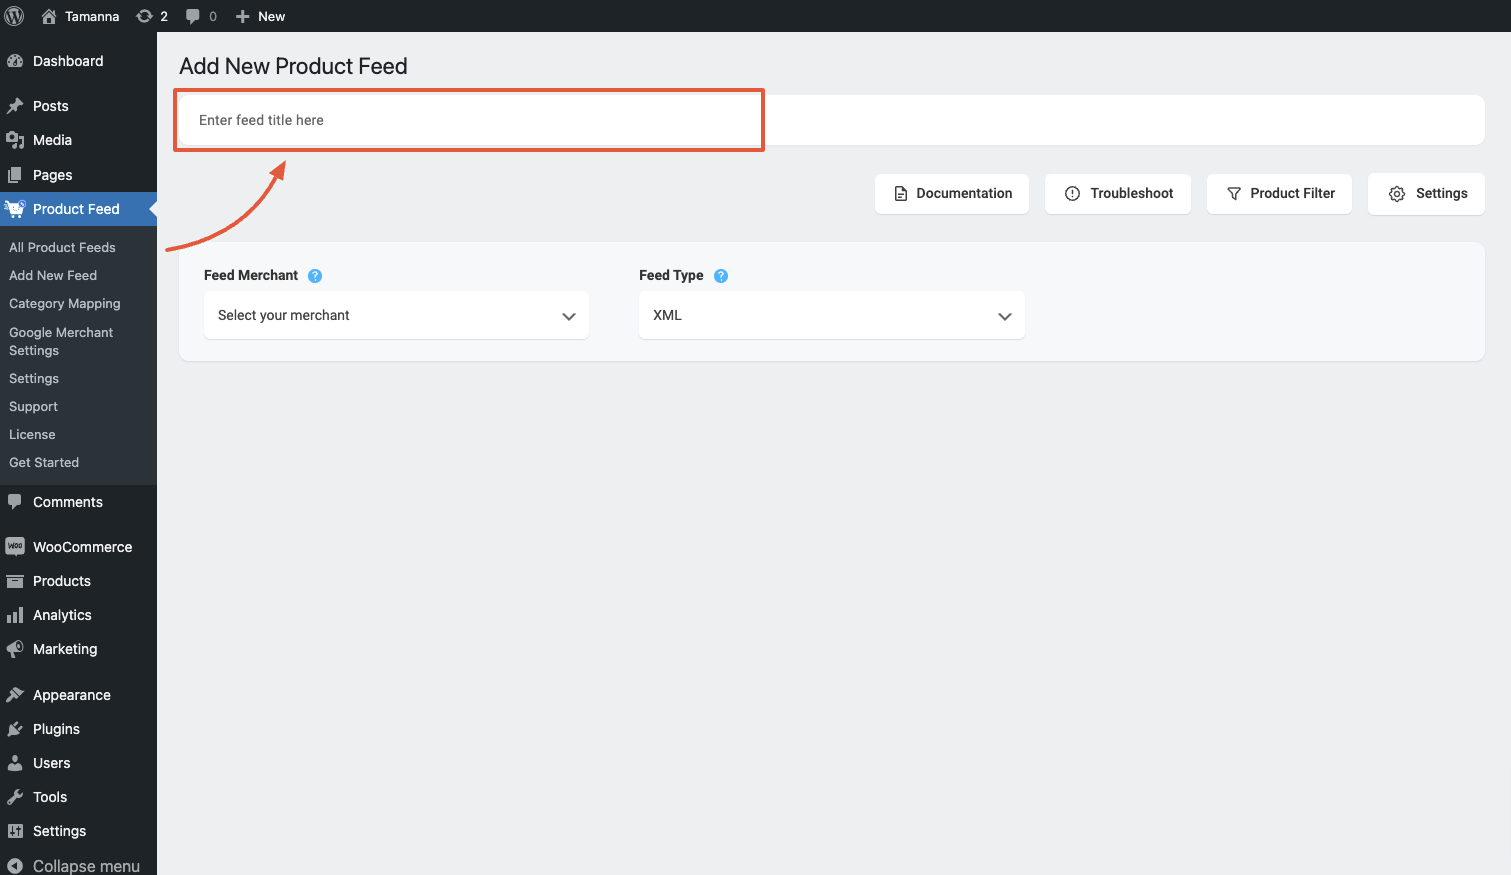
Go to your product feed dashboard.
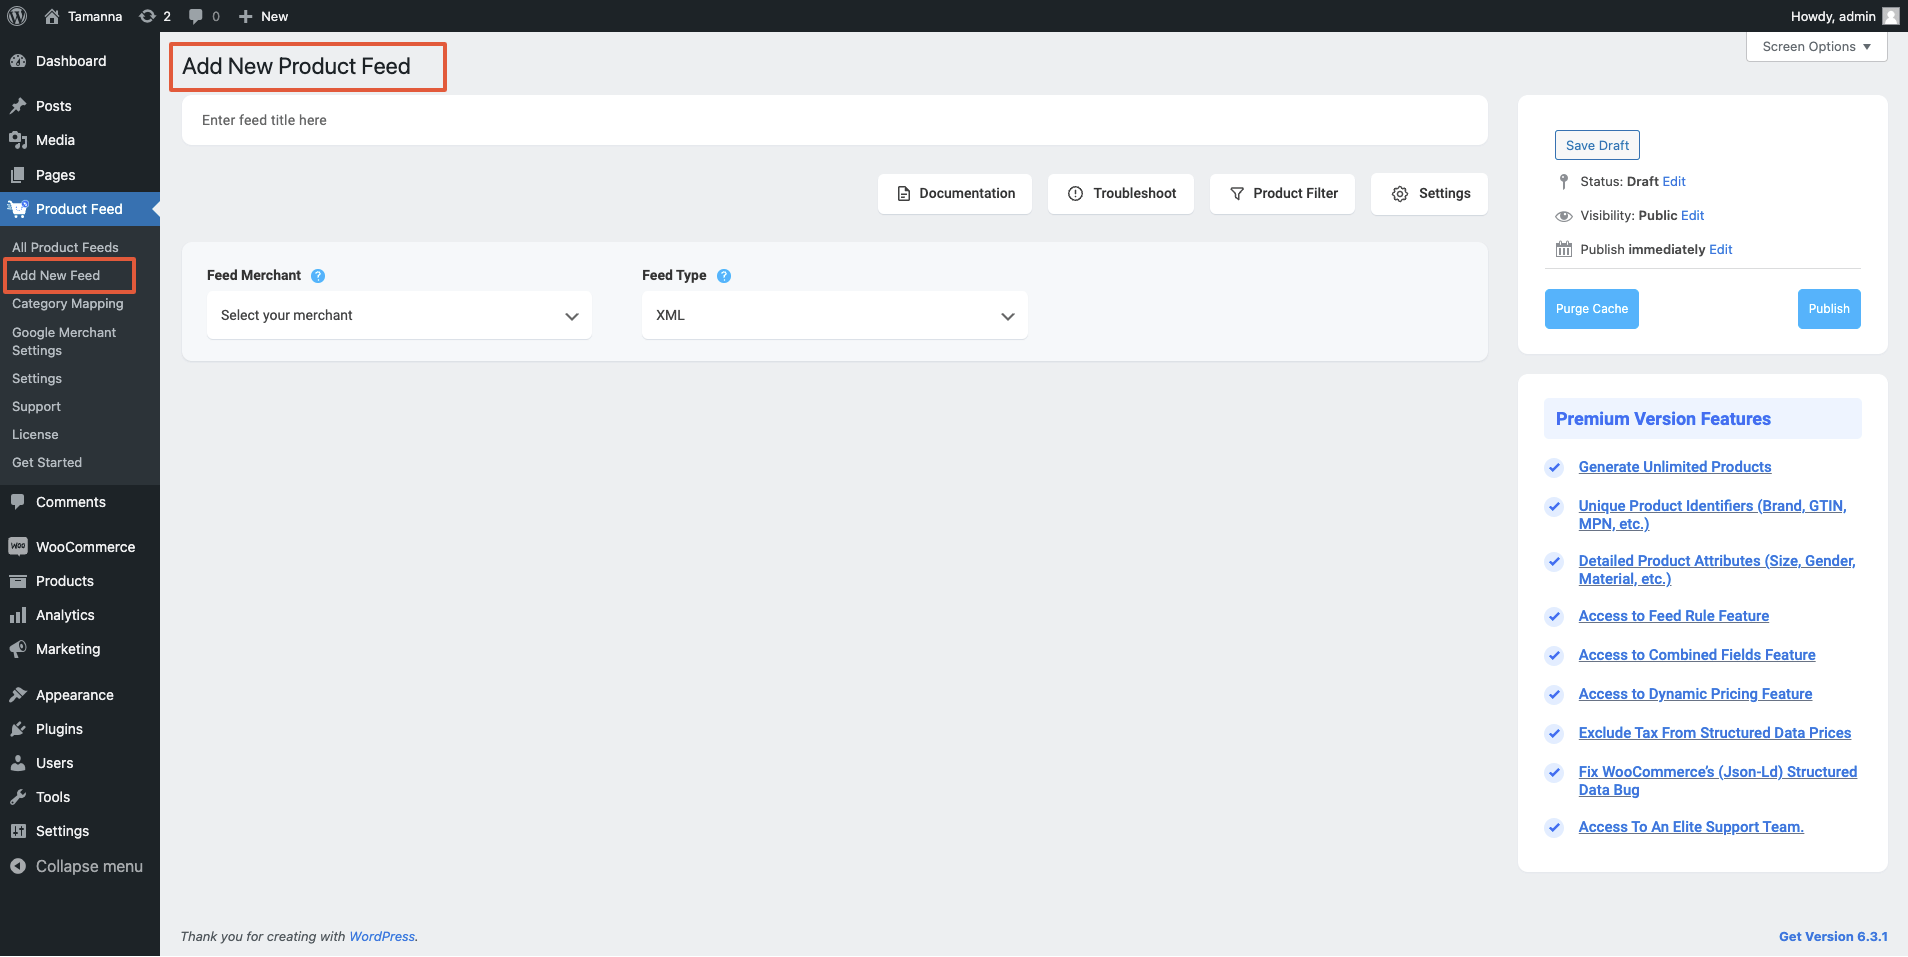
Click on the Add New Feed button.
It will take you to the feed creation page.
Now, here,
1. On top, you will get the option to add a title to the feed. Give your feed a name.
2. Just under the title, you will see an option to select your preferred merchant. Simply click on the Feed Merchant dropdown button and select your preferred merchant from the dropdown or you can search in the dropdown box.

Select your preferred merchant and all the required attributes will be loaded below.
Let’s select Facebook Catalog for this feed.

**Please note that Facebook accepts both XML and CSV feed submissions, so you will get an option to choose the file format.
3. In most cases, this template is already configured and values are assigned properly, so you won’t have to do much work with this.
However, depending on the merchant you are generating a feed for, there may be some attributes for which you need to assign values manually.
For example, when you select Facebook, you will see there are two attributes ‘Google Product Category‘ and “Manufacturer” at the bottom that do not have values assigned.
What is Google Product Category Attribute?
Category Mapping is basically merging your WooCommerce product categories with the Google product categories.
You can configure category mapping in two ways.
– Using a pre-made category mapper, which is created for Google Shopping by default.
You can reuse the Google Category Mapping for Facebook as well because Google Taxonomy is much more detailed.
To use the default category mapper which was created for Google simply select the Google Product Category mapper from the Category Mapping dropdown value:
Click on the Configure Category Mapping button which you will find under the Category Mapping value, and a new tab will be opened with the default category mapper – Google Product Category. Map your categories here and click on the Update and Close button to go back to the attribute section.
– Creating a new Category Mapper.
However, you can create a new Category Mapper too. You need to click on the Category Mapping button from the WordPress dashboard and there you will get the option to create a new Category Mapper and to configure the mapper.
You can follow this doc to learn how to create a new Category Mapper for your feed.
What is Manufacturer Attribute?
This should be the Brand name of the product you are selling. If you are the manufacturer of a single brand, you can set the type as Static and input your company/brand name here.
If you have different brand names for different products, you will have to save the value in a custom field or product attribute and then use that value here.
**You may also use Perfect Brands for WooCommerce, which will make it easier to assign and use brand names.
4. Also, if you want to add new attributes, you can click on the Add New Attribute button, and you will get the list of the optional Attributes of Google Shopping.
Or you can add a custom attribute by clicking on the Add New Custom Attribute button.
Step 2: Feed Configuration #
1. Scroll up to the top and here, you will see that there are Four options:
- Documentation
- Troubleshoot
- Products Filter
- Settings

2. First, let us configure the features in the Feed Settings. Click on the Settings button, and a drawer will open from the right side of the screen.
For more in depth knowledge about the setting refer to this doc: Understanding The Basics Of Feed Settings

3. Now, close the drawer and click on the Product Filter option. A new drawer will open from the right side of the window.

4. Click on the dropdown, and You will get the following options:
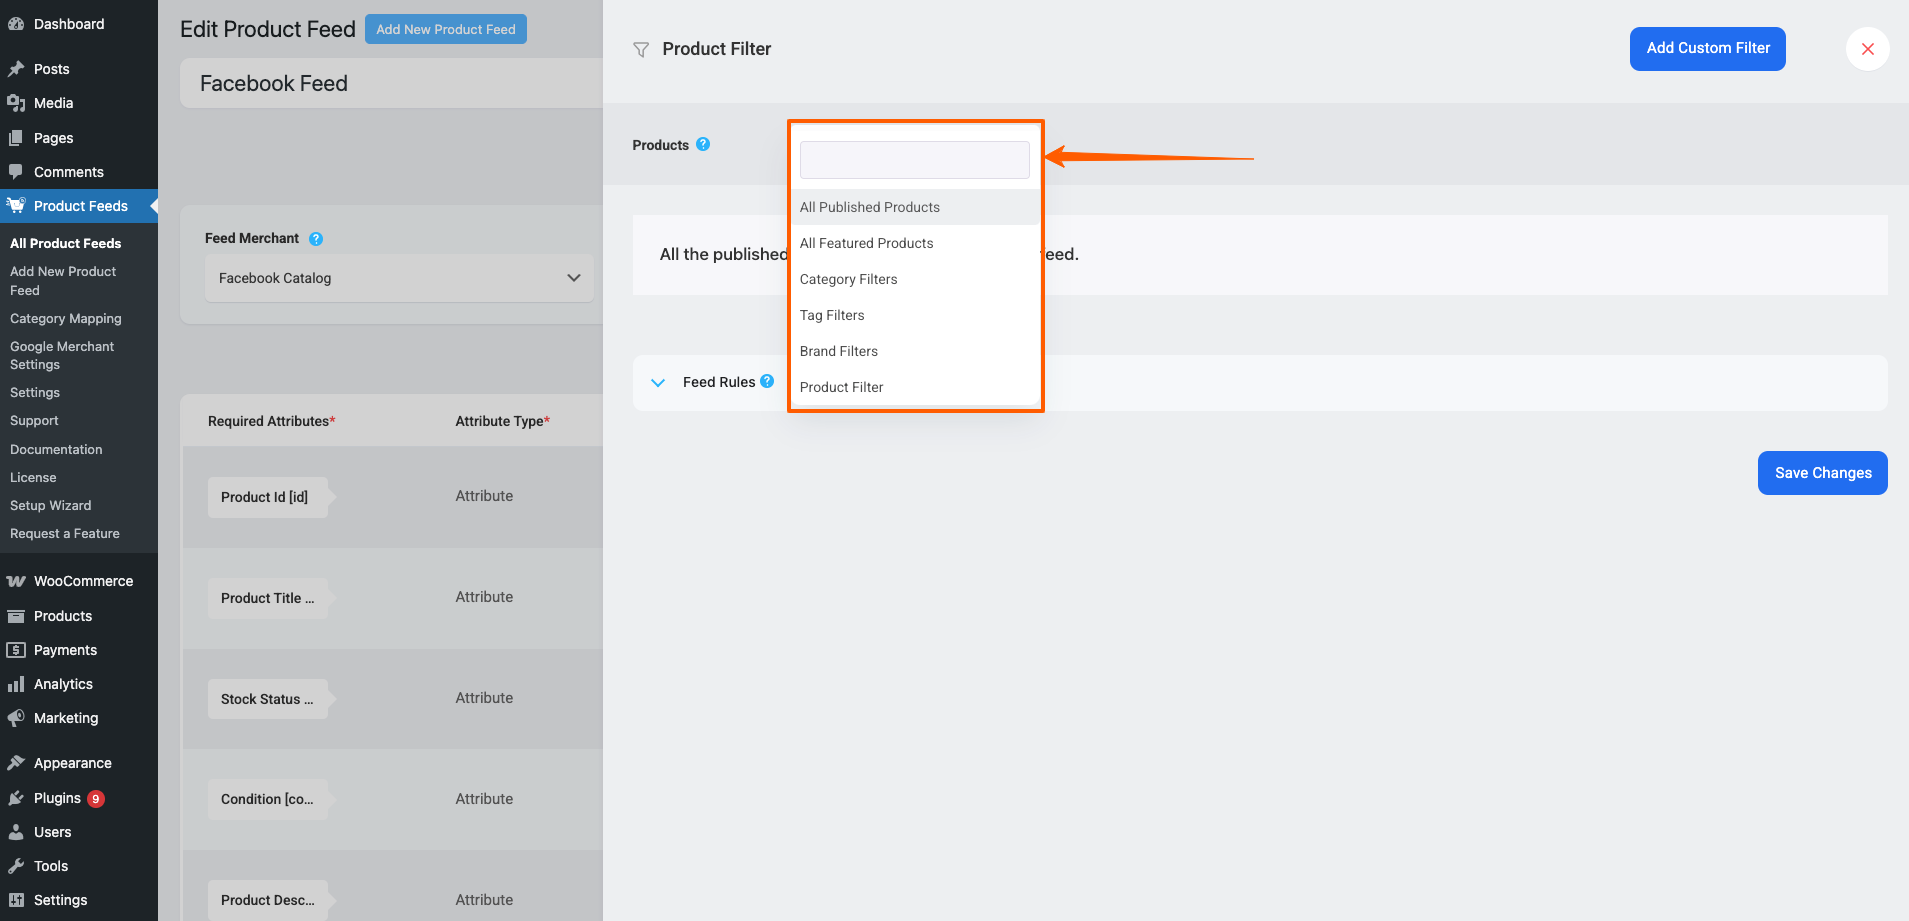
Choose the Products you want to include in the feed.
You may choose to include:
– All Published Products
– All Featured Products
Or you may use one of the Listed filter options,
– Category Filter,
– Tag Filter,
– Brand Filter
– Product Filter,
to include the products you require (or exclude the ones you do not want to include).
For a basic feed, you can keep it the same.
Step 3: Publish The WooCommerce Product Feed for Facebook #
Now, that your feed configuration is ready, it is time to publish the feed.
Scroll back to the top, and you will find a Publish button on the right.

Click on the Publish button, your feed will be generated.

That’s it. Your XML feed for Facebook is generated. You can now download and upload this file to your merchant account and list your products on your Facebook shop.
Follow this doc to learn how to upload your feed on the Facebook shop: How to upload your WooCommerce products on the Facebook store
Also, you can have a look at the following docs to learn how to include Shipping and Tax information on your feed items:
How to include Shipping values into WooCommerce product feed
How to include Tax values into your WooCommerce Product Feed