With WPVR, you can easily create virtual tours using self hosted 360 degree interactive videos.
Therefore, you don’t have to upload your 360 degree interactive videos on YouTube or any other platform and rely on them.
Today, you’ll learn to create a virtual tour with your self hosted video.
Create A Virtual Tour Using Self Hosted 360 Degree Interactive Video #
Once you have installed and activated the WP VR plugin on your website, follow these simple steps to create a virtual tour using a self-hosted 360 degree interactive video.
Step 1: #
Go to your WordPress Dashboard > WP VR , and choose to create a new virtual tour by clicking on Add New Tour.
Set a suitable Title to this virtual tour.
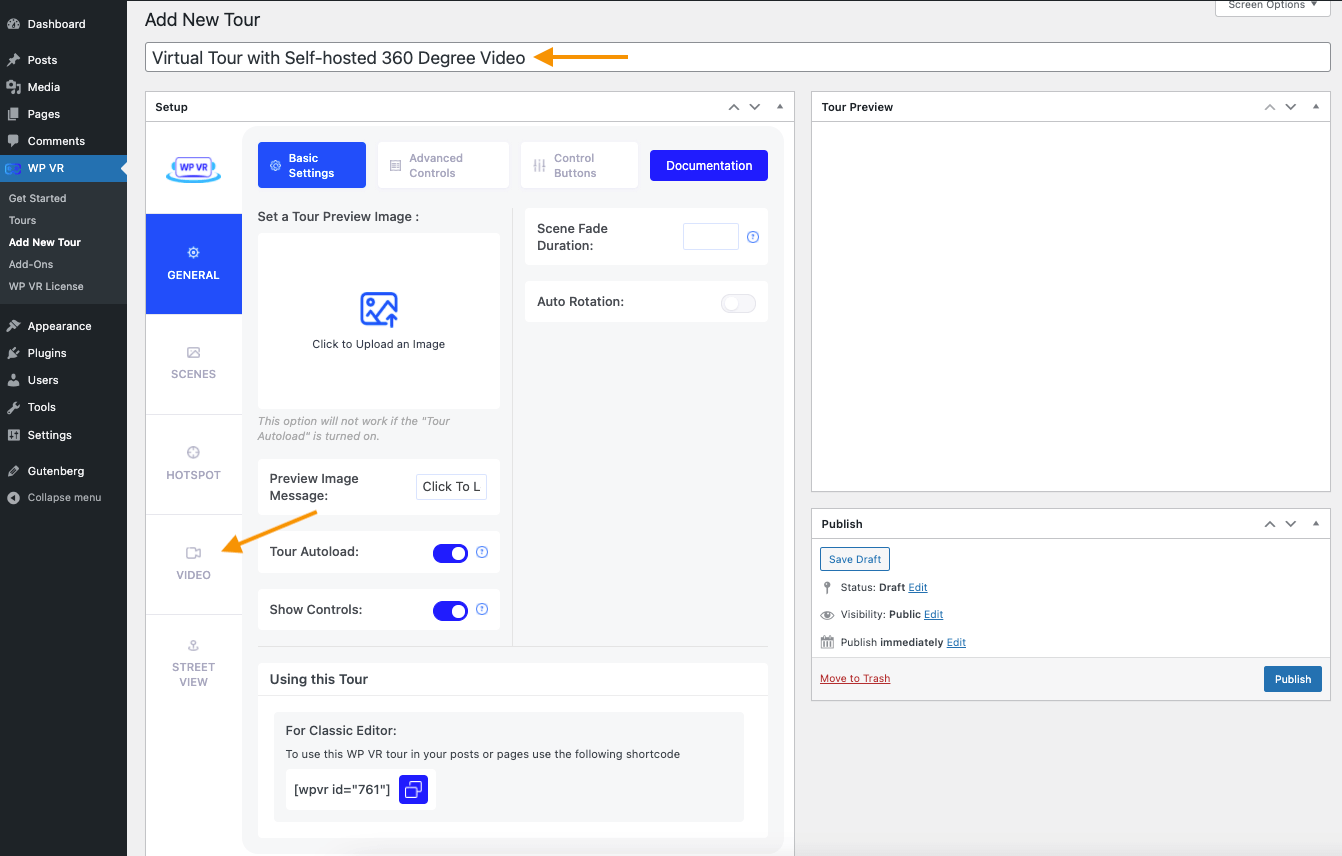
Now, click on the Video tab.
Step 2: #
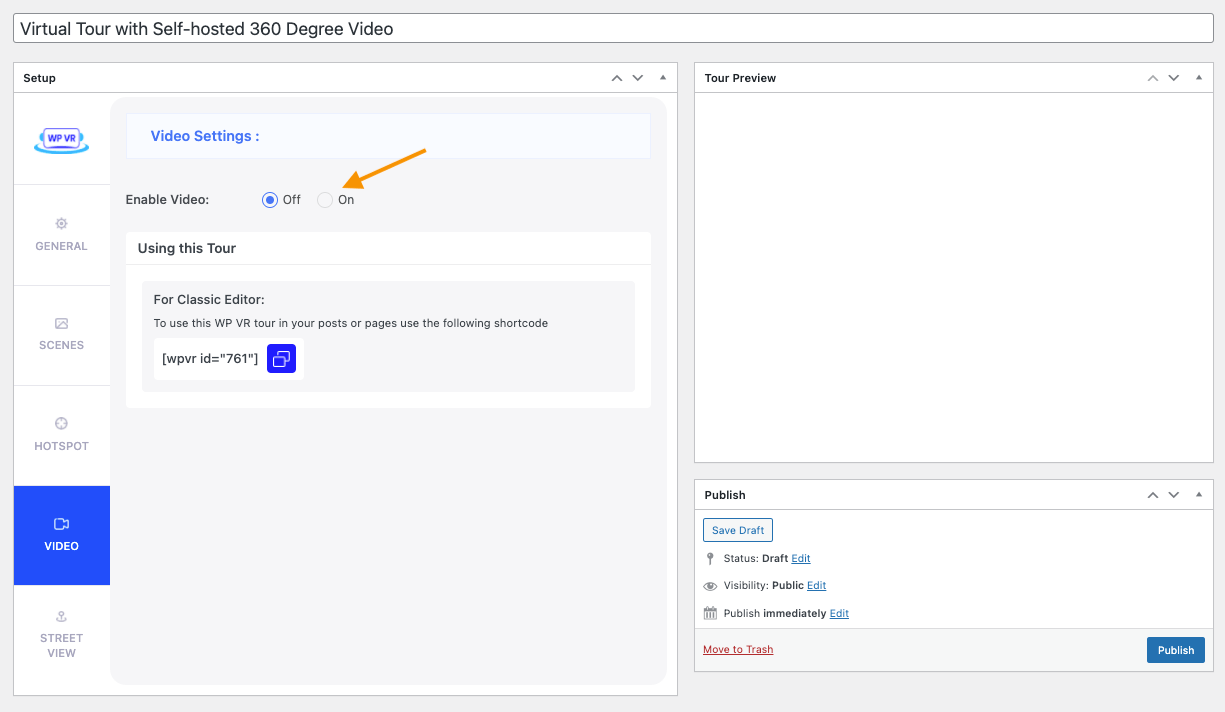
The Video tour option will appear.
Turn On the Enable Video option.
You’ll see a warning notice while enabling the video option.
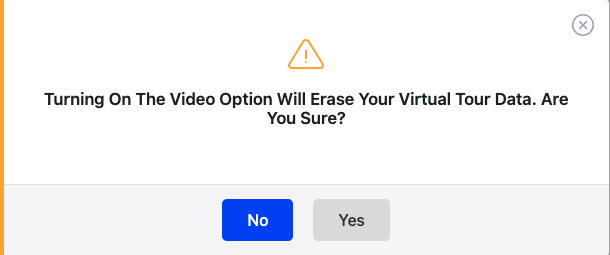
Choose to turn ON the Video option.
Step 3: #
Once you enable the Video option, these new options will appear:
- Autoplay.
- Loop.
- Upload or Add Link.
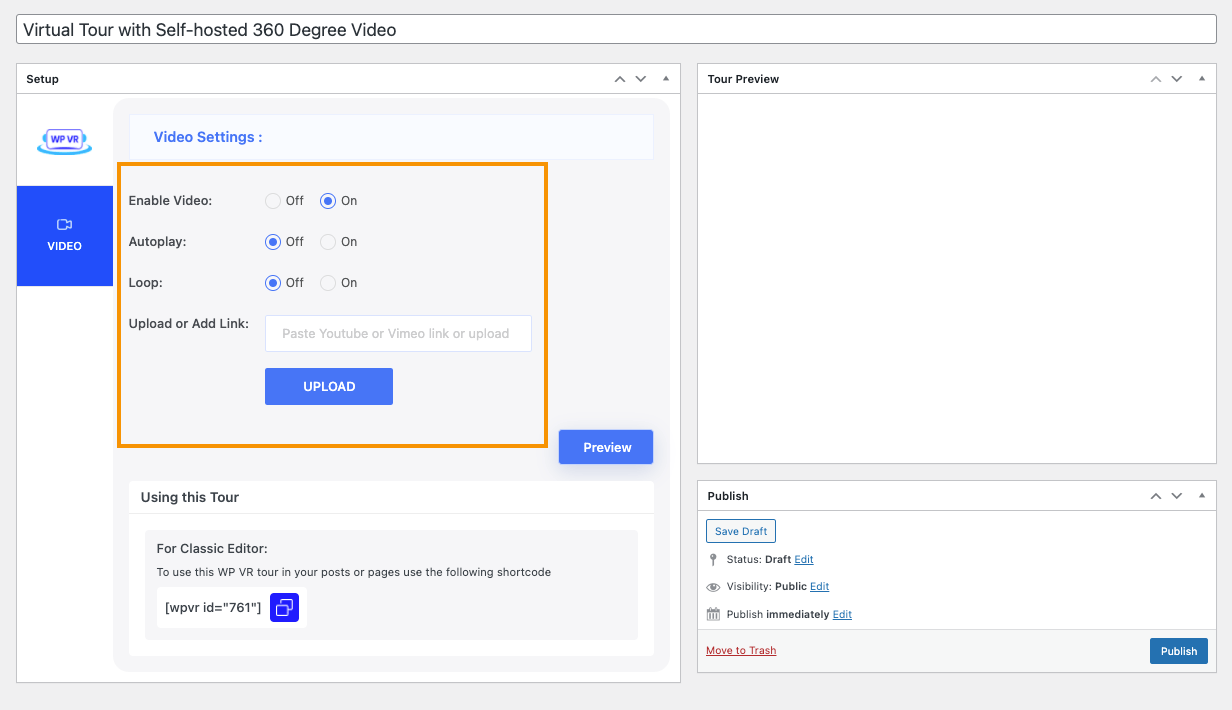
Autoplay: If you turn on this option, the video tour will start playing automatically once you load the tour page.
Loop: The 360 degree interactive video tour will continue playing on loop once you turn on this option.
Upload or Add Link: Here, you can upload the video file you’ll be using or set the URL of the video file.
Step 4: #
You can either choose to upload the video file or take one of your already uploaded 360 degree interactive video files from your Media folder.
Here, we’ll be using an already uploaded video.
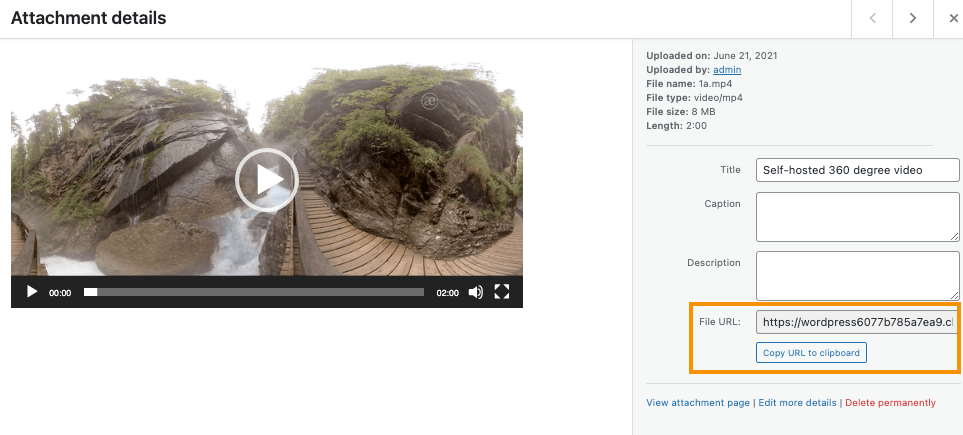
For this, you have to copy the URL of the file on your Media folder.
Step 5: #
On the Upload or Add Link field, paste the URL of your 360 degree interactive video file.
Alternatively, you can just upload the file by clicking on the Upload button.
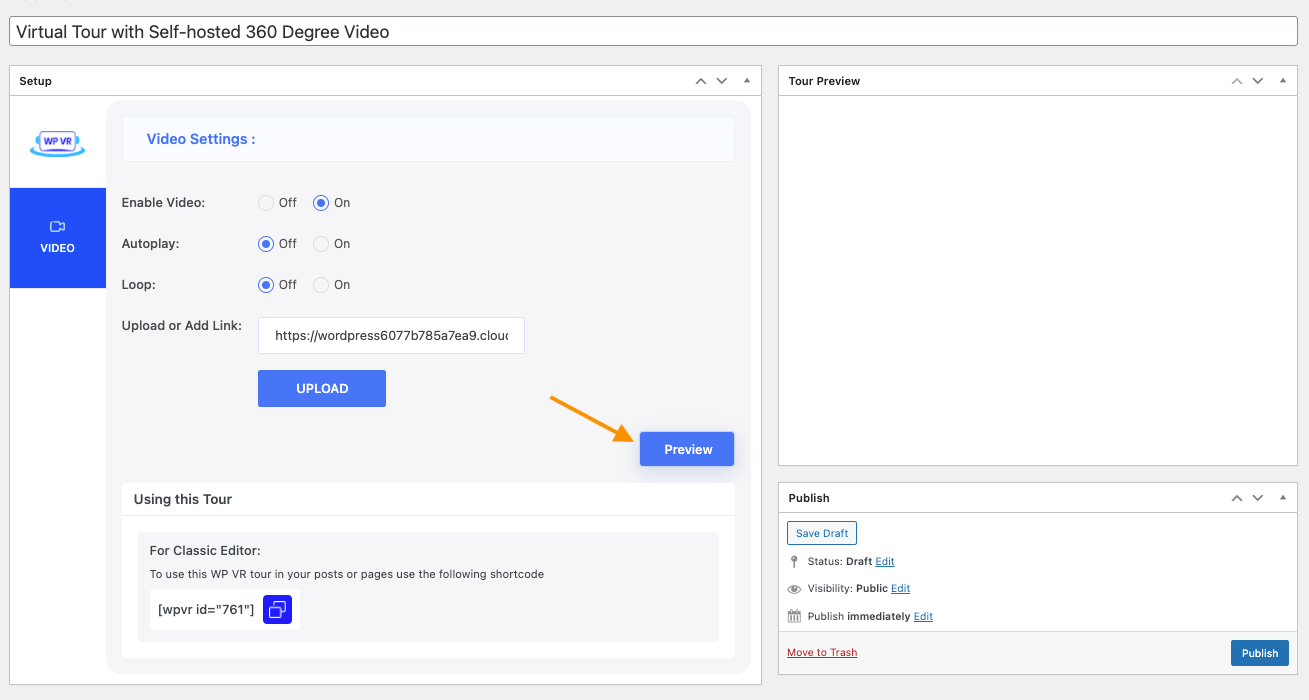
Now, click on the Preview button.
Step 6: #
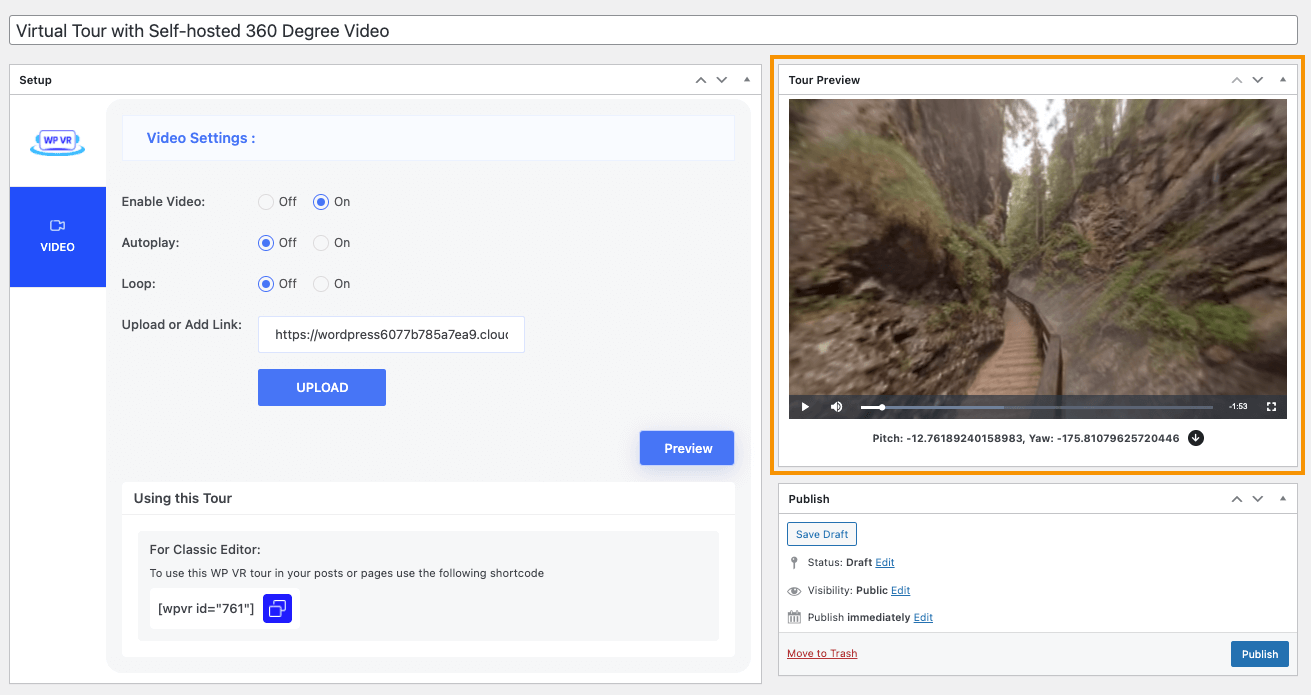
You’ll see a preview of the tour on the Tour Preview section.
Now you can save and publish the tour by just clicking on the Publish button.
Once the tour is saved and published on dashboard, you can easily publish it on the frontend.
You can use Gutenburg, Elementor, Shortcodes, Oxygen Builder, and Visual Composer to publish this tour on your frontend.
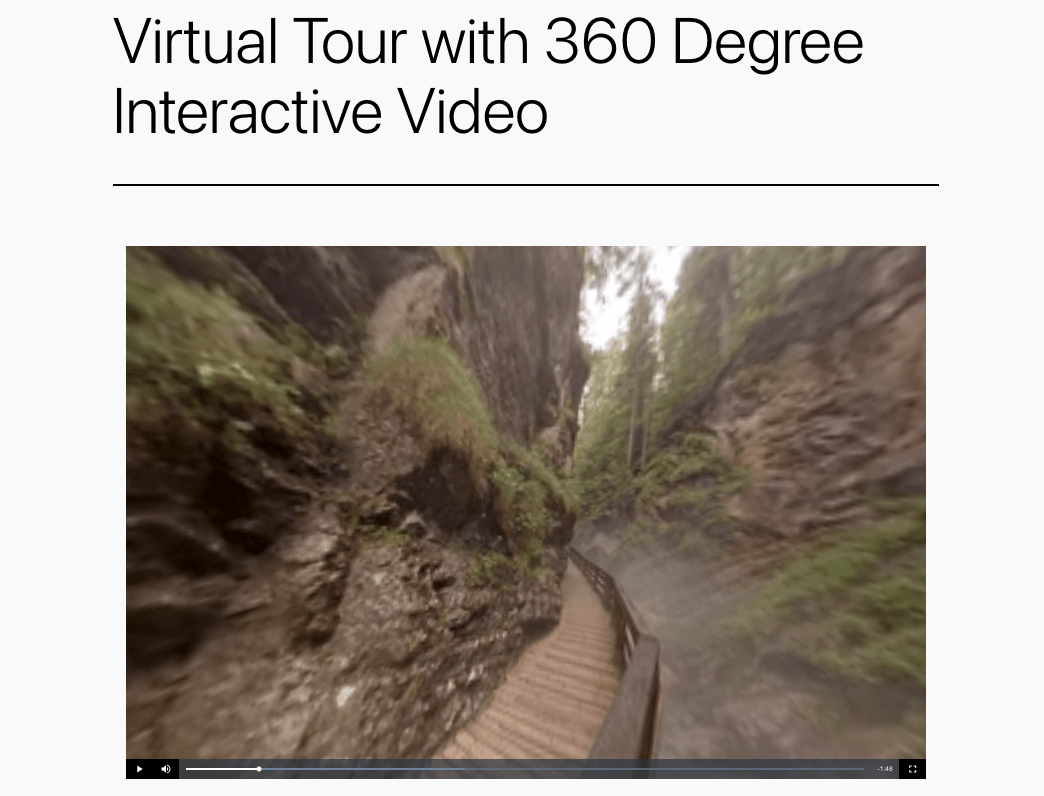
Here is how the 360 degree interactive video will look like once you’ve published it on the front end of your website.
Just like that, you can also use YouTube 360 Degree Videos to create virtual tours.