Skip to content
RexTheme Logo
  • Home
  • Plugins
    • WP VR
    • Product Feed
    • Social Booster
    • Cart Lift
  • Docs
  • Support
  • Blog
  • Account
    • Log In
  • Contact Us
  • NL
  • DE

Product Feed Manager

  • Introduction To WooCommerce Product Feed Manager
  • Getting Started with Product Feed Manager
  • Install and Activate WPFM
  • Generate Product Feed
  • Category Mapping
  • Auto-sync With Google Merchant Shop
  • Add Extensive Custom Fields
  • Add More Supported Merchant Sites
  • How to Upgrade to Pro – WPFM
  • eBay MIP Feed Generation
  • Useful Options On Controls Tab
  • Fix WooCommerce’s (JSON-LD) Structured Data Bug
  • Control Products Per Batch In Batch Processing
  • Exclude Tax From Structured Data Prices
  • Using Google Merchant Promotions Feed
  • Exclude “Out Of Stock” Products From WooCommerce Product Feed
  • Connect Facebook Pixel With WooCommerce For Dynamic Ads
  • Product Feed Optimization with Yoast SEO Product Title, Meta Description and Primary Category
  • Getting Started With WooCommerce Product Feed Manager
  • How To Install And Activate WPFM
  • How To Generate Product Feed For The First Time
  • Basic Plugin Overview – WooCommerce Product Feed Manager
  • How To Use Category Mapping For Product Feed
  • How To Enable Your Desired Merchant Or Marketplace For Feed Generation
  • Add Extensive Custom Fields Of Unique Identifiers For WooCommerce Products
  • Add Custom Fields For Important Product Attributes
  • How To Add Extensive Custom Fields To WooCommerce Products
  • Fix WooCommerce (JSON-LD) Structured Data For Approval In Google Shopping
  • How To Exclude Tax From Structured Data Prices
  • How To Use Custom Filter When Generating Product Feed
  • Troubleshooting Common Issues – WooCommerce Product Feed Manager
  • How To Use Category Filter When Generating Product Feed
  • How To Use Tag Filter When Generating Product Feed
  • How To Use Product Filter Options When Generating Feed
  • How To Schedule Auto-update of Feed On Set Intervals
  • How To Include Variable Products To The Feed
  • How To Include Private Products In Product Feed

WP VR

  • Introduction To WP VR
  • Getting Started With WP VR
  • How To Install And Activate WP VR
  • How To Create A Simple Virtual Tour In 5 Minutes – WP VR
  • How to Embed A Virtual Tour And Customize It – WP VR
  • WP VR Basic Plugin Overview
  • How To Add A Scene To Your Virtual Tour
  • How To Use Scene Settings To Customize A Scene
  • How To Add Hotspots To A Scene In Your Virtual Tour
  • How To Use Hotspots To Show Information, Images Or Videos
  • How To Use Hotspots To Go From One Scene To Another
  • How To Customize Hotspot Icons And Color
  • How To Use Exclusive Features On General Settings To Customize A Virtual Tour
  • How To Upgrade To Pro – WPVR
  • How To Export And Import Virtual Tours
  • How To Embed A Virtual Tour Using WPVR Gutenberg Block
  • How To Embed A Virtual Tour Using WPVR Elementor Widget
  • How To Use WP VR Oxygen Element To Embed A Virtual Tour
  • How To Embed A Youtube 360 Video On Your Website Using WPVR
  • How To Embed A Google Street View Tour On Your Website Using WPVR
  • Embed A Self Hosted Video on WPVR Hotspots
  • How To Set Up WPVR Exclusive Settings
  • How To Exclude WPVR From Autoptimize
  • Control Script And Style Loading For The Virtual Tours
  • How To Disable WordPress Large Image Handler For Virtual Tours
  • How To Duplicate A Virtual Tour
  • How To Integrate Fluent Forms On A Virtual Tour
  • How To Integrate WooCommerce To A Virtual Tour
  • How To Embed Virtual Tours On Non-WordPress Websites
  • How To Enable Gyroscope Support On Virtual Tours
  • How To Set Up A Scene Gallery On Virtual Tours
  • How To Add Background Music To Virtual Tours
  • How To Limit Keyboard Controls For Navigation And Zoom
  • How To Limit The Use Of Mouse Scroll To Zoom Or Drag To Move A Tour
  • Using Custom Icons For Navigation And Control Buttons In A Virtual Tour
  • How To Add A Home Button To Your Virtual Tour
  • How To Create A Virtual Tour With Partial Panoramas
  • How To Create A Virtual Tour With Mobile Phone Panorama Images
  • How To Set Default Scene Face On A Virtual Tour
  • How To Set A Dynamic Front End Notice On Virtual Tours For Mobile Phone Viewers
  • Demo Virtual Tours
  • Basic Virtual Tour
  • Demo Virtual Tour – WPVR Pro
  • Demo Tour – WPVR (Free)
  • Custom Scene Gallery – WPVR
  • Custom Control Icons – WPVR
  • Google Street View Tour – WPVR Pro
  • Getting Started with WP VR
  • Video Tutorials – WPVR
  • Demo Partial Panorama Virtual Tour – WPVR Pro
  • Bar/Pub Showcase
  • How To Add A Preview Image To Your Virtual Tour – WPVR
  • How to Enable Auto Rotation For Your Virtual Tour
  • How To use a WPVR Shortcode to Embed a Virtual Tour
  • How to Add Your Company Logo in Your Virtual Tour – WPVR
  • Troubleshooting Common Issues – WPVR
  • How To Auto Resize Images On Mobile Devices for Virtual Tours
  • How To Set Custom Zoom Settings On A Scene In Your Virtual Tour – WPVR
  • How to Set 360 Image Grab Limit On A Scene in Your Virtual Tour – WPVR
  • How To Solve Virtual Tour Not Showing Up – WPVR
  • How To Exclude Assets of WPVR From Autoptimize
  • How To Embed Youtube Videos Inside Virtual Tours Using WPVR
  • How To Create Full Screen Virtual Tours – WPVR

Social Booster

  • Social Booster
  • Install and Activate Social Booster
  • Getting Started with Social Booster
  • How Social Booster Works
  • Social Booster Dashboard Overview
  • Connect Facebook For Auto-Posting
  • Connect Twitter For Auto-Posting
  • Auto-Post And Share With Social Booster
  • Connect Tumblr For Auto-Posting
  • Connect LinkedIn For Social Auto-Posting
  • Connect Reddit For Auto-Posting
  • Connect Pinterest For Social Auto-Posting
  • Schedule Post With Social Booster
  • Set Multiple Profiles On Social Booster

Cart Lift

  • Introduction To Cart Lift
  • Getting Started With Cart Lift
  • Install And Activate Cart Lift
  • A Basic Plugin Overview – Cart Lift
  • Configure And Use Cart Lift Effectively
  • How To Track Abandoned Carts Automatically
  • How To Set Up Your Abandoned Cart Recovery Campaign
  • How To Get Notifications For Abandoned Carts And Recovery
  • How To Integrate SMTP Through Cart Lift
  • Get Full Analytics Report On Recovery Campaign
  • How To Upgrade To Pro – Cart Lift

Media Storage To Cloud

  • WP Media Storage To Cloud
  • Getting Started – Media Storage To Cloud
  • How to install and activate Media to Cloud Storage
  • WP Media Storage To Cloud Dashboard Overview
  • How To Connect Amazon S3 Bucket
  • How To Connect Google Cloud Storage
  • How To Set Up IAM User For Amazon S3 Bucket
  • How To Set Up Google Cloud Storage Bucket To Serve Media Files
  • How To Connect DigitalOcean Spaces
  • How To Create An Amazon CloudFront Distribution
  • How To Create An Amazon CloudFront Origin Access Identity
  • Troubleshooting For Common Issues – Media Storage To Cloud
  • How To Create Free HTTPS Certificate On Amazon S3

Variation Swatches

  • Variation Swatches for WooCommerce – Getting Started
  • Variation Swatches For WooCommerce – Dashboard Overview
  • Variation Swatches For WooCommerce – Install And Activate
  • Change Dropdown to Button Swatches for WooCommerce Variations
  • How To Set Up WooCommerce Color Swatches For Color Variation
  • How To Set Up WooCommerce Image Swatches For Image Variation
  • How To Set Up Label Swatches For WooCommerce Product Variations
  • How To Customize Variation Swatch Hover Style
  • How To Customize Variation Swatches Global Style
  • How To Customize Variation Swatches Selected Style

VR Places Theme

  • How To Install And Activate VR Places Theme
  • How To Customize Global Settings for VR Places Theme
  • Home
  • Docs
  • Cart Lift

How To Upgrade To Pro – Cart Lift

Table of Contents
  • Step 1 - Purchase Cart Lift Pro
  • Step 2 - Collect Cart Lift Pro License Key(s)
  • Step 3 - Complete The Cart Lift Upgrade To Pro

To upgrade to Cart Lift Pro, follow the steps bellow.

Step 1 – Purchase Cart Lift Pro #
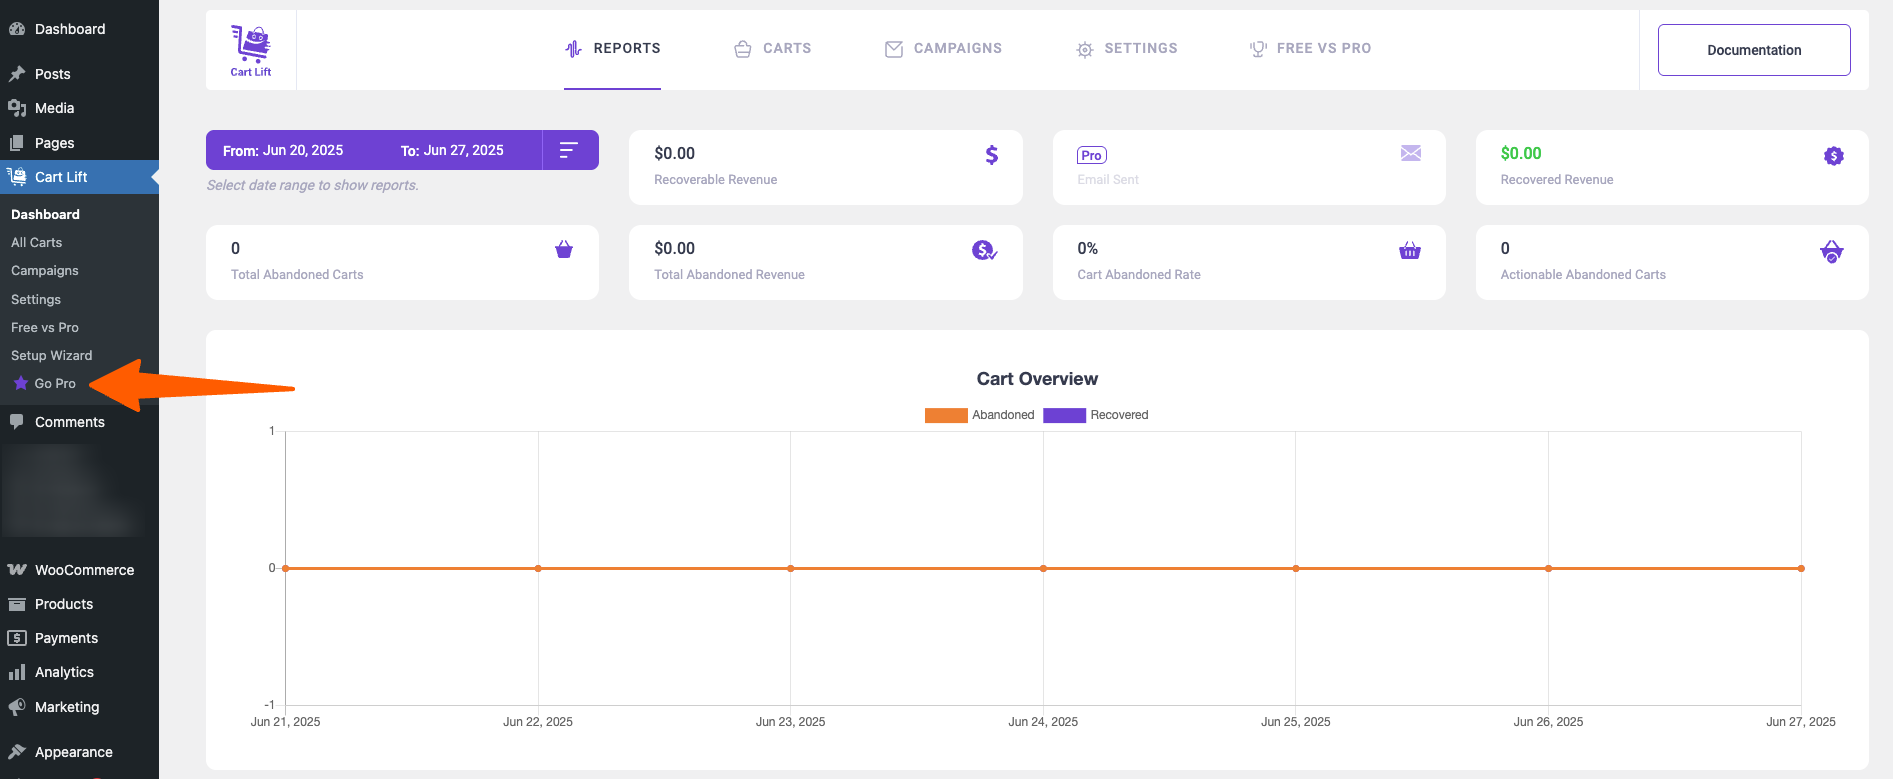
First, go to Dashboard > Cart Lift and on top, click on the Free Vs Pro Tab.

Cart Lift - Free VS Pro menu

On the top-right side, click on the Upgrade To Pro button.

It will take you to our official website plugin page https://rextheme.com/cart-lift/. (You can also go to the link directly if you want.) 

Once you are on the website, click on Get Pro and it will take you to the pricing section.

Cart Lift Pricing Section to Upgrade to pro for Cart Lift Pro

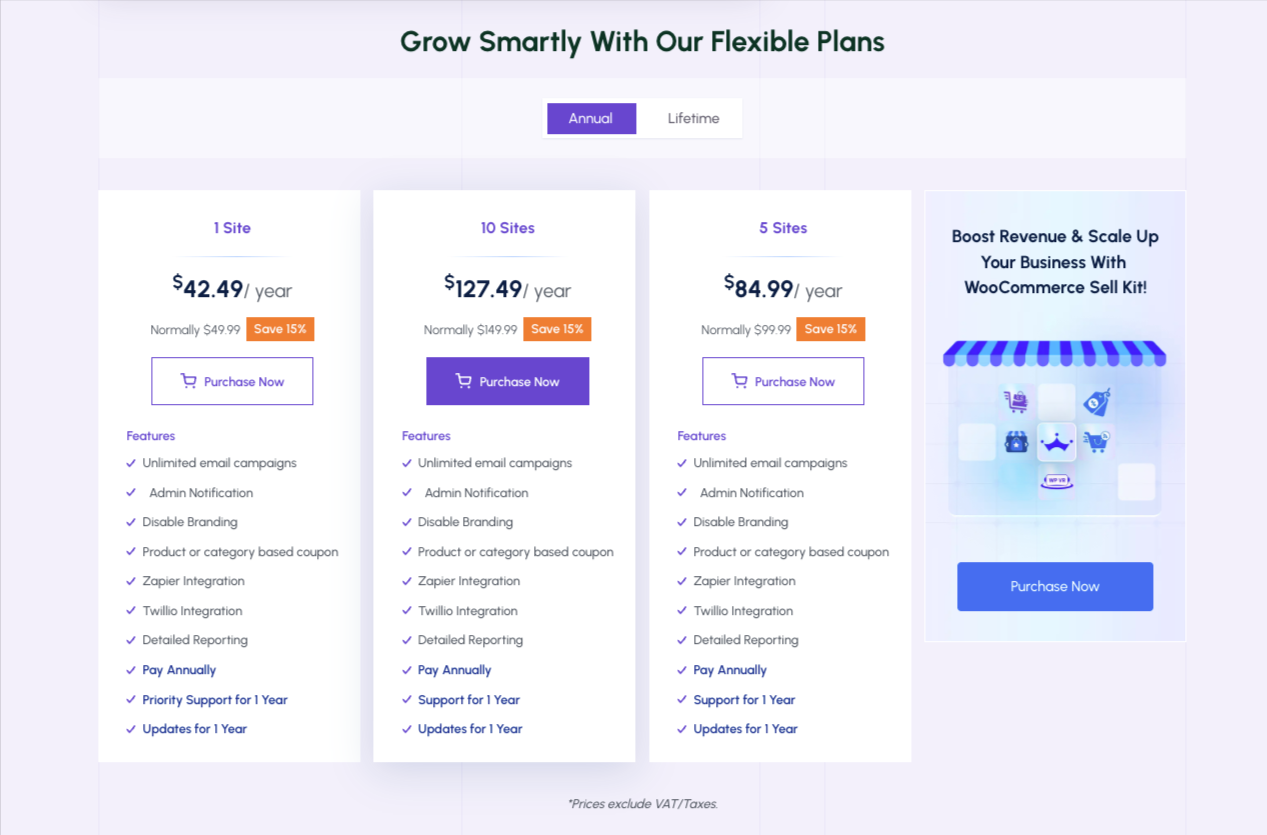
Choose your desired plan and click on the Buy Now button below.

It will take you to the check out page.

CL - Checkout

If you scroll lower, you will get the form to open an account.

CL - Create acc

These information will help to create and account for our website.

Then you will see the section for payment.

CL - Payment info

Fill out the information.

Then make sure to read the Terms of Service below and checking it.

Once done, click on the Upgrade Now button below.

You will be notified that the purchase is successful. You will also get an e-mail from us which will include your purchase details, license key, and a downloadable Cart Lift Pro zip file.

Step 2 – Collect Cart Lift Pro License Key(s) #

Other than via email, to collect the license key, go to https://rextheme.com/ and on the right side of the menus, and click on Account.

RexTheme home page

If you are not logged in, you will need to log in with the ID and Password that you used at the time of purchase. Else, you will be taken to your account page.

Here’s how your account page will look like.

Rex Account

On the left, click on License Key, and there you will be able to collect the license key for Cart Lift Pro and on the Downloads tab, you will be able to download the latest version of Cart Lift Pro.

Step 3 – Complete The Cart Lift Upgrade To Pro #

Once you have the Cart Lift Pro zip file and the License Key(s), you are ready to upgrade to Pro.

FYI: Make sure that you have the free version installed and activated on your website for the upgrade to be successful.

Now, go to your Dashboard > Plugins > Add New. On the top left corner, you will get the option to upload plugin. Click on that and upload the Cart Lift Pro zip file.

Once you upload, install, and activate Cart Lift Pro, go to Dashboard > Cart Lift and you will notice that the Free Vs Pro tab has changed to License tab.

Go to the License tab and you will see the following:

License Tab Pro

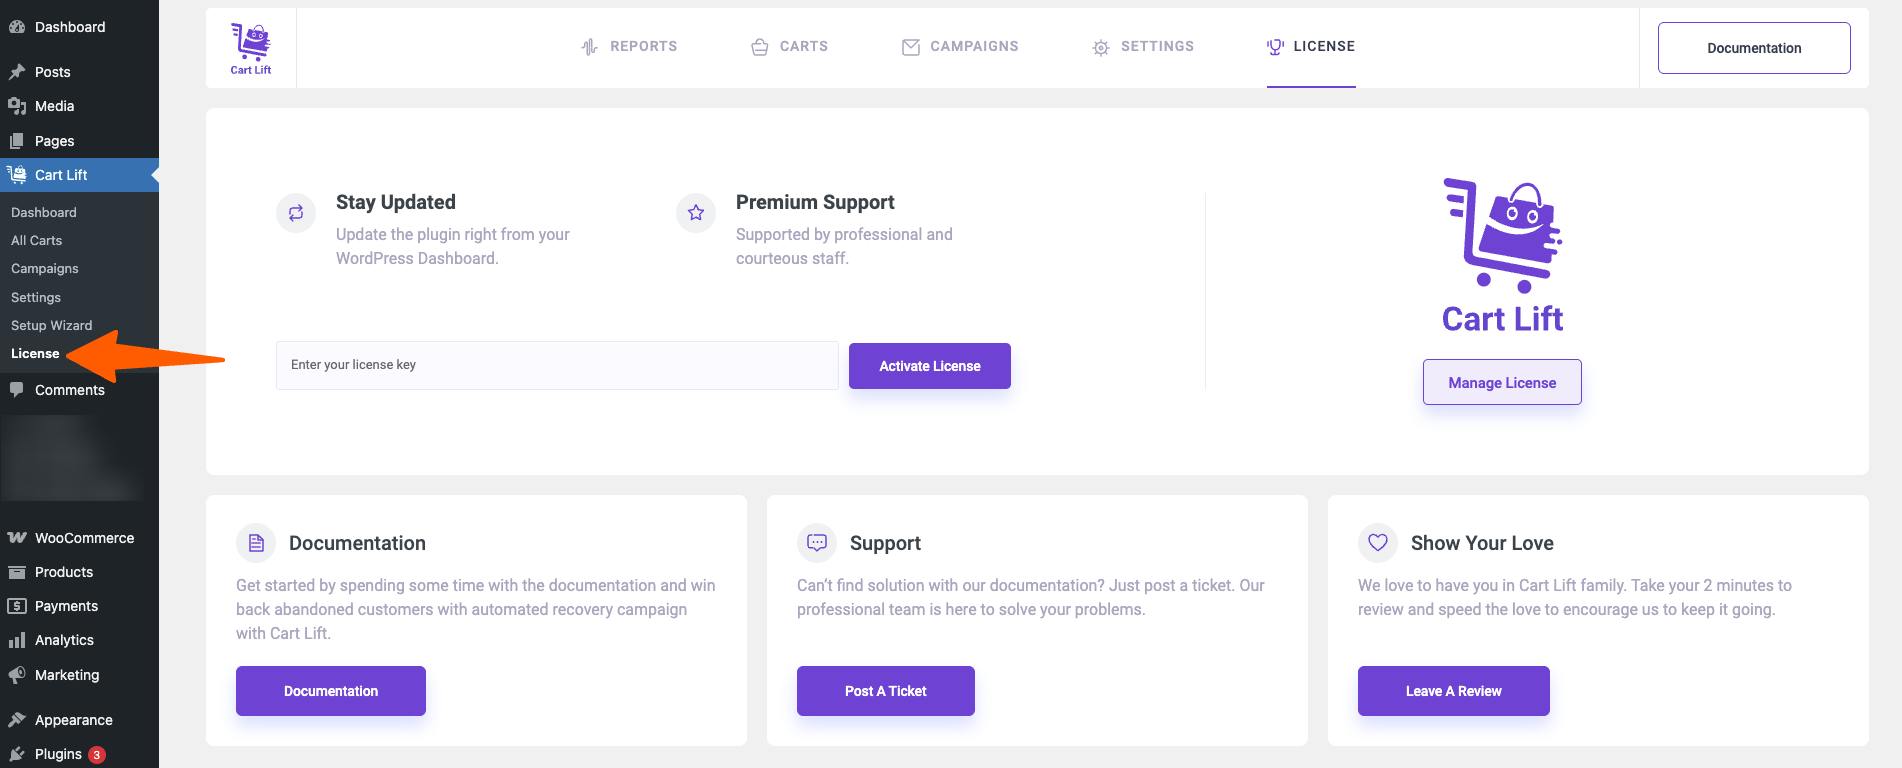
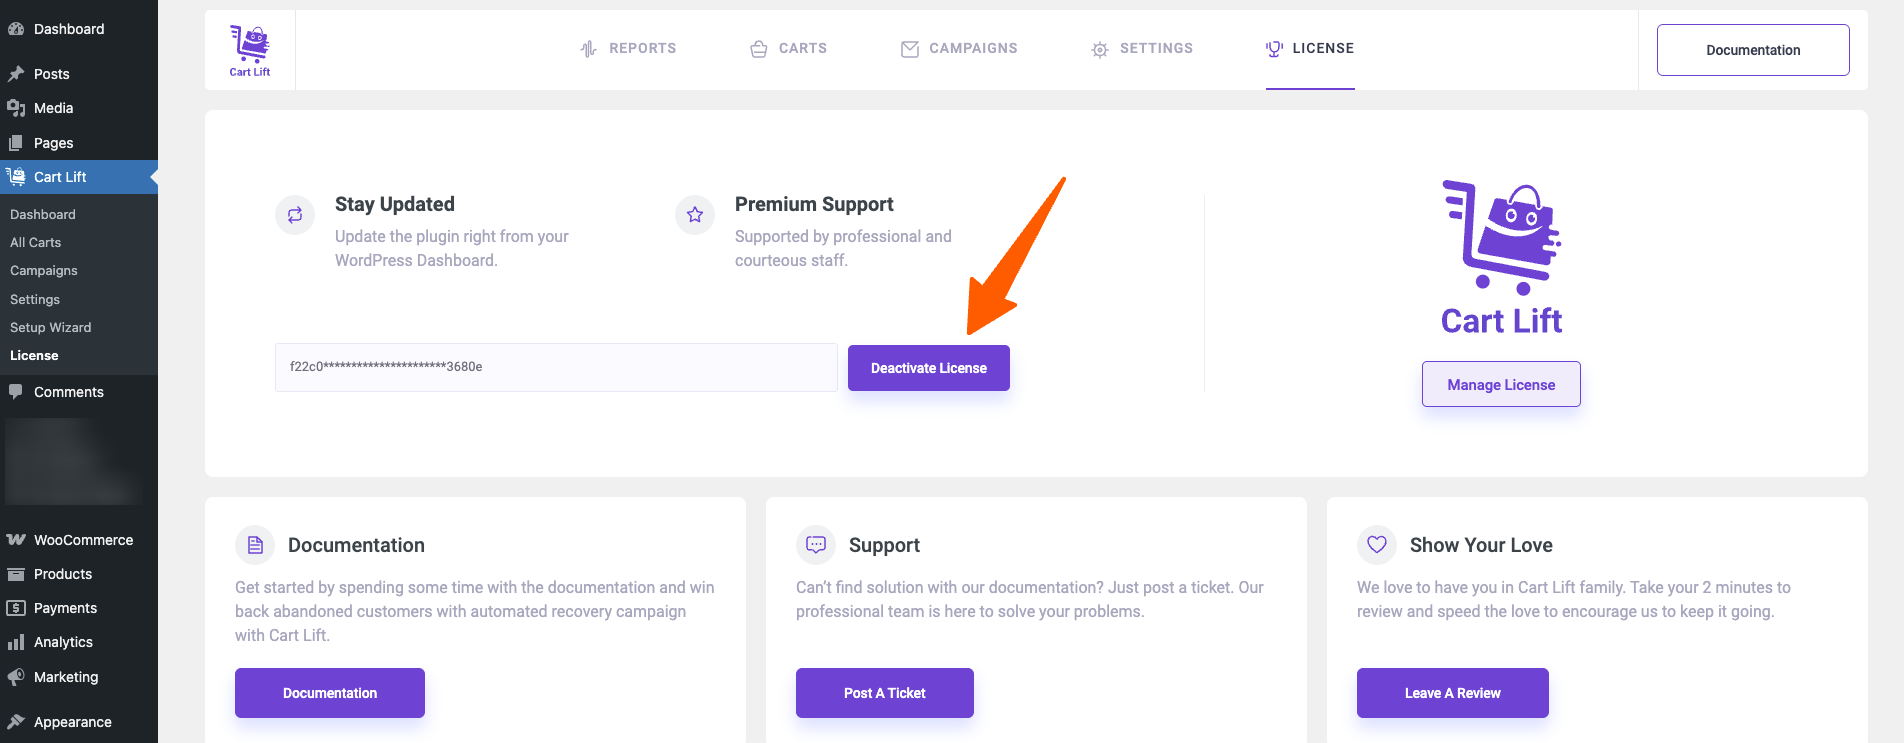
Here, input the license key, and click on Activate License. Then you will see that the License is Active and the button changed to Deactivate License.

License Activated

Then click on Save Changes.

That’s it. You now have full access to all the Premium features of Cart Lift.

Share This Article :
Updated on June 19, 2020
Get Full Analytics Report On Recovery Campaign
Table of Contents
  • Step 1 - Purchase Cart Lift Pro
  • Step 2 - Collect Cart Lift Pro License Key(s)
  • Step 3 - Complete The Cart Lift Upgrade To Pro
RexTheme Logo
Our Plugins
  • WP VR
  • Product Feed Manager
  • Social Booster
  • Cart Lift
Resources
  • Privacy Policy
  • Terms of Service
  • Affiliate Program
  • Contact Us
Payment Methods
Payment methods

© . All rights reserved by RexTheme