From now on, you can integrate Fluent Forms with your virtual tours.
With the latest WPVR Addon for Fluent Forms, you can now use booking forms or inquiry forms in your virtual tours.
So if your viewer wants to contact you or book your service, they can easily do it from within the tour.
**Make sure you have WPVR and WPVR Pro activated along with the WP VR Fluent Forms Addon.
Follow these steps to integrate a form on a virtual tour.
Step 1 – Create A Suitable Form on Fluent Forms #
- After you install and activate the Fluent Forms plugin, then Click on the Fluent Forms tab on the WordPress dashboard.
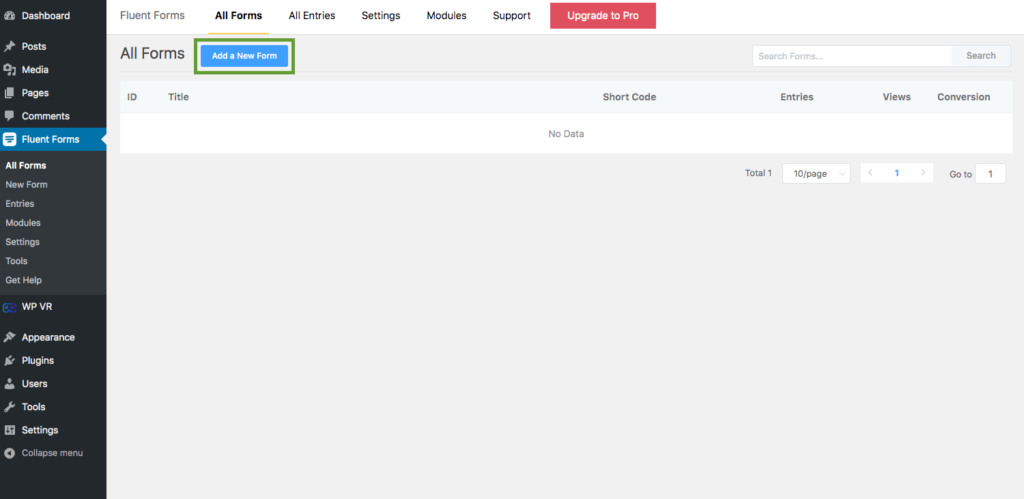
2. Click on Add a New Form.
3. Here, you can create a form or choose a form template to edit.
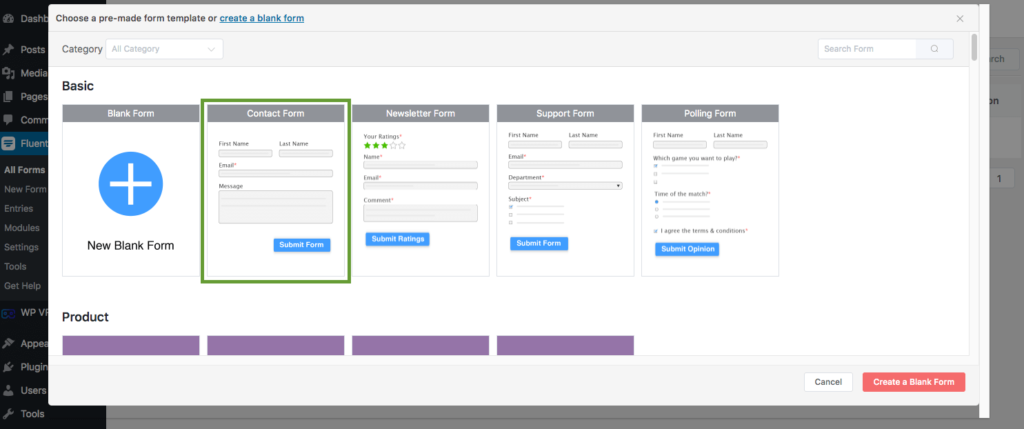
4. Save the form once you’ve edited the form as per your requirements
Now, that you have a form ready, it’s time to use it on a virtual tour.
Step 2 – Integrate Form On A Virtual Tour #
1. Create a virtual tour using WPVR, or edit one that you have already created.
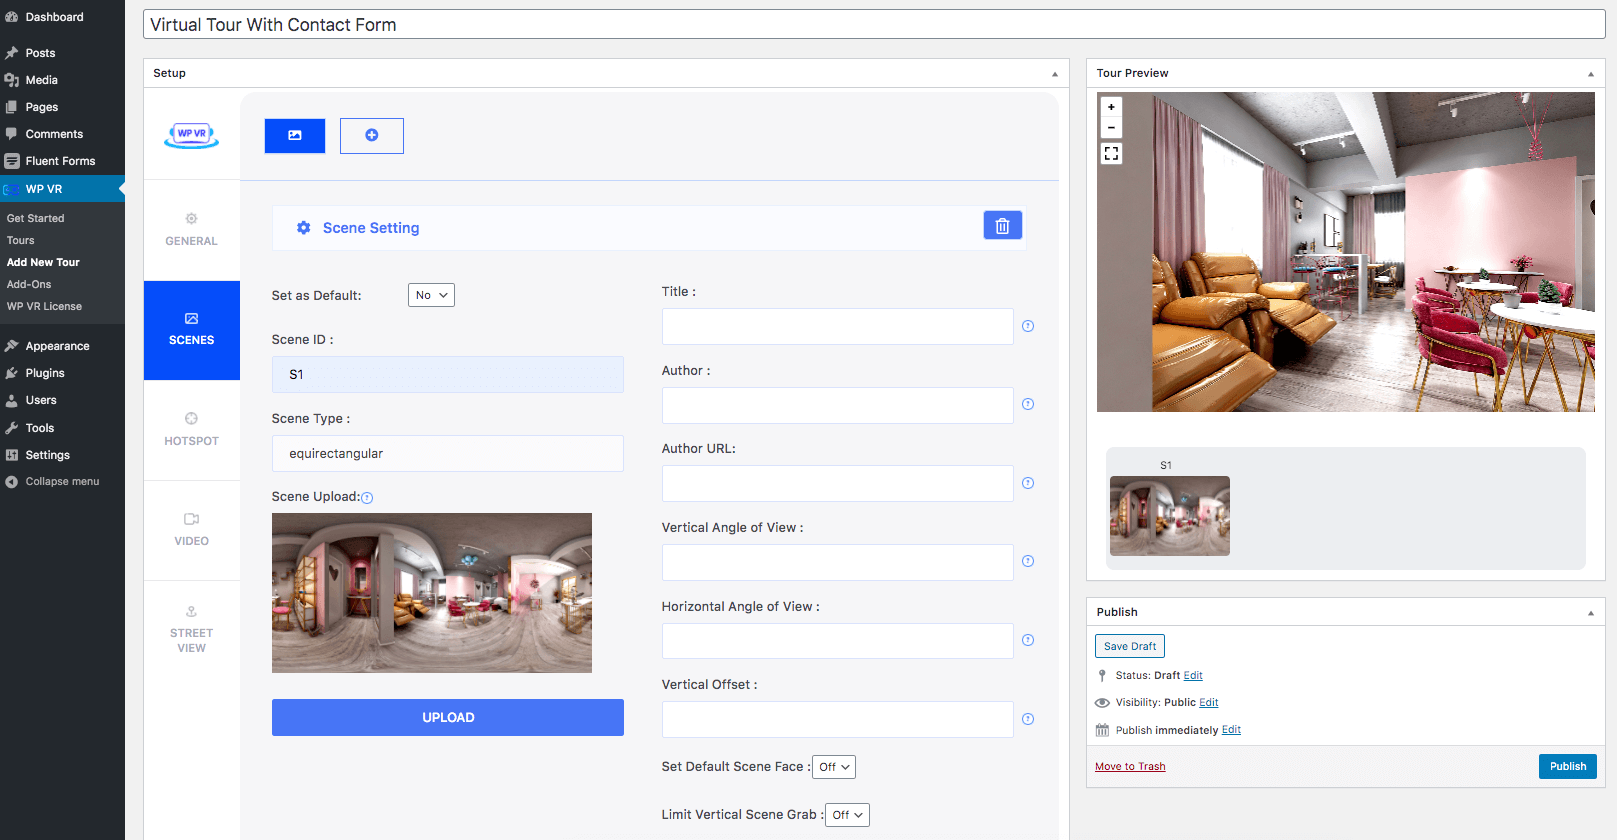
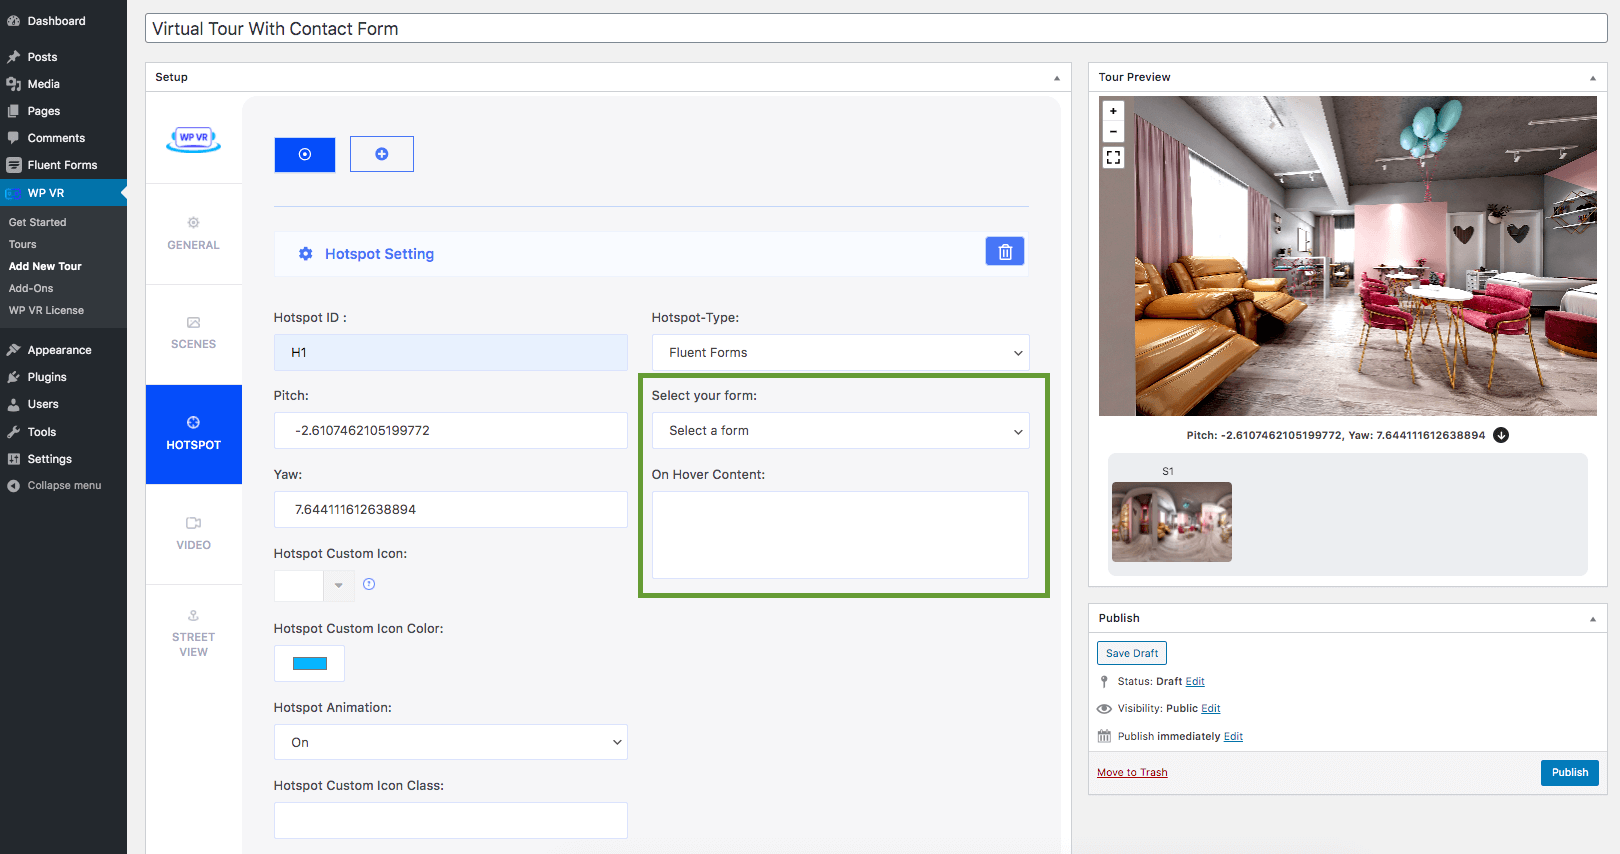
2 Go to the Hotspot section.
Choose to create a new hotspot, set Hotspot ID, Pitch, and Yaw for this hotspot.
3. Click on the Hotspot Type and choose the Fluent Form option.
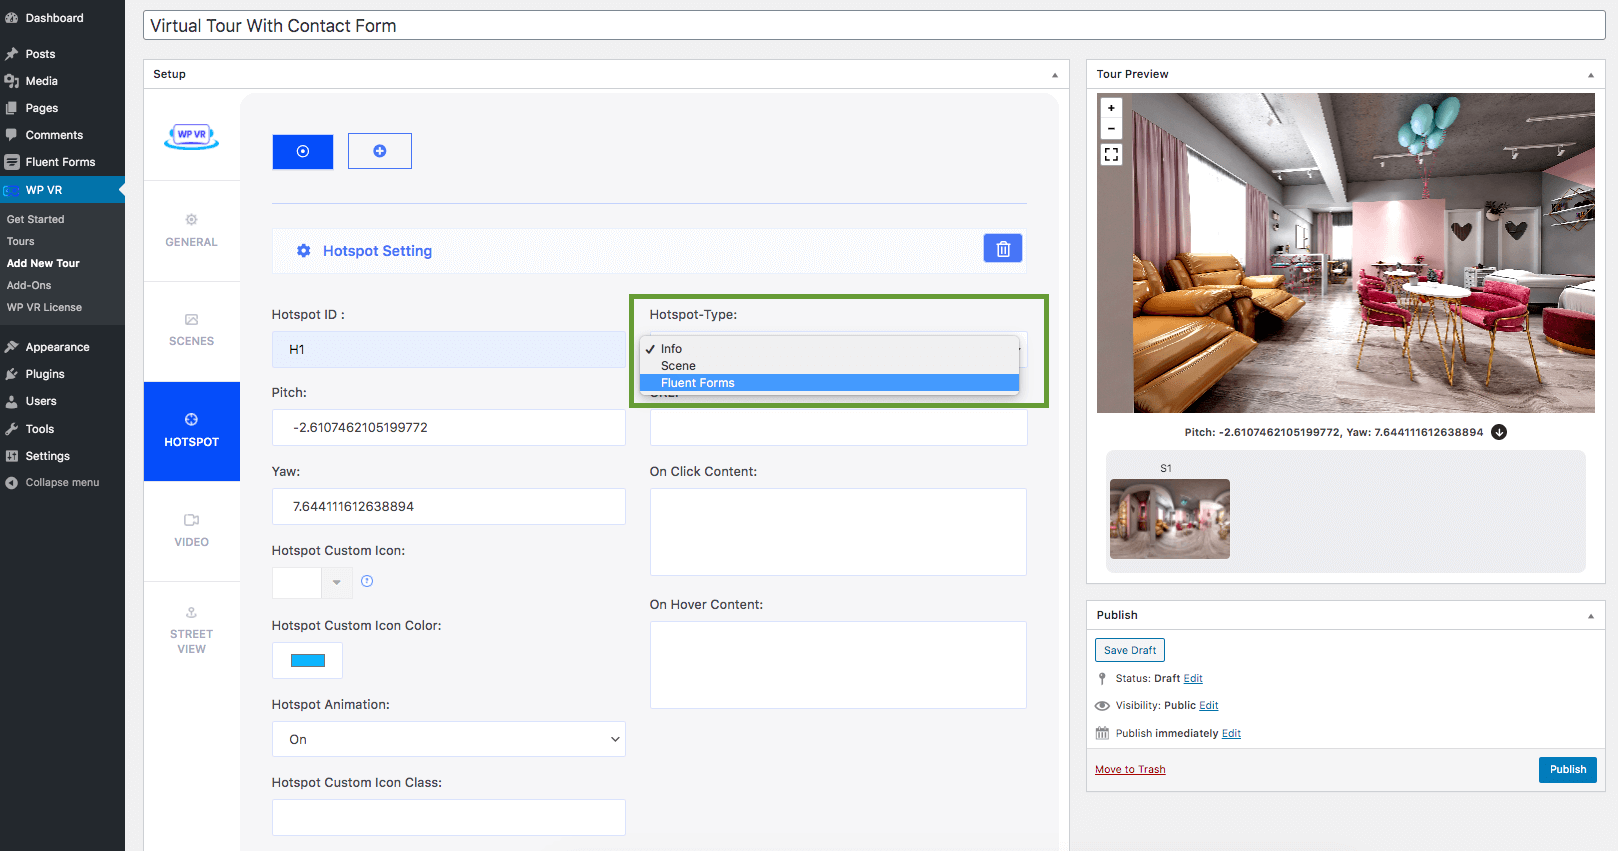
For the Fluent Form Hotspot type, you’ll find these 2 options:
- Select Your Form.
- On Hover Content.
4. On the Select Your Form option, you’ll find the forms you created with Fluent Form.
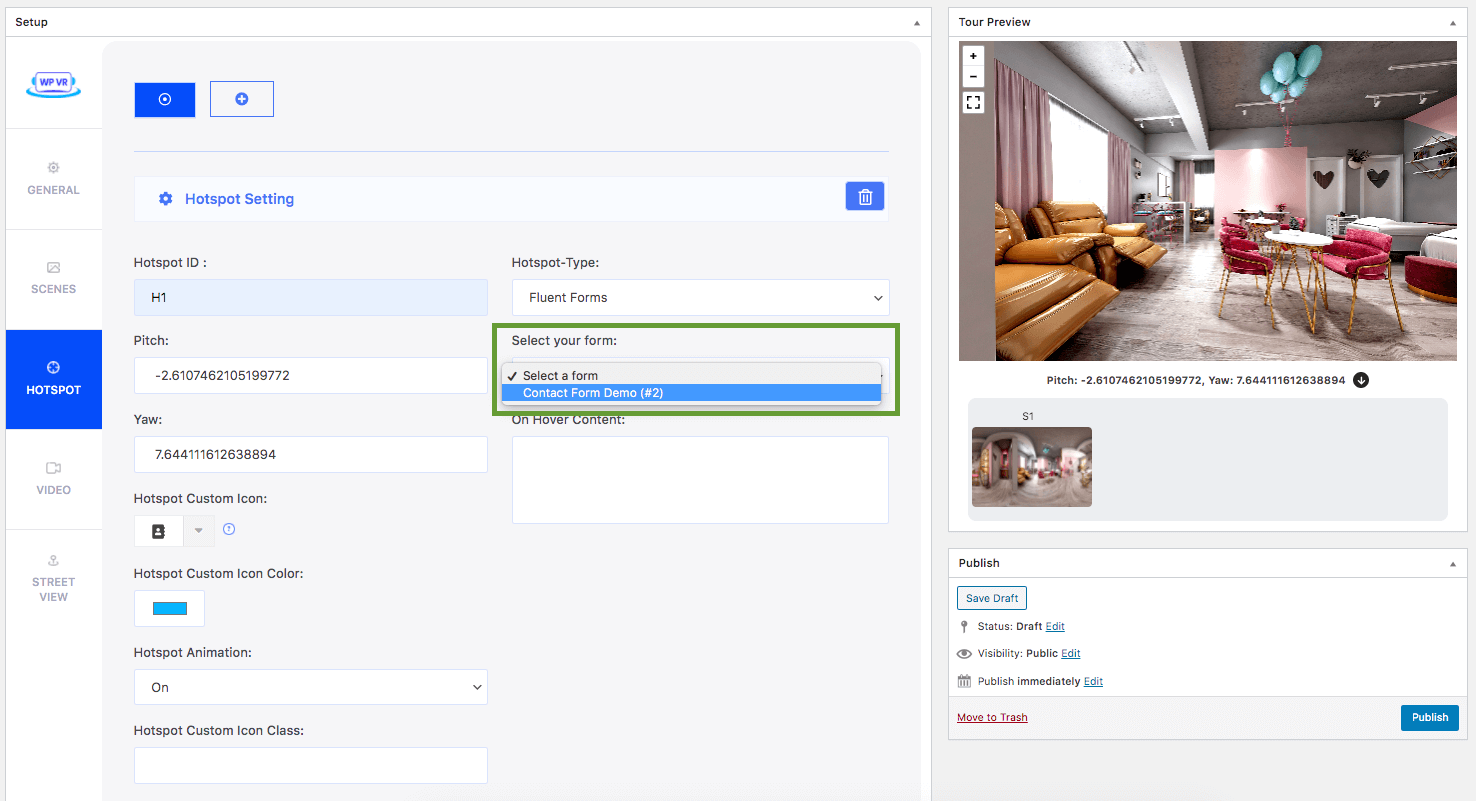
You can set a suitable instruction in On Hover Content to ‘Click Here for Booking‘.
Now, the form has appeared on preview.