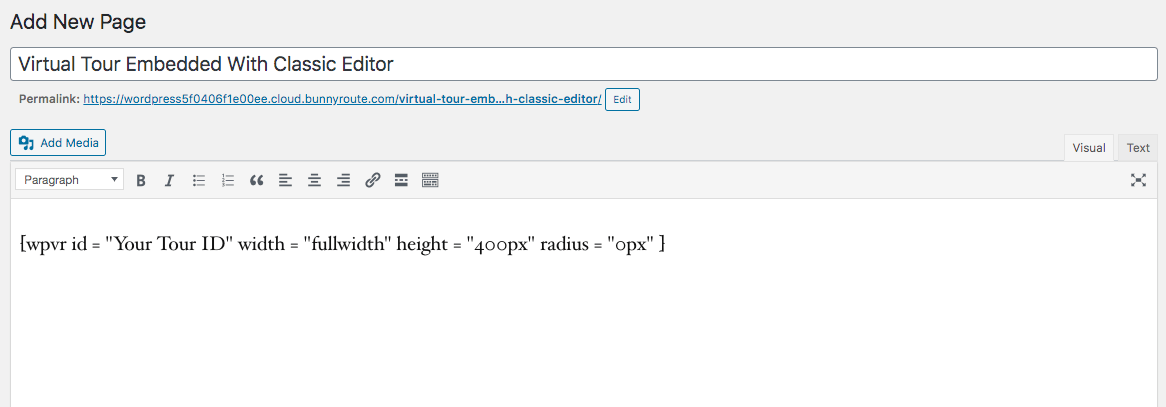
If you’re using the Classic Editor, you can use shortcodes to embed a virtual tour easily.
Using shortcodes is the simplest way to embed a virtual tour on your site using WP VR.
You can also control the width, height, and radius of your virtual tours by following the instructions here.
So, let’s get started.
Embedding A Virtual Tour Using Shortcode #
Once you have created and published a virtual tour, follow the steps below to embed it with a shortcode.
1. On the edit mode of your tour, you’ll find a section name For Classic Editor.

Here you’ll find the ID of your tour. Copy this shortcode.
2. On a page or post, page this shortcode.
3. Then you can modify this shortcode to customize the size of your tour like this:
[wpvr id = "Your Tour ID" width = "1200px" height = "400px" radius = "0px" ]
You can set the width of your tour as a percentage of your tour width size like this.
[wpvr id = "Your Tour ID" width = "90%" height = "400px" radius = "0px" ]
You can also set the tour width as the fullwidth of the page/post container like this.
[wpvr id = "Your Tour ID" width = "fullwidth" height = "400px" radius = "0px" ]
You can copy any of the formats from here and edit it to match your needs.
Apart from the Tour ID, there are three more elements you can use on your shortcode:
- Height
- Width
- Radius
Height: #
Set the Height of the tour as you desire like this:
- Only assign a positive numeric value which will be used as px. For example, 400.
- Do not use percentage or any text.
Width: #
Set the Width of the tour as you desire like this:
- Assign the width in pixels. For example: width= “600px”.
- Or, you can use a percentage. Example: 90%.
- If you wish the tour to be full-width of the page, then use the text ‘fullwidth’.
Radius: #
Radius is used to create round edges on the tour. Set the Radius of the tour as you desire like this:
- Only assign a positive numeric value which will be used as px. For example, 10.
- Do not use percentage or any text.
That’s it. Now you can Preview your Page/Post and see how the tour looks.
If you’re using Gutenberg Block, follow this documentation to embed a tour with the WP VR Gutenberg block.
If you’re using the Elementor page builder, follow this documentation to embed a tour with WP VR Elementor Widget.
If you’re using Oxygen Builder, follow this documentation to embed a tour with WP VR Oxygen Element.


