If you are new to WP VR, then the first thing to do is to create a simple virtual tour to understand how the plugin works.
Let me guide you to create your first virtual tour within 5 minutes.
Here, you will learn how to create a simple virtual tour with the most basic features, and I will show you how you can quickly embed it on a page or post.
Later, in upcoming documentation, you will get instructions on using all the other exclusive features to make the tour more engaging.
So let’s take the first step.
Create A Simple Virtual Tour #
Follow the steps below to create a simple virtual tour.
Initially, let us follow the very basic steps, without worrying about extra features.
It’s simple, you just need to
- Name the tour
- Upload panoramic image
- Publish tour
Now follow the steps below to create the tour.
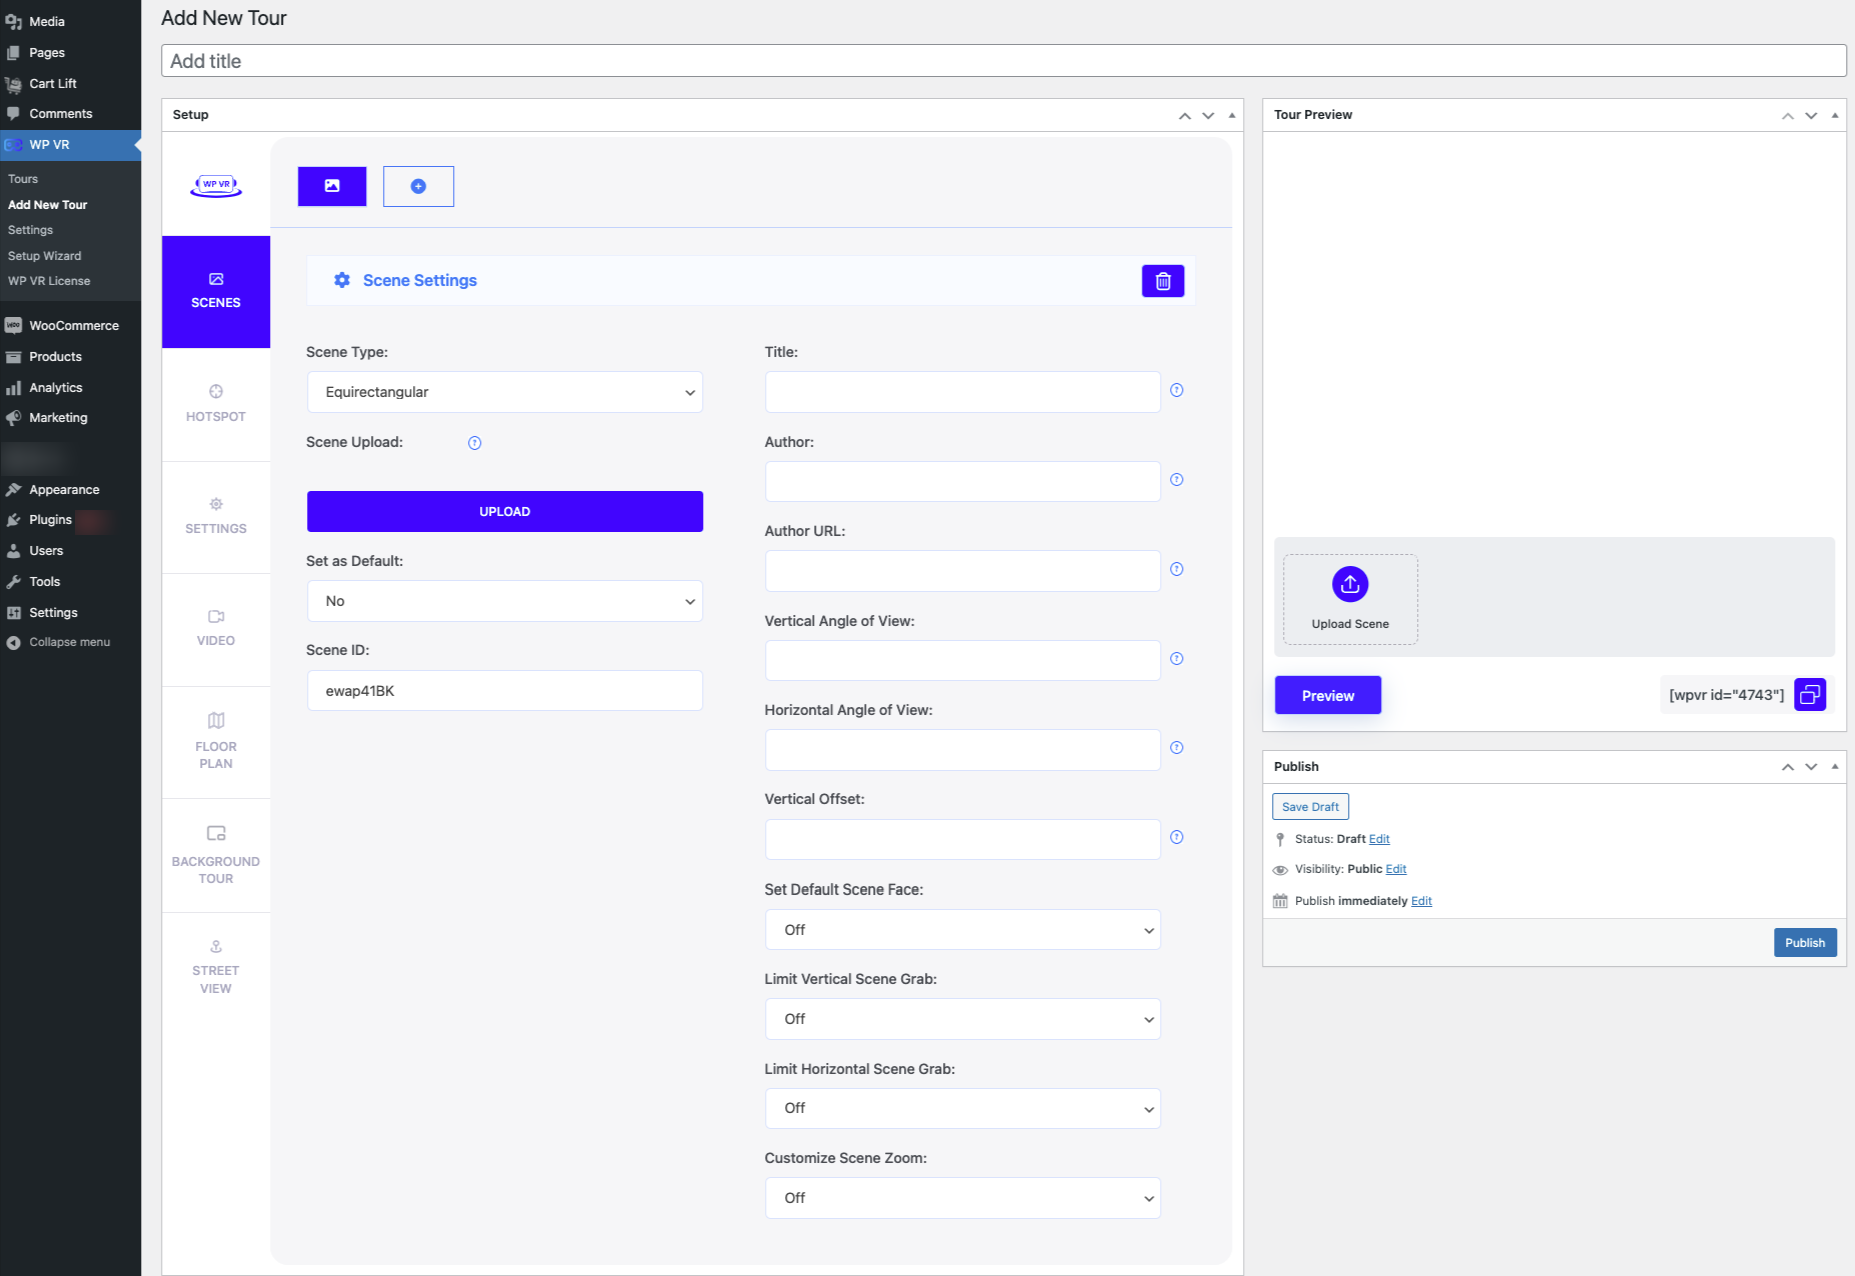
1. Go to your WordPress Dashboard > WP VR > Add New Tour.

As you can see, it will take you to the page where you can start creating a virtual tour.
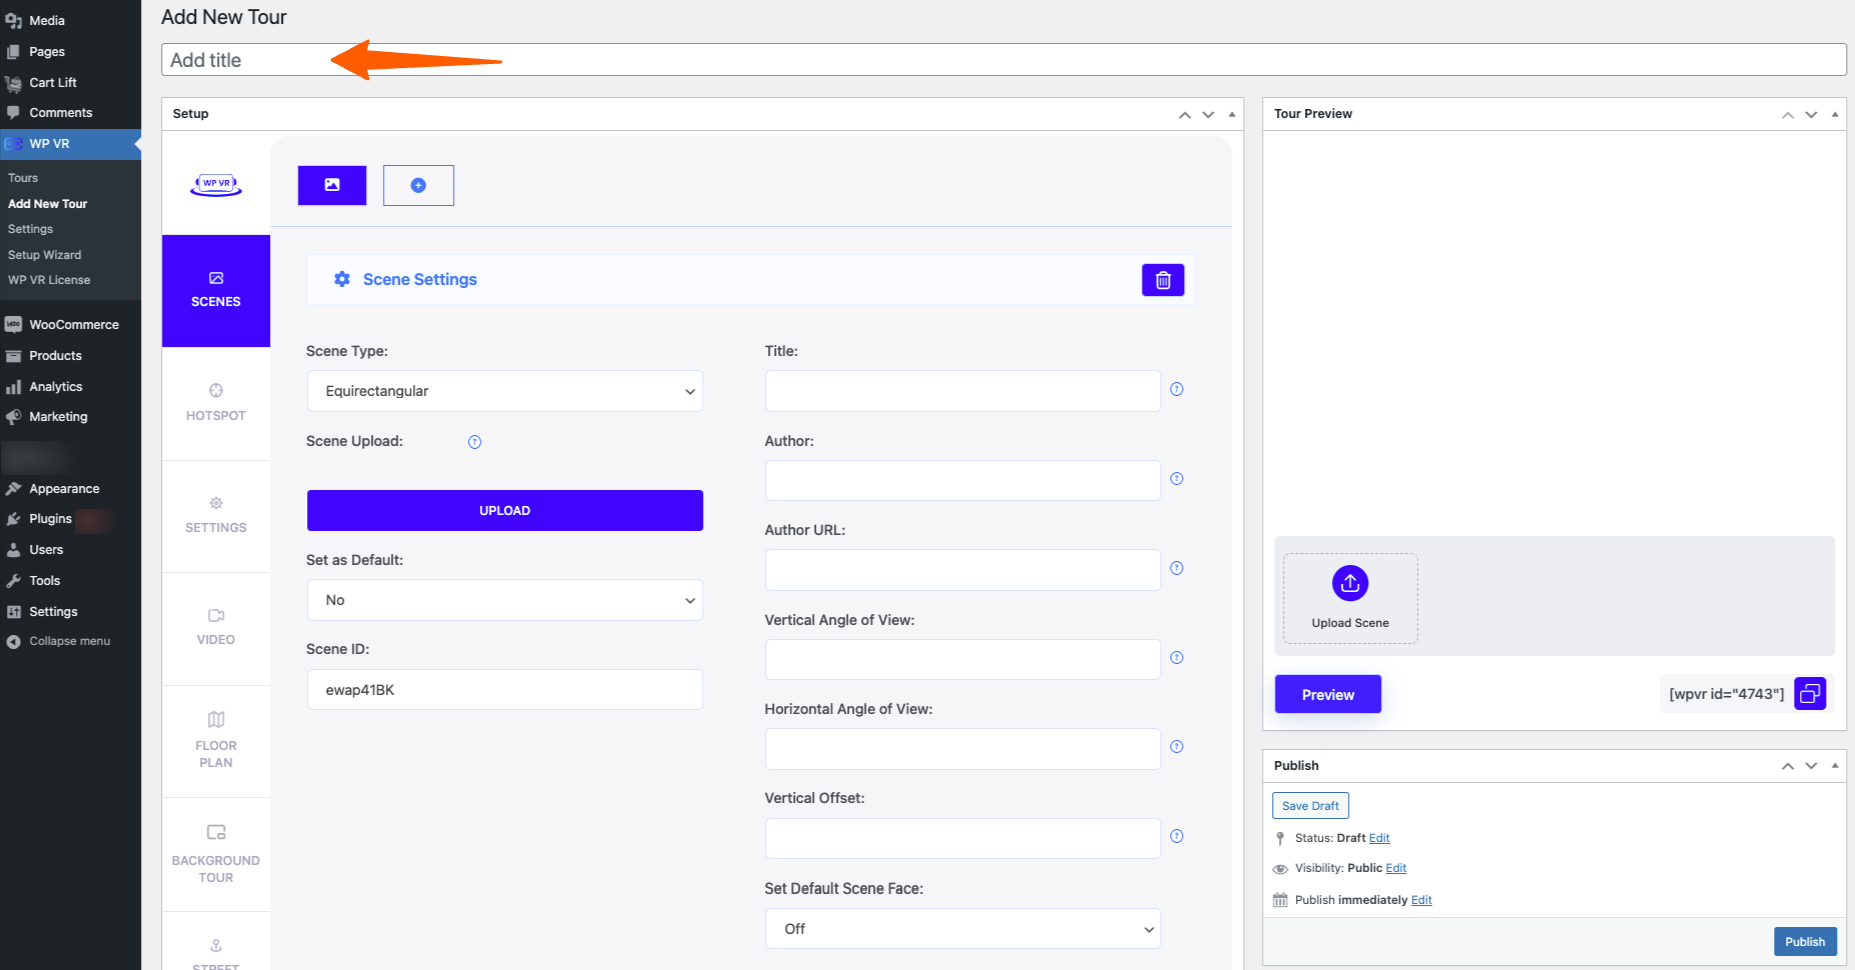
2. On top, you will get to add a title to the tour.

You can set this scene as your default scene.
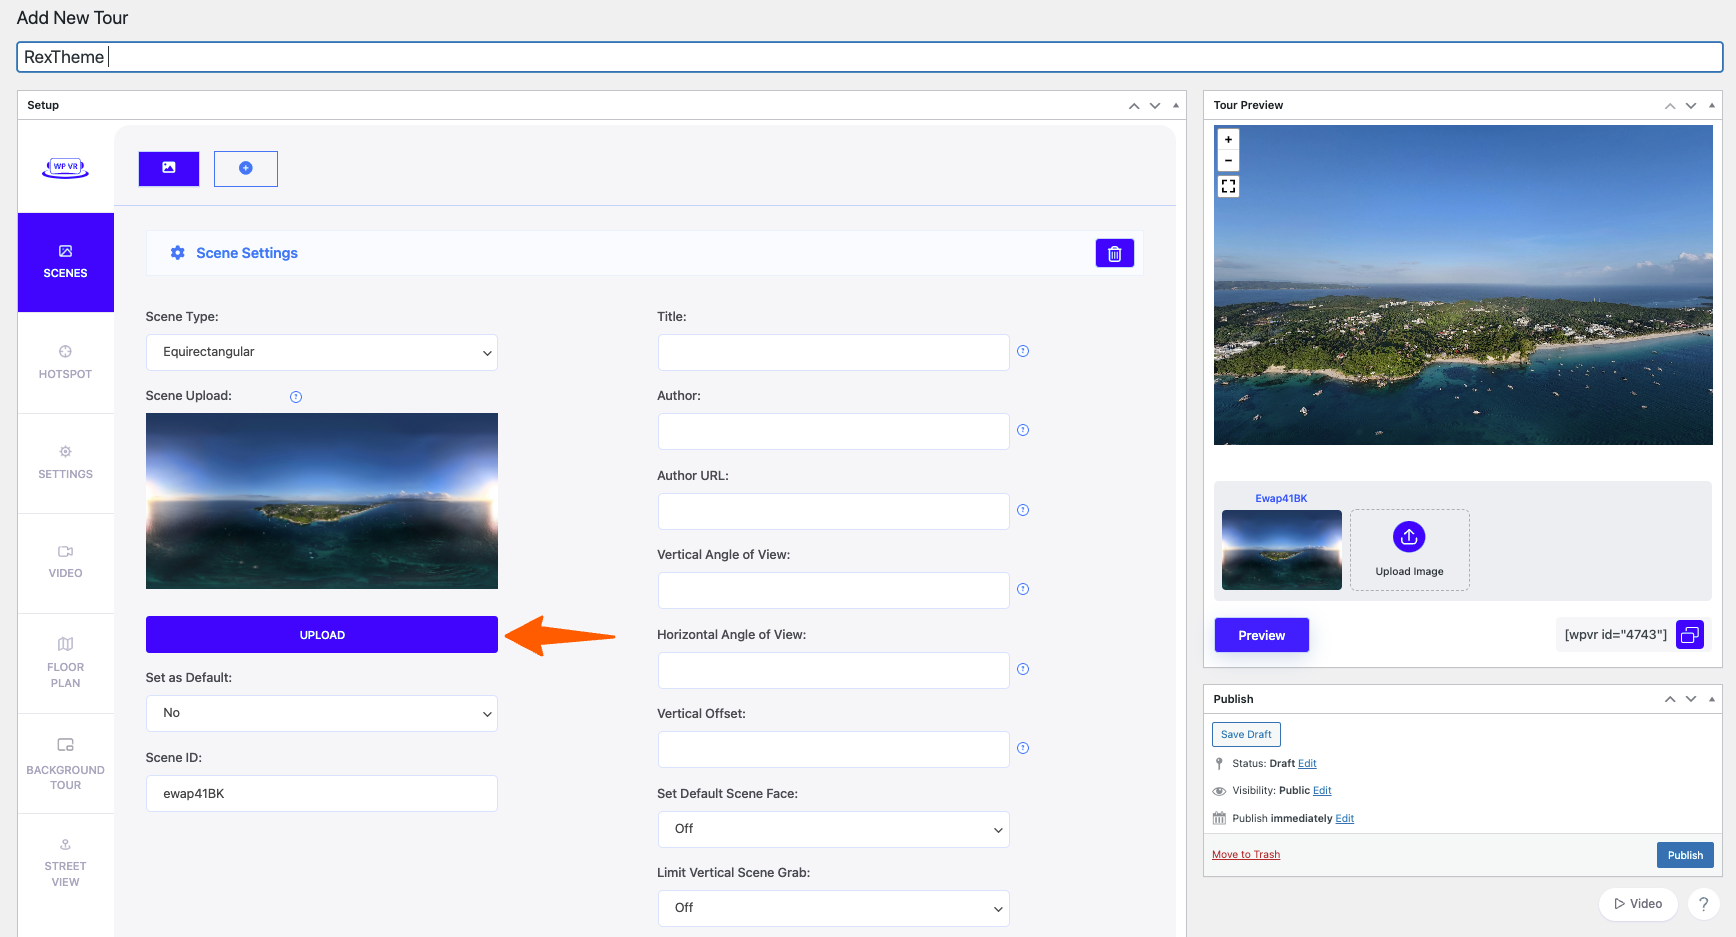
3. Click on the Upload button and upload a 360 panoramic image.

Once uploaded, a thumbnail will appear.
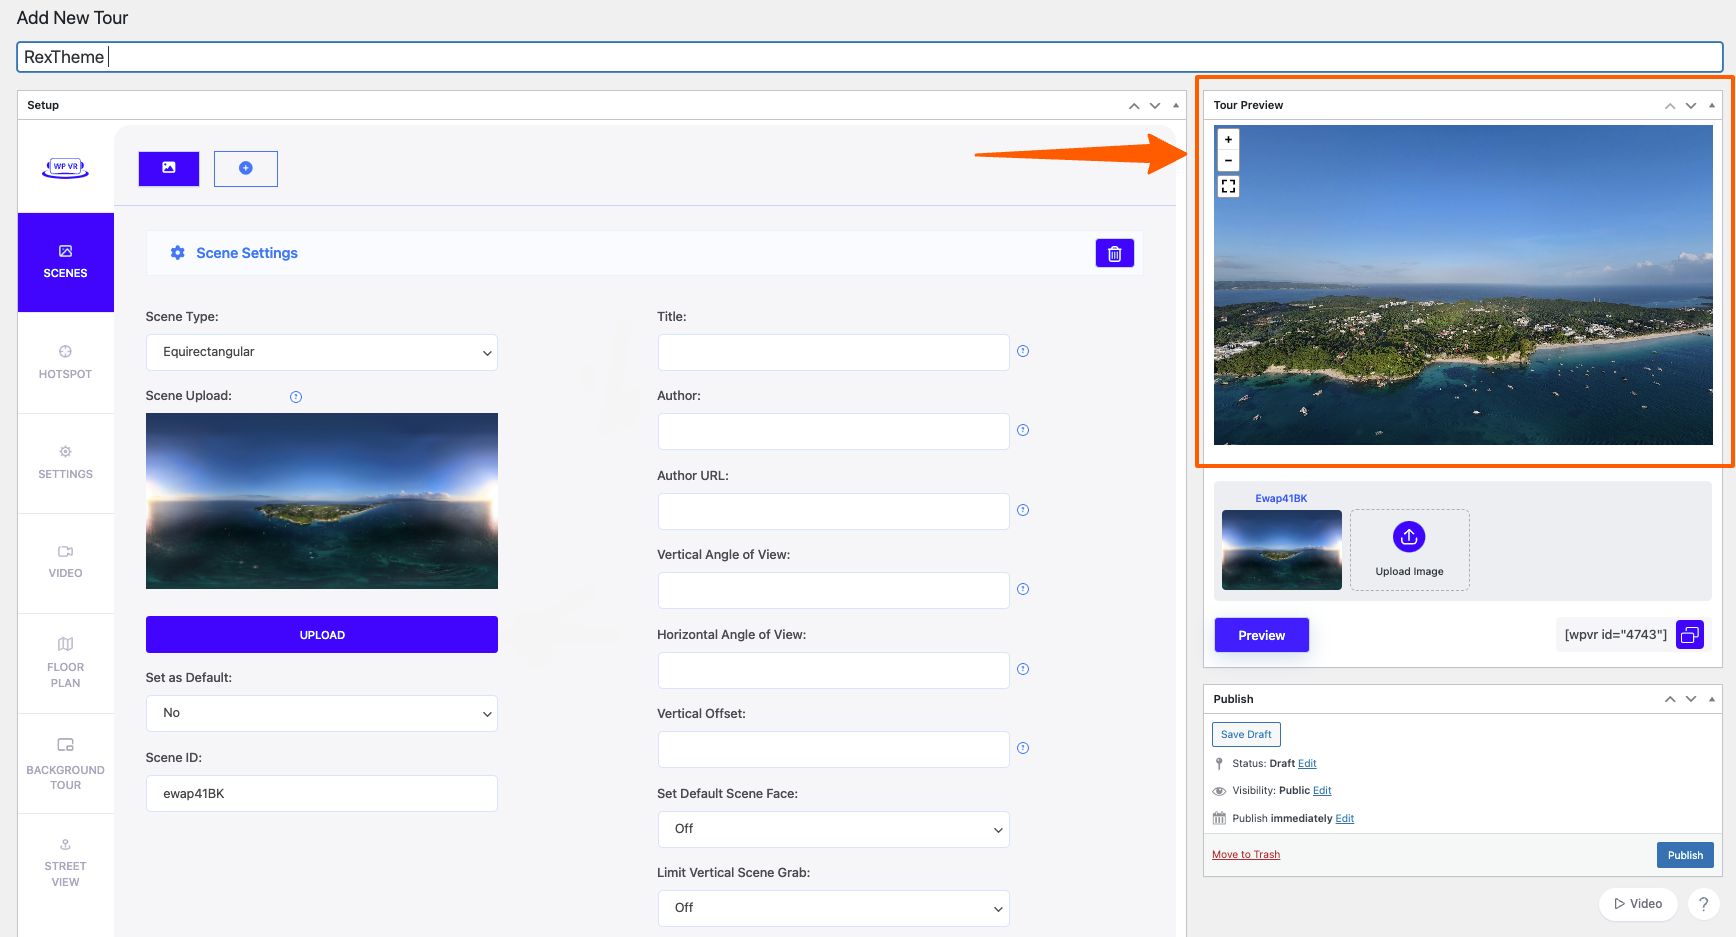
You’ll see a live preview of the tour in the Tour Preview section on the right side.

4. Simply click on the Publish button on the right side and that’s it. The tour is ready to be used.
There you go. You just created your first virtual tour in less than 2 minutes!!
The next thing to do is to embed this virtual tour on a page or post.
Embed The Tour On Your Website #
It’s really easy to embed a virtual tour on your website.
You can embed a virtual tour in 3 ways:
- WPVR Gutenberg block
- WPVR Elementor Widget
- Shortcode
You can control the width, height, and radius of your virtual tour as well.
Read this next guide to easily embed your virtual tour on a page or a post with whichever method you require and see how it looks.