You can Embed your self hosted videos from your WordPress Media Library on the hotspots of your virtual tours using WPVR.
Follow these steps to embed a self-hosted video on a hotspot:
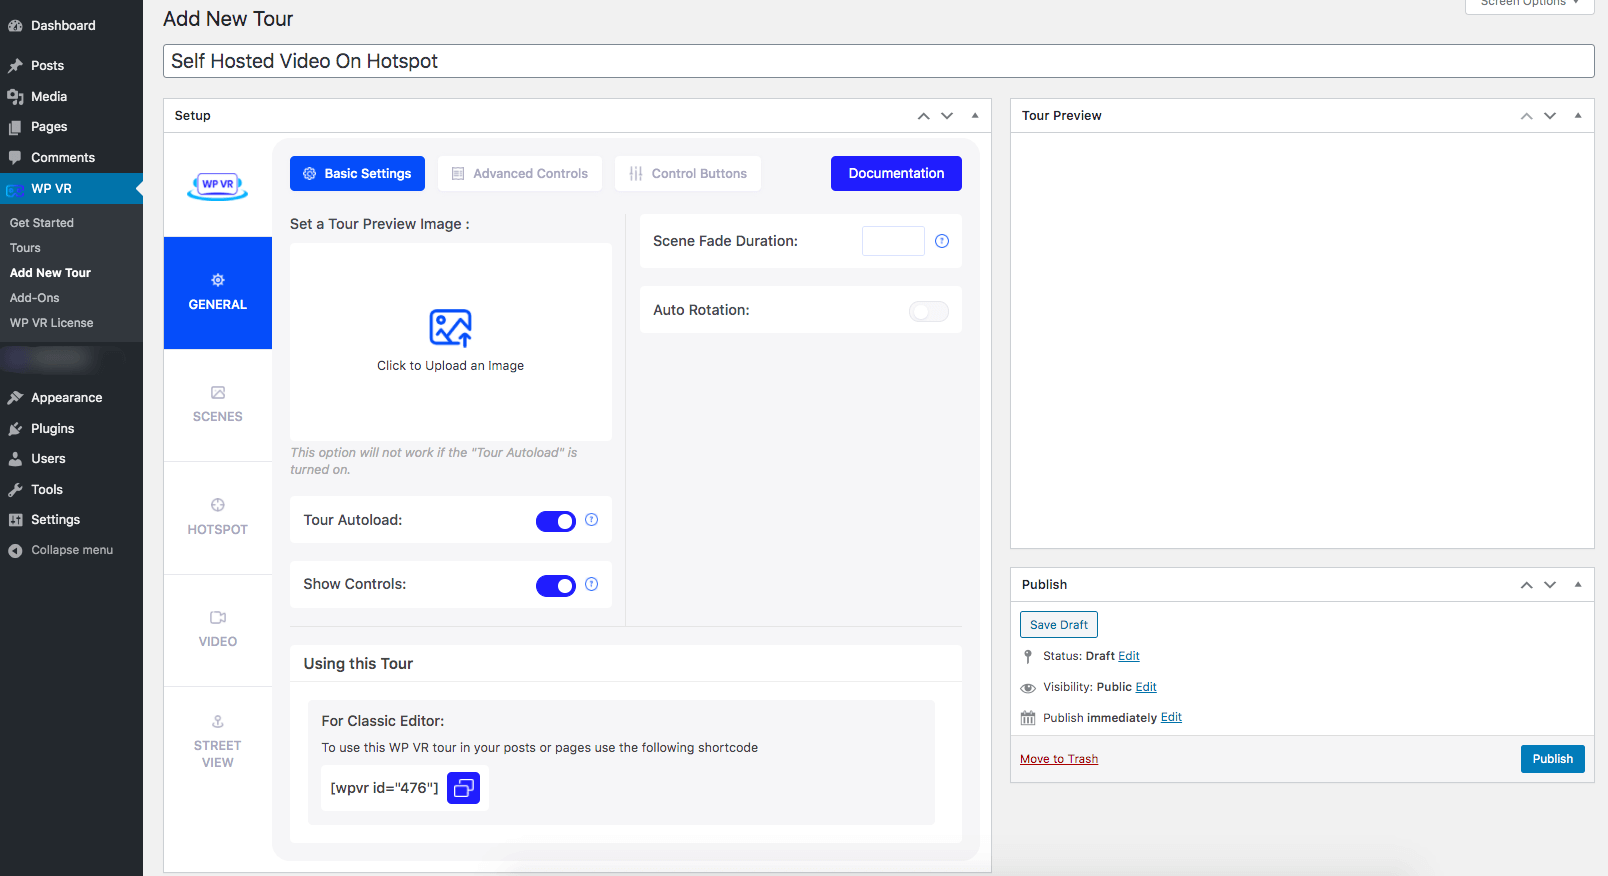
Step 1: Create A Virtual Tour #
Click on the WPVR tab on the left side panel of your WordPress dashboard.
Choose to edit one of your old tours or Add a new Tour.
Step 2: Set Up Hotspots #
Make sure you’ve uploaded a valid scene and filled out all other requirements for successfully creating a virtual tour.
Go to the Hotspot section, edit an already existing hotspot, or create a new one.
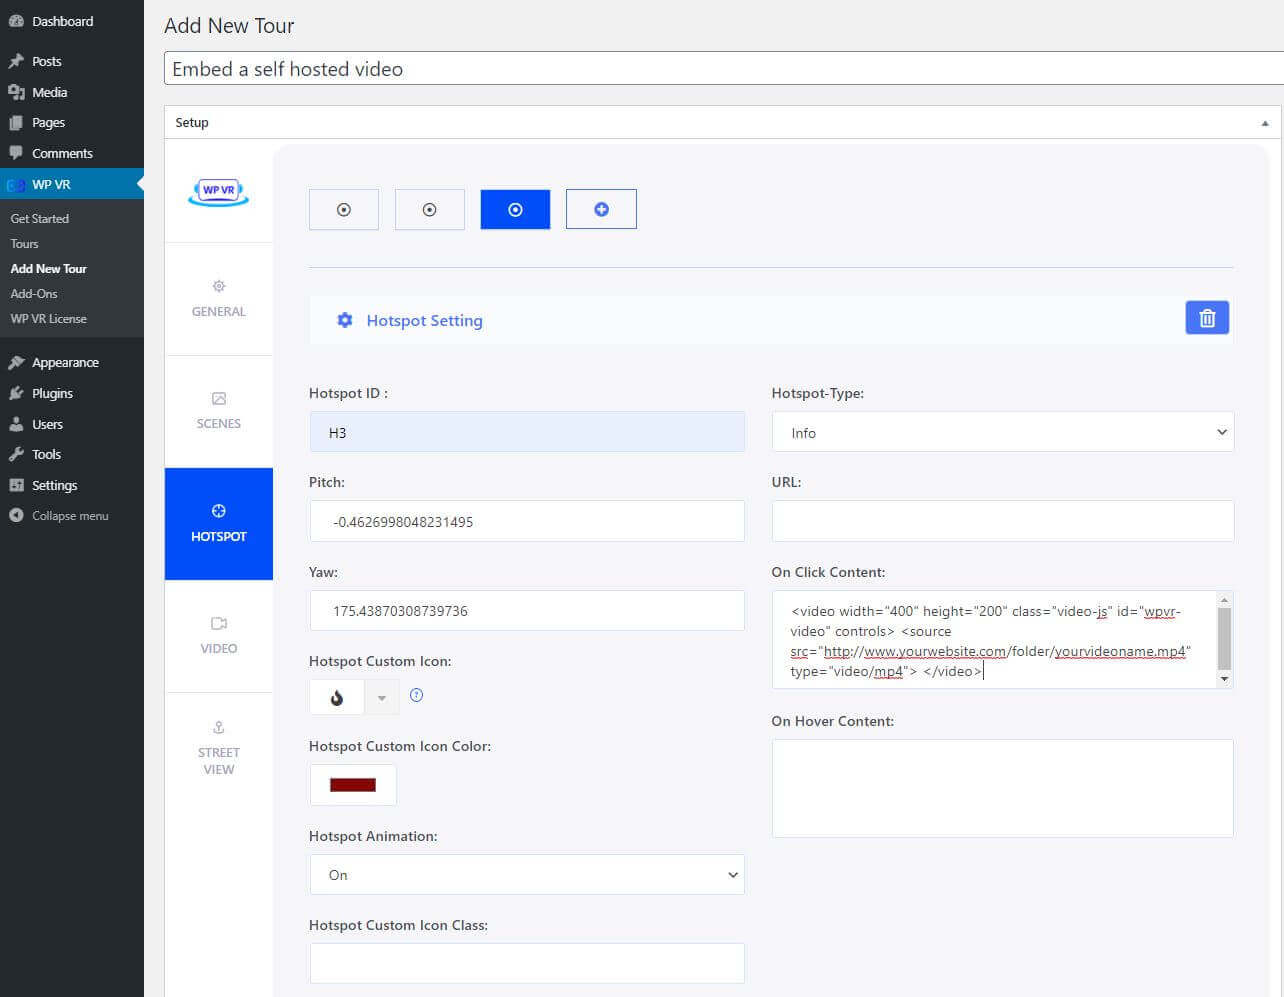
-> Set a Hotspot ID.
-> Set Pitch and Yaw of your desired hotspot location on the scene.
-> Set the Hotspot-Type as Info.
-> Apply other customizations as you need.
Now, in the On Click Content field, paste this small piece of code:
<video width="400" height="200" class="video-js" id="wpvr-video" controls>

<source src="http://www.yourwebsite.com/folder/yourvideoname.mp4" type="video/mp4">

</video>
On the source src field, you have to place the URL of your self hosted video file.
Step 3: Embed The Self Hosted Video #
Go to your WordPress media library.
To find the link to the video, open the WordPress media library on a new tab.
Now find or upload the video you want to choose and click on it. Below you will find the video link.
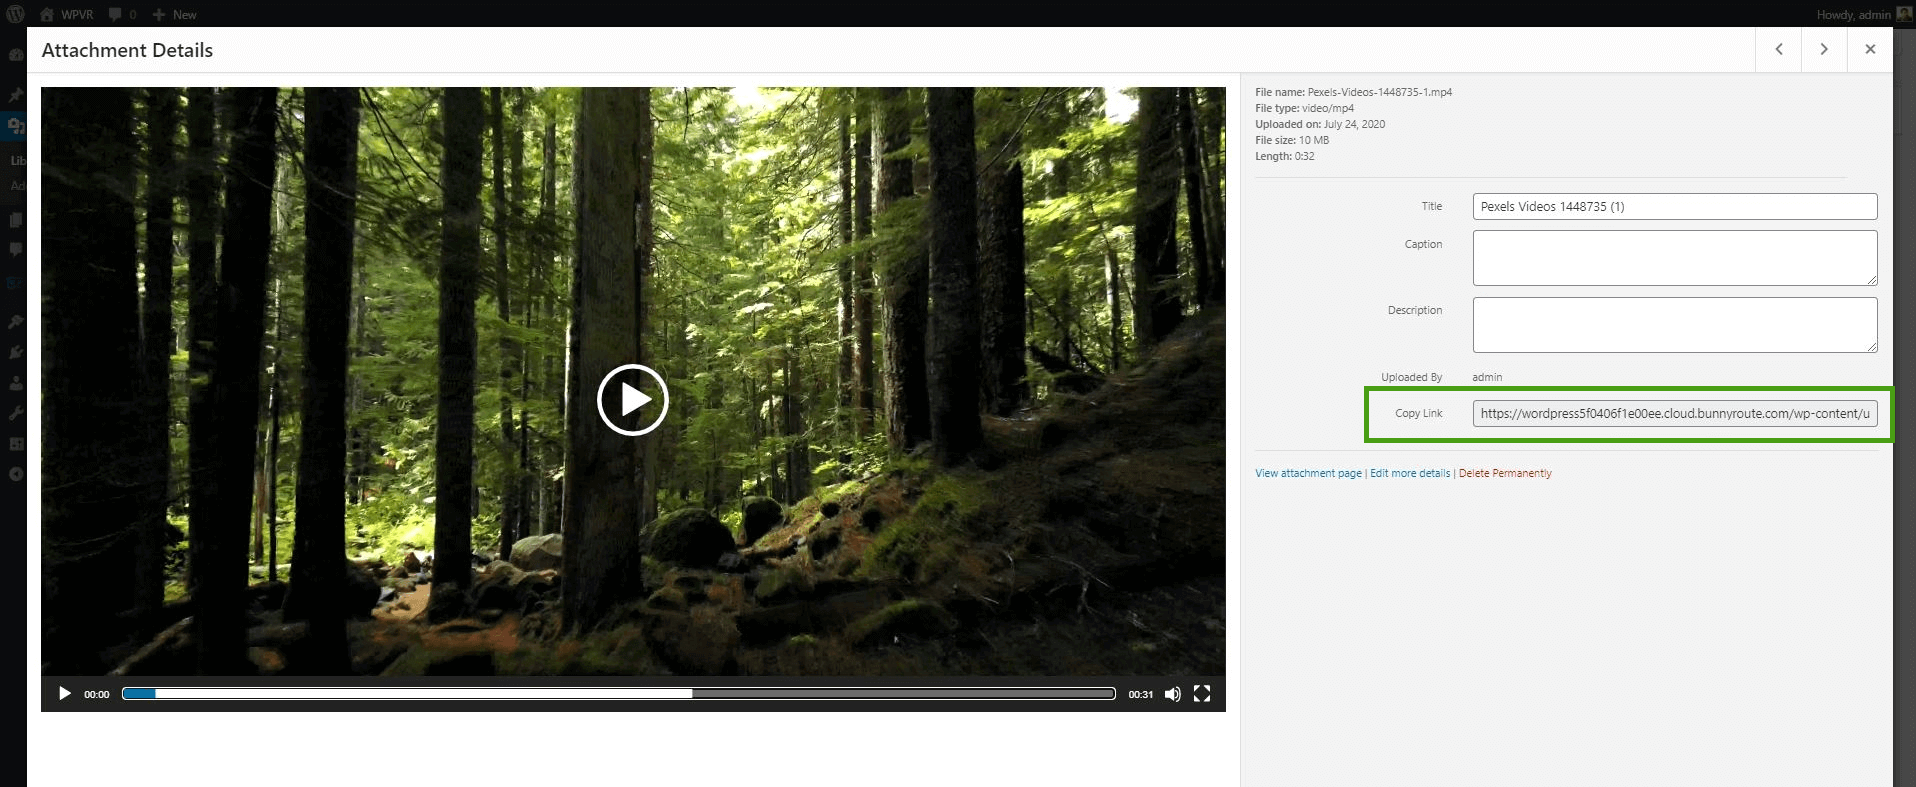
Click on the Copy Link button beside its URL.
Go back to the Hotspot section on the tour editing mode.
Paste this URL on the place of source src.

Publish the tour and post it on your website.
This is how the hotspot will appear on your virtual tour:
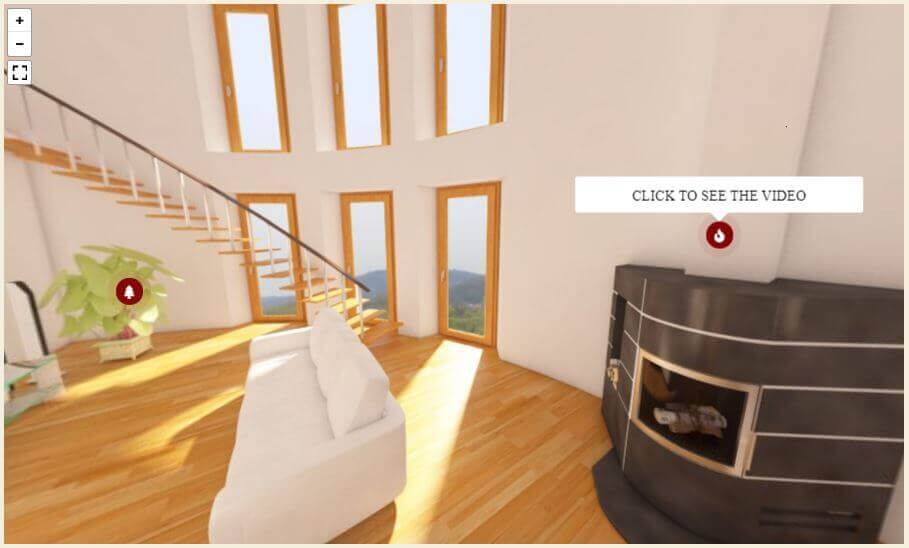
If you click on the hotspot, the video will appear:
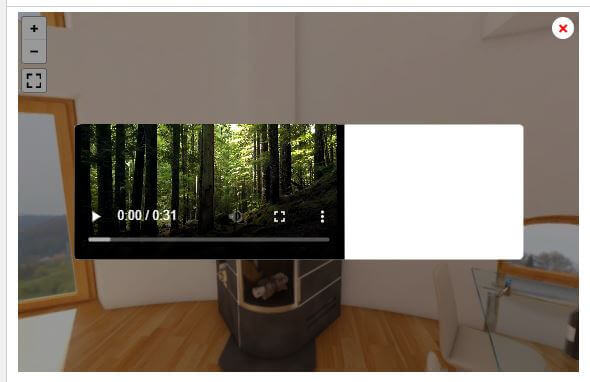
You can play, pause, mute, and apply other controls in this video.