Here’s a quick plugin overview of WP VR.
After you have installed and activated the plugin, click on the WP VR menu on your dashboard.

As you can see, under WP VR, you will get the following sub-menus:
- Tours
- Add New Tour
- Analytics
- Settings
- Setup Wizard
- WP VR License
1. Tours #
Next is the sub-menu Tours.

All the virtual tours you create and publish or save to draft will be listed here.
Here, for each tour you can see:
- Title – The title of the tour you set.
- Thumbnail – First Scene you select for the tour.
- Shortcodes – The shortcode generated for this tour.
- Type – Type of the tour info will be shown.
- Author – The user who created the tour.
- Date – The date and time the tour was published/modified.
Here, you can copy the shortcode of a tour and use it to embed that tour on a page or post.
**You can only embed published tours. Even though drafted tours have shortcodes generated, they will only work when published.
When you hover the mouse on a tour, you will get a few general options.

Clicking on Edit will take you to the tour edit page.
Clicking on the Duplicate button will create a copy of the tour and take you to the edit mode of the copied tour.
2. Add New Tour #
Going to Add New Tour means you will start creating a new tour.
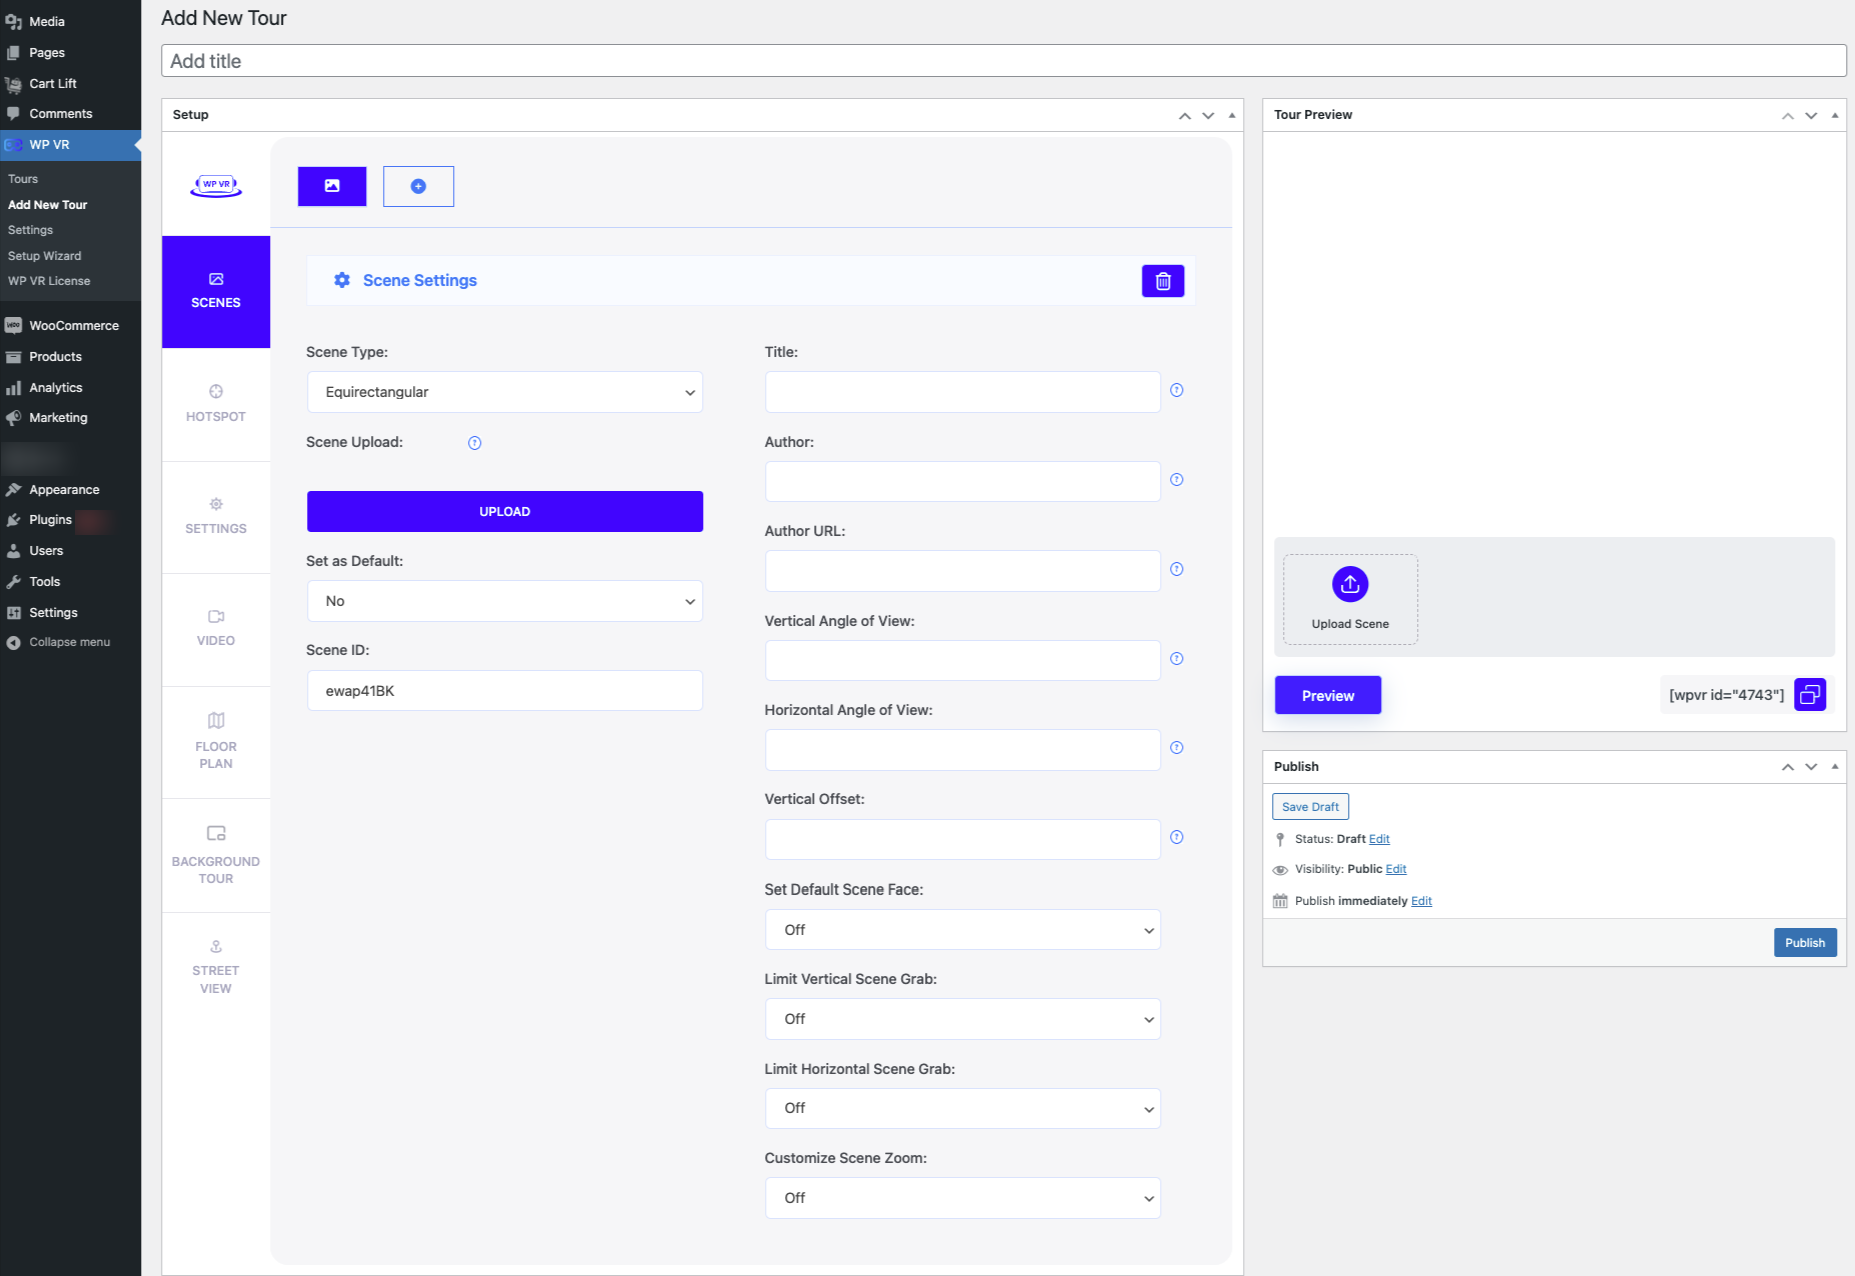
This is where you use all the features to create a virtual tour.
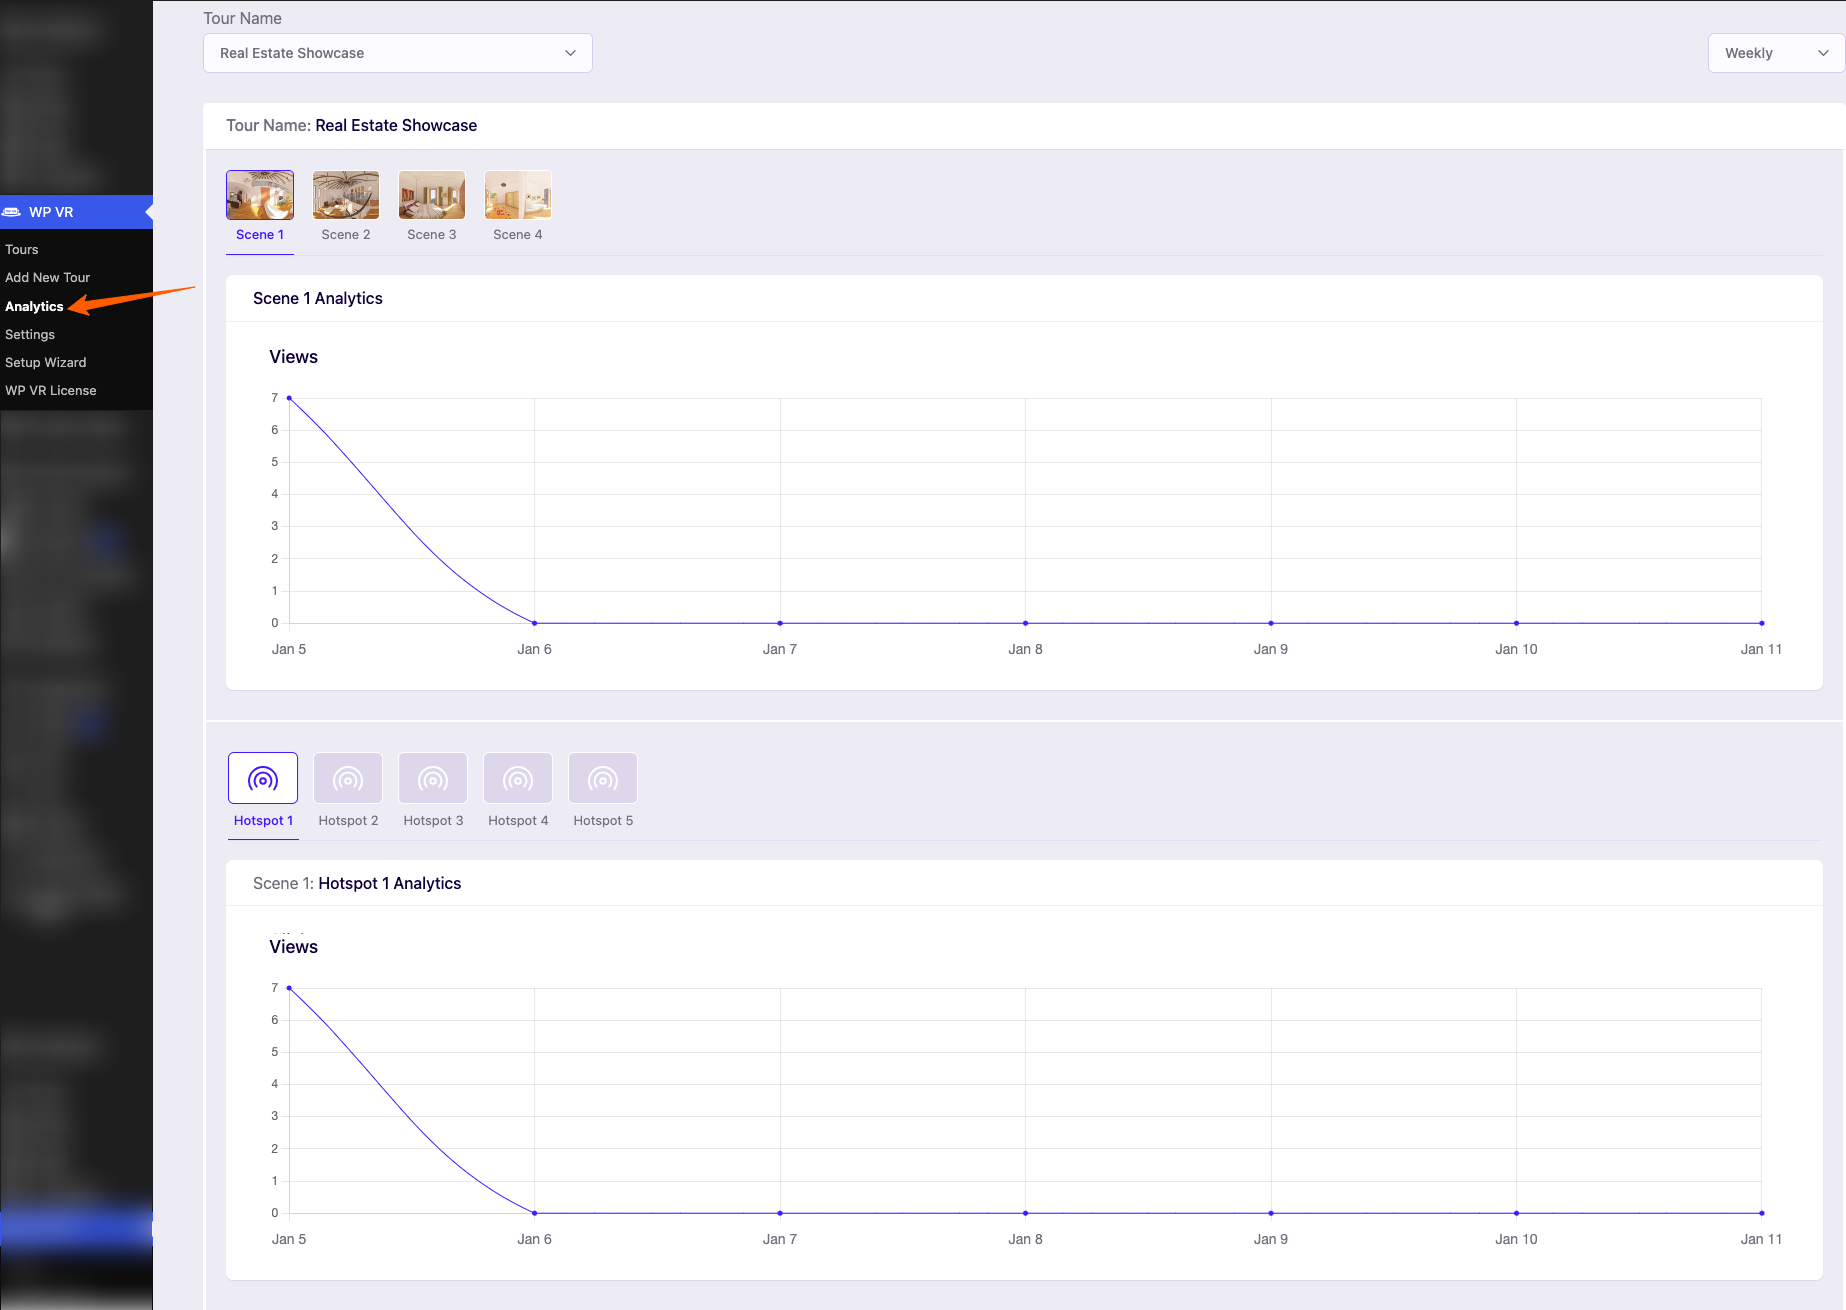
3. Analytics #
In the Analytics section you will see the detailed insights into how users interact with your virtual tours. In this section, you can track engagement across scenes and hotspots, including:
- The number of visitors who viewed each individual scene
- How visitors interacted with and clicked on specific hotspots on a scene.
This data helps you understand user behavior, measure engagement, and optimize your virtual tours for better results.
4. Settings #
In the Settings tab, you will get several important settings and features.

Here, you will be able to assign roles such as the Editor or Author to someone in your team to be able to modify or create tours other than yourself (the admin).
You can also disable Fontawesome icons from the plugin, disable WordPress default large image handler, and set it up so that only selected pages will load Scripts from the plugin.
The IMPORT tab will let you import an external virtual tour created using WPVR.

For example, if you have a second site, and you created a great virtual tour on that site. Let’s say you want to embed that virtual tour on this website as well. Then you can simply export that tour using WPVR and then import it here using this option.
4. WP VR License #
When you upgrade to pro, this is where you need to come to input the license key and activate it to use all the Pro features.
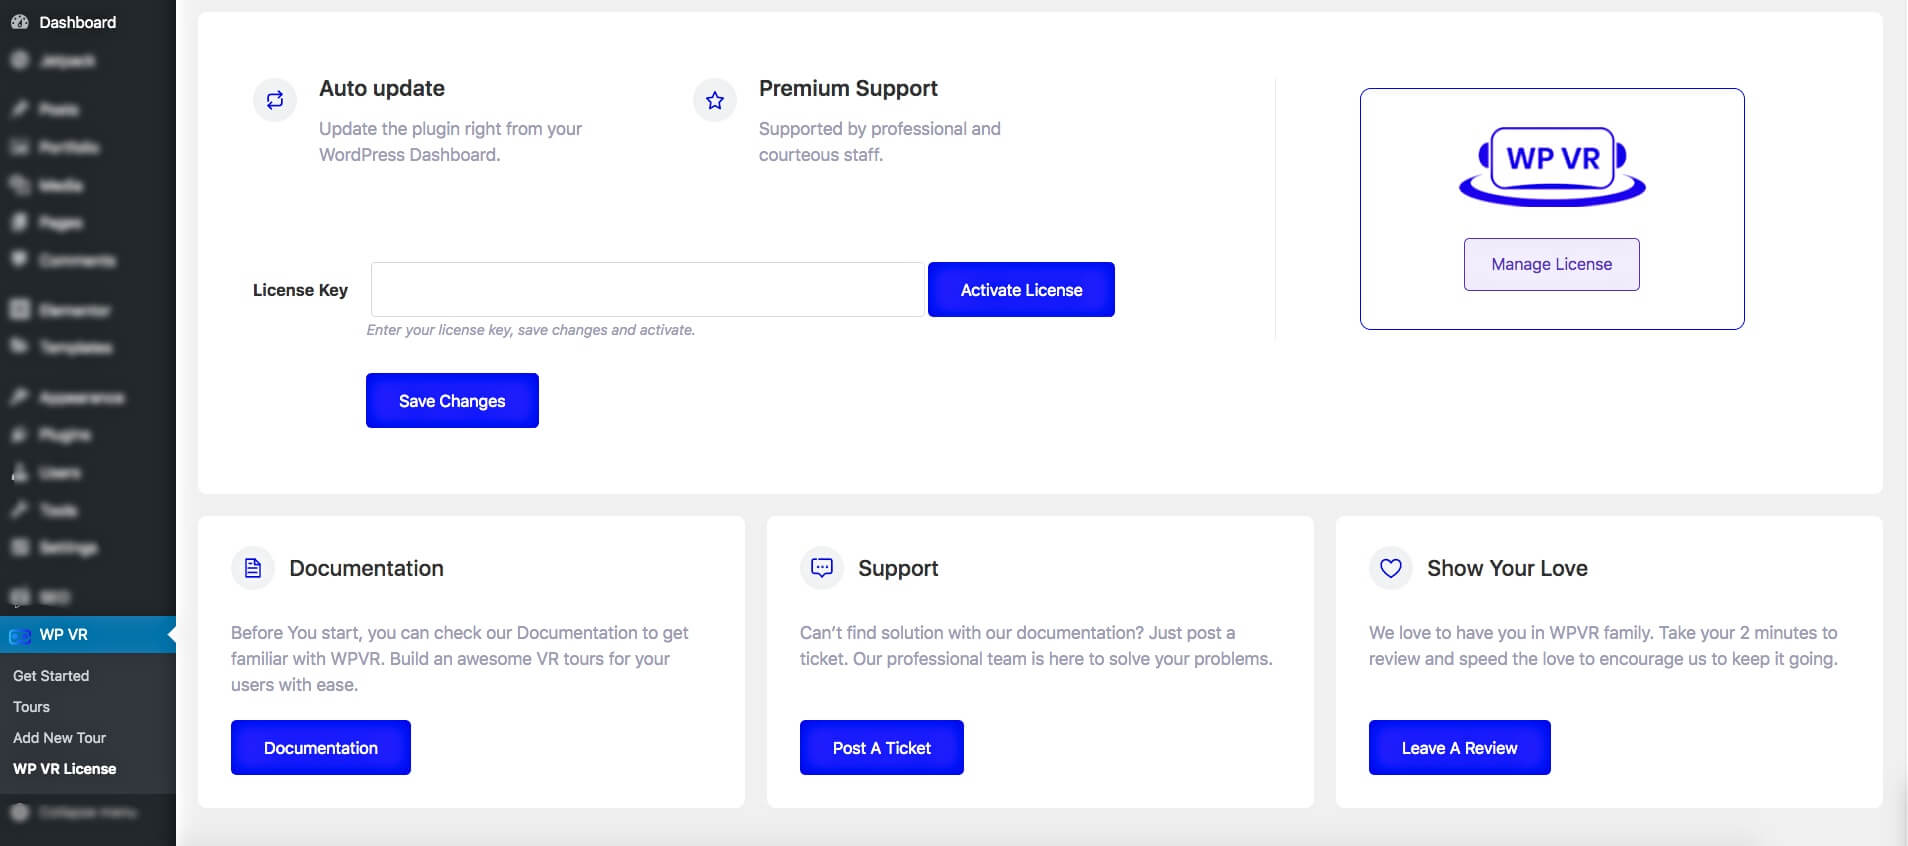
Here’s how you can upgrade to Pro and activate the license.
Now, that you got an overview of the plugin, now let us move to learn about all the features that you will wish to create a virtual tour.