
Are you using WP VR (the popular 360° panorama and virtual tour plugin for WordPress) and want to go beyond the built-in Font Awesome or custom icons? This step-by-step tutorial shows you exactly how to add custom hotspot icons of your choice using a simple CSS snippet. Perfect for branding your virtual tours with unique icons!
WP VR makes it easy to create immersive 360-degree virtual tours, and customizing hotspots with your own icons adds a professional, personalized touch—great for real estate, travel sites, product showcases, or any WordPress site featuring panoramic views.
Why Use Custom Hotspot Icons in WP VR? #
- Stand out from default icons.
- Match your brand’s style perfectly.
- Use high-quality PNGs or SVGs for transparency and sharpness.
- Maintain a circular (or custom) shape for hotspots.
This feature works in both the free and pro versions of WP VR.
Using Custom Hotspot Icons Of Your Own Choice #
You may not wish to use Fontawesome icons, rather, let’s say you wish to add an icon of your own choice. In that case, you need to use a certain code snippet.
Follow the steps below to see how it works.
1. Select and Upload Your Custom Icon
Choose a small, icon-sized image (recommended: 26×26 pixels or similar for best results).
Use a PNG with a transparent background if you want to apply custom background colors.
Upload the image to your WordPress Media Library (Dashboard > Media > Add New).
Copy the image URL (right-click the image in the library and select “Copy link address”).
Tip: Avoid large images—the plugin won’t automatically resize them. Pre-size your icon for optimal performance and appearance. choice on your website.
Let’s say I want to use the following icon:

2. Create the Custom CSS Snippet
Use this code template, replacing ‘your image URL’ with your uploaded icon’s URL:
.custom-icon {
        height: 26px;
        width: 26px;
        background-image: url('your image URL');
        border-radius: 12px;
        background-size: 100% 100%;
        background-repeat: no-repeat;
        background-position: center center;
}- .custom-icon is your class name—feel free to change it (e.g., .my-brand-hotspot).
- Adjust height, width, and border-radius as needed.
- For a square shape instead of circular, set border-radius: 0; (note: WP VR applies a high border-radius by default for circular hotspots, but your CSS can override it).
** Here are few things to note:
- If you use a large image, it will not be resized to an icon size. So use an image that is already in the right size for an icon.
- The background color of a custom icon can only be changed if the uploaded image has a transparent background (e.g., PNG format). So if your custom icon has a solid background, background color styling will not show any effect.
- You may choose to use height, width, and radius of your own choice, but we recommend you to use the values used in this code snippet.
- Custom icons are rounded by default, as the plugin applies a high border-radius percentage to maintain a circular shape. However, You can change the shape of your custom icon (e.g., to square) by modifying the border-radius property.
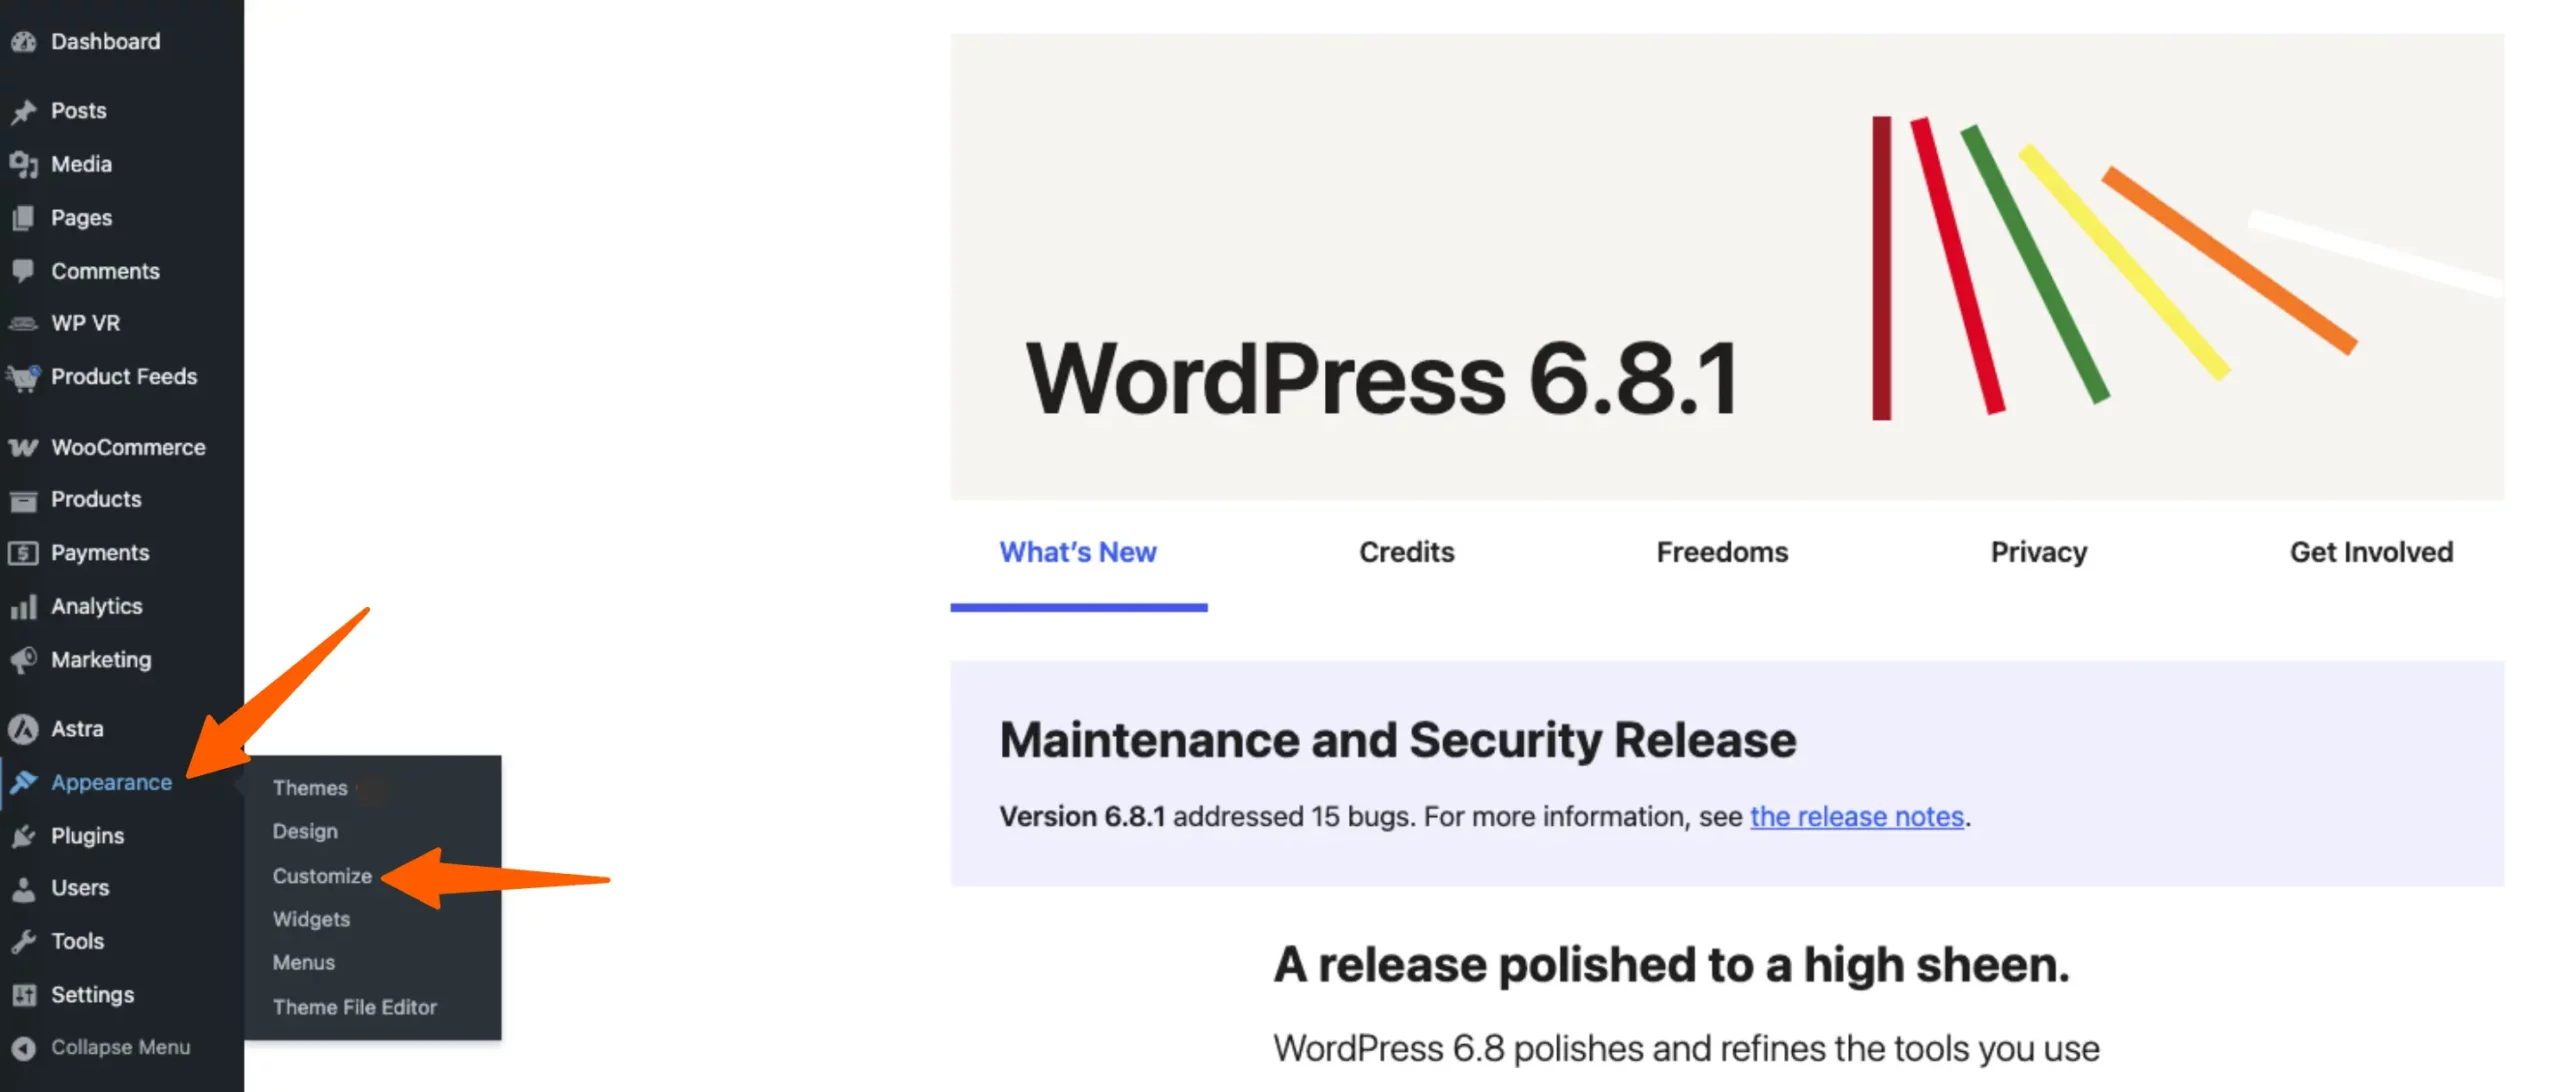
3. Go to Dashboard > Appearance > Customize.
Here go to the Additional CSS section and paste the code snippet you just prepared.
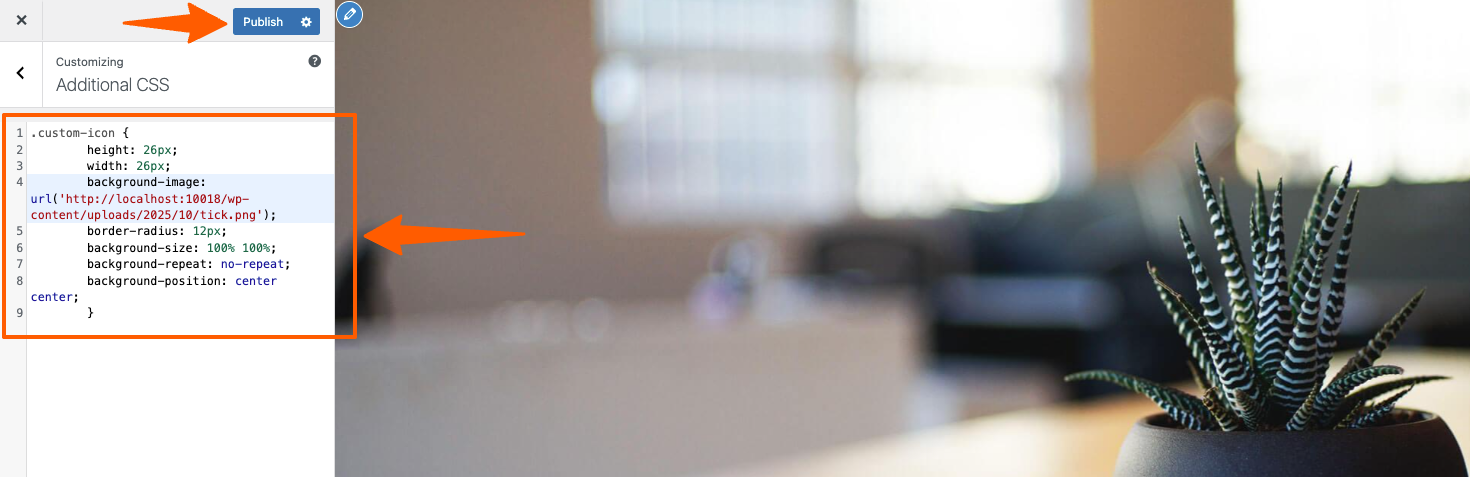
Then Publish/Save it.
4. Next, go to the Tour you created and go to the hotspot settings of the hotspot for which you want to use this icon.
Here, you will find an empty field for Hotspot Custom Icon Class.
5. Input the name of the class, which you used for that snippet, in this field. In case of the example I used, the class name is “custom-icon”.
** Please note that in the Preview window the Custom Icon will not be reflected.
6. Publish and Preview Your Tour
Now, Publish the tour and embed it on a page/post. Then Preview the page/post to see that the hotspot icon has been replaced with the icon you selected.
- Embed the tour on a page or post using the WP VR shortcode, Gutenberg block, or page builder widget.
- Preview the live page to see your custom icon in action!
(**Click here to learn how to embed a virtual tour on a page/post)
**These customizations are based on each hotspot. So if you want to customize a second hotspot, you need to select that hotspot and then use these customizations.
That’s it. That’s how you can customize hotspot icons and color.