In this WP VR lesson, follow the steps below to add a scene or multiple scenes to get started with creating your virtual tour.
Add A Scene To Your Virtual Tour #
1. Go to Dashboard > WP VR > Add new tour.

It will take you to this page where you can start creating your virtual tour.
2. Add a title to the tour.

3. Click on the blue Upload button and upload a 360 panoramic image.

This is where you upload the scenes for your virtual tour. Once uploaded, a thumbnail will appear.

4. Change the Set as default to Yes.

This will mean that this scene will be the starting scene or the default scene of the tour, in case you add multiple scenes.
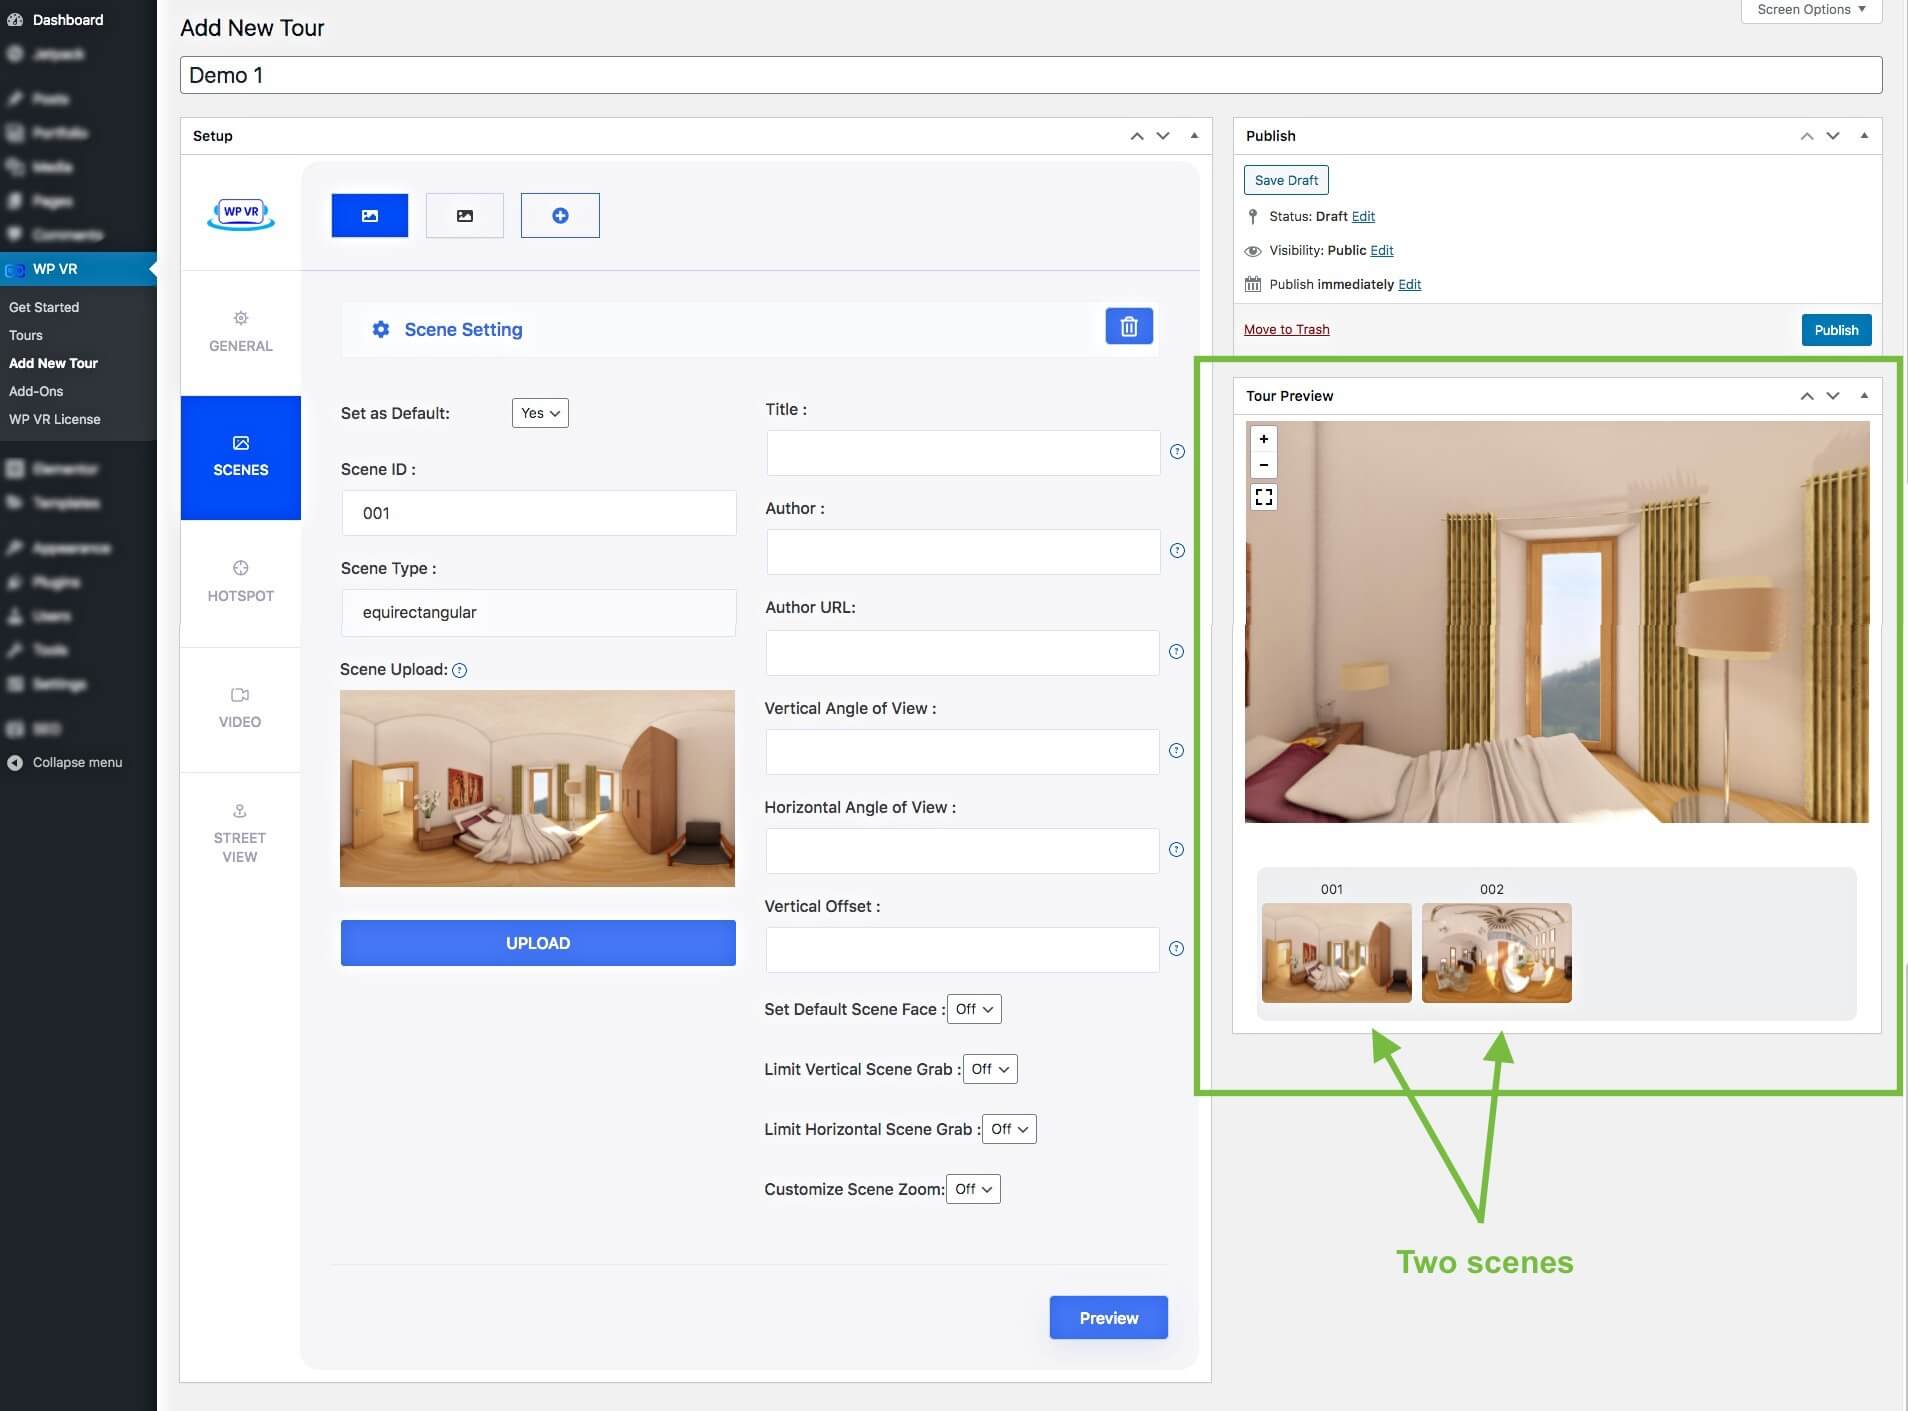
5. Now, click on the Preview button below.

You will see the image has been converted to a virtual and you can get a preview tour on the right side.
6. If you wish to add another scene, simply click on the (+) plus icon above and a blank new scene page will appear. Then follow the same process.

7. You can go back to the 1st scene by clicking on its respective icon above.
You will see on the preview tour, you are on the 1st scene or starting scene (because you set it as default), and there are two scenes in the gallery below the preview tour.
That’s it. You now know how to add scenes to your virtual tour.
Now on the right side, you can see a number of features. I’ll explain them to you in the next lesson.