Adding a Custom Field in Checkoutify allows you to collect additional information from customers during checkout, such as preferences or special instructions.
This guide will walk you through the simple steps to create and customize a custom field, giving you the flexibility to tailor the checkout process to your business needs.
So let’s get started.
Customize WooCommerce Checkout Page #
Once Checkoutify Pro is activated, hover on WooCommerce in your WP dashboard and click on the Checkoutify tab. It will take you to the Checkoutify Dashboard.

Once you already created your custom checkout using Checkoutify, this guide will show you the customization of the Order Bump.
Here’s a guide to learn how you can customize your checkout using Checkoutify.
Creating A Custom Field #
Now let’s start creating a Custom Field for the checkout.
1. On the checkout customization page you will see the button ‘New Field’.

2. Click on the ‘New Field’ button and a popup window will open to create and configure the new field.

3. Here you’ll find options to customize the new field. Such as
Field Type:
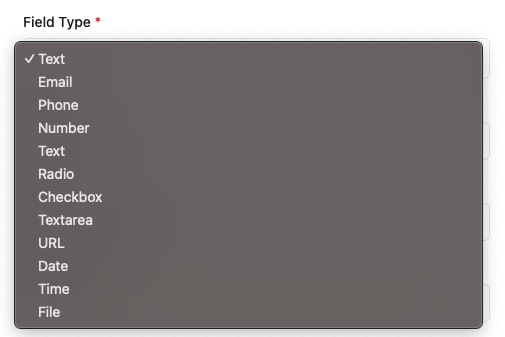
In the Field Type you will find
- Text Field
- Email Field
- Phone Field
- Number Field
- Radio Field
- Checkbox Field
- Text Area Field
- URL Field
- Date Field
- Time Field
- File Field
Label: The Label which will be displayed for your custom field (Example: Full Name)
Name: The unique identifier for your custom field (Example: billing_FullName)
Placeholder: The placeholder text that you want to show on your field
Validation: Rules that make sure the data entered in a form field is valid, properly formatted
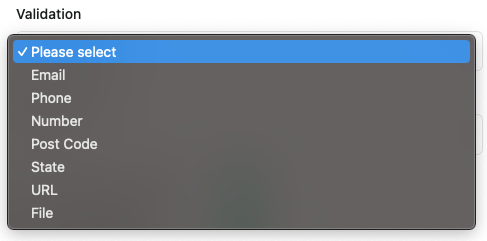
Types of Field Validation:
- Email: Ensures the entered text is a valid email address.
- Phone: Ensures the entered number is a valid phone number
- Number: Ensures only numeric values are entered
- Post Code: Ensure the entered postcode is a valid number
- State: Ensures a valid state/province is entered or selected
- URL: Ensures the input is a properly formatted web address
- File : Ensures uploaded files meet required criteria. The Maximum File is currently 2MB
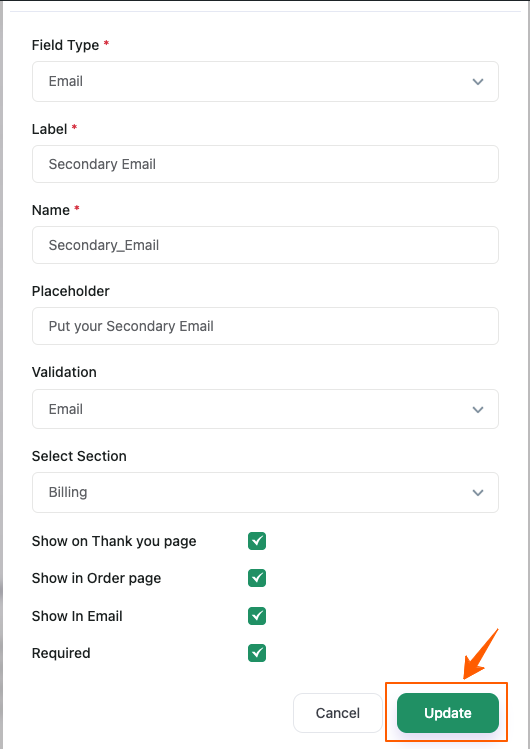
4. Once the editing is completed, click on the Update button and that’s it. I have created a sample custom Secondary Email Field in this case
5. Just Drag and drop your Custom Field in the Section you want it to be. And click the Update Button at the Top Right Corner
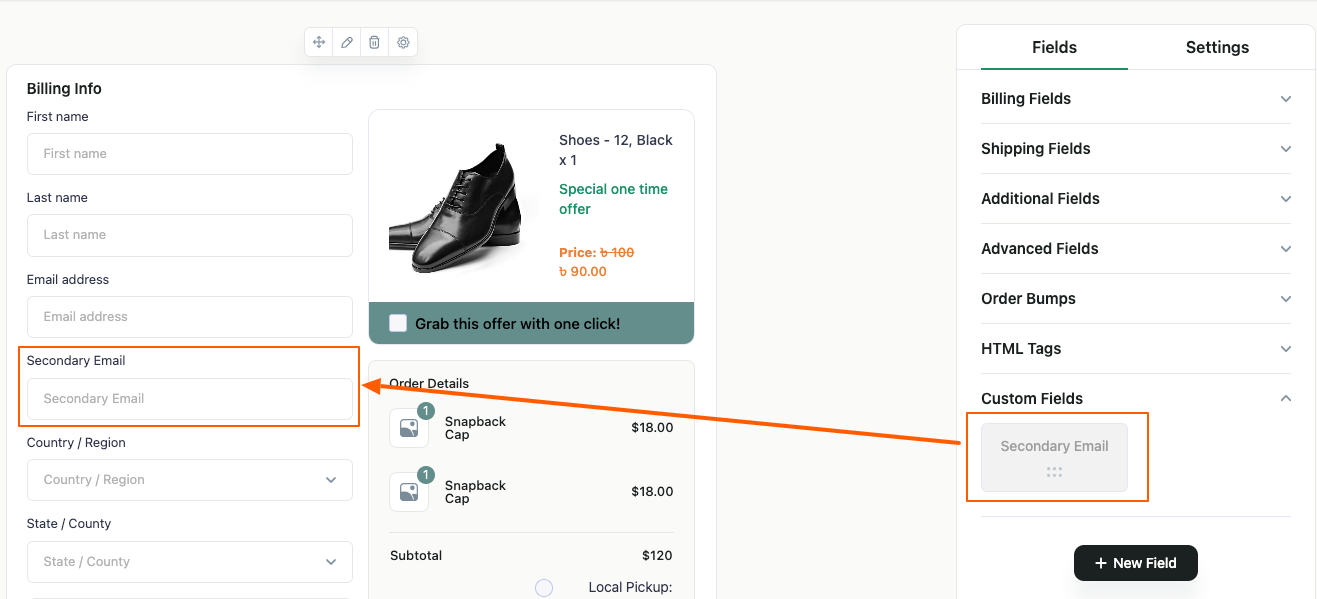
6. Now if you go to your checkout page you’ll see that your Customized Field has been added. It is just as easy as that.