You can easily edit your WooCommerce checkout page using Checkoutify – Checkout Field Manager for Woocommerce
Before installing Checkoutify on your site, ensure you have WooCommerce installed and activated.
Here’s how you can install and activate Checkoutify on your site:
Install & Activate Checkoutify Pro – Checkout Customizer #
1. Once you have the zip file of the Checkoutify Pro plugin and the License key copied, log in to your WordPress site and go to Plugins > Add New.
2. On top, click on Upload Plugin and upload the zip file of Checkoutify Pro that you downloaded earlier.

3. Then click on Install and then Activate it.
Activate The License Key For Checkoutify Pro – Checkout Customizer #
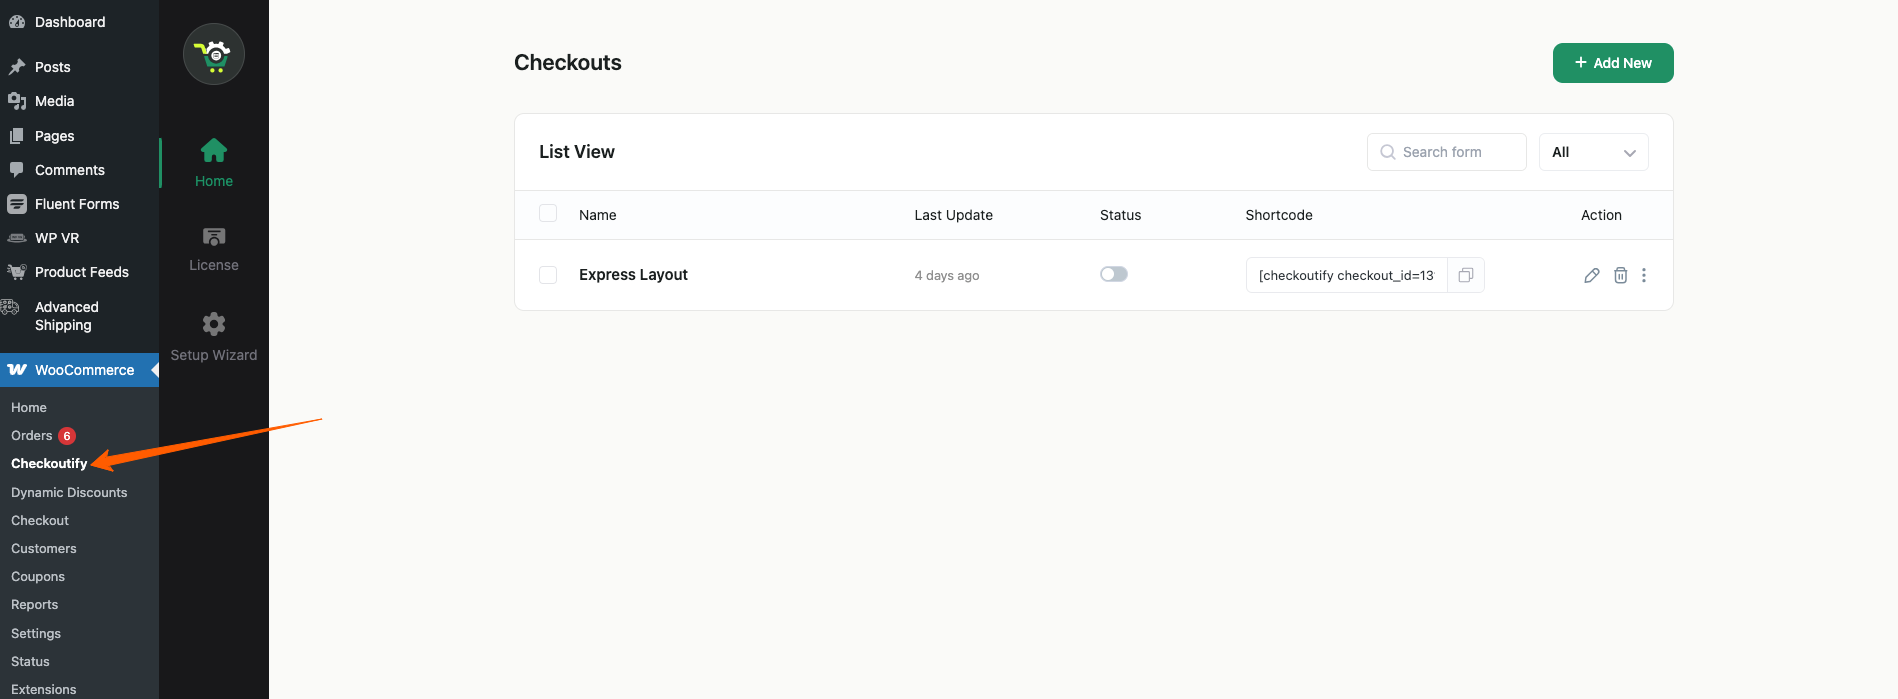
1. Once Checkoutify Pro is activated, hover on WooCommerce in your WP dashboard and click on the Checkoutify tab.

2. Click on Checkoutify and it will take you to the Checkoutify Dashboard.
3. Now click on the License tab, enter your License Key in the respective field, and then click on Activate License.
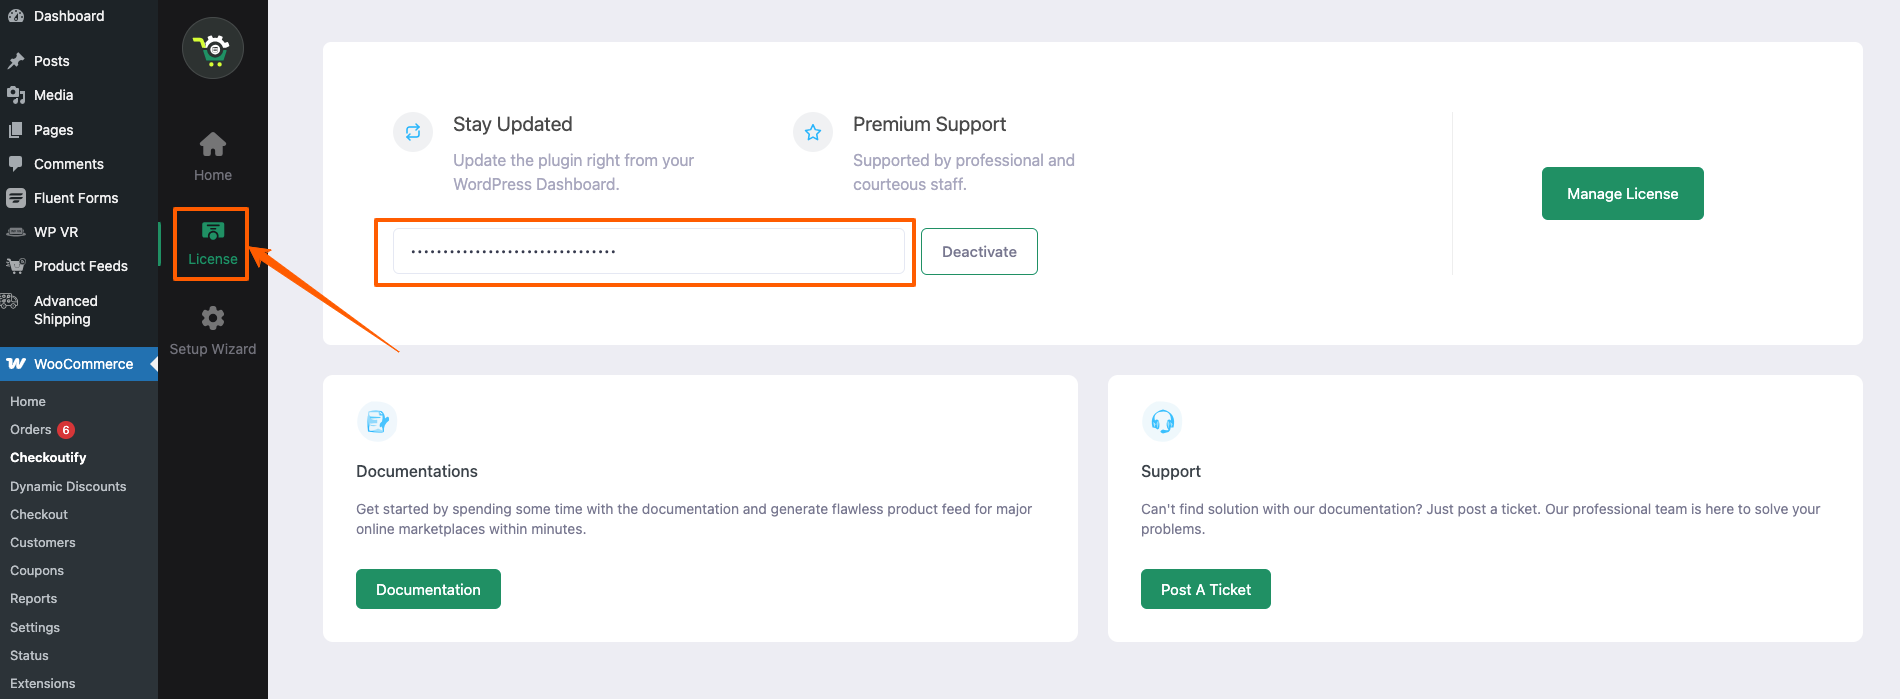
Once activated, you will get a confirmation.
To have a look around the plugin, click on the Home.