Good news! Setting up hotspot content inside your virtual tour is now much easier.
Previously, you had to use custom codes if you wanted to show Images, Videos, Hyperlinks, Headings, etc.
Now, the WPVR has WYSIWYG HTML editor support – to make your work easier.
You can now add different Font Styles, Colors, and Font Families to your hotspot text content.
Not only that, but you can also add bulleted or numbered lists and table views.
And like before, you can show a Heading, an Image, a Paragraph, and a Hyperlink – everything into the same hotspot.
And all these are applicable for both:
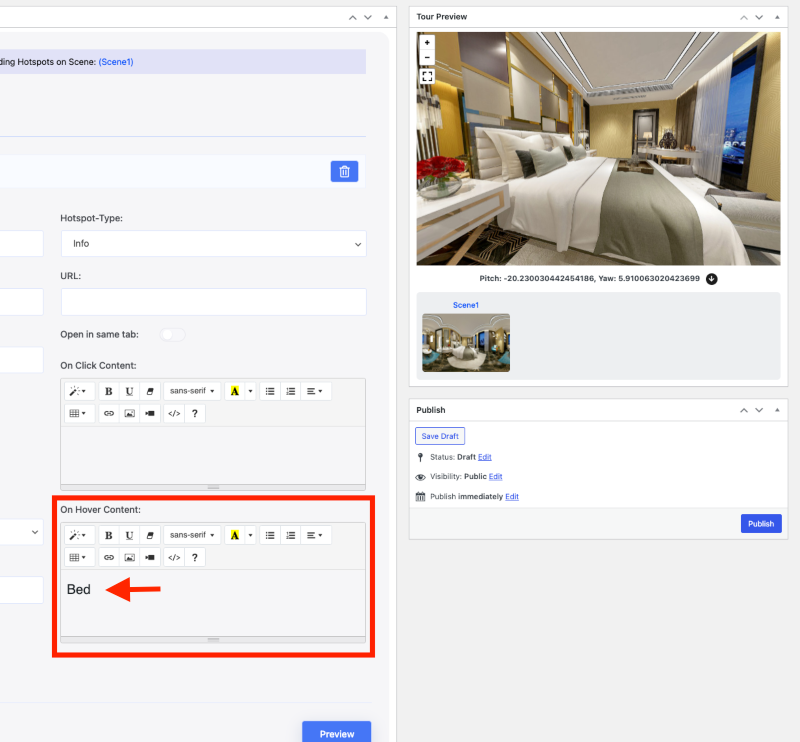
- On-Click Content.
- On-Hover Content.
So, let’s learn how you can do that.
Set Hotspot Content Easily Inside Virtual Tour – Using WYSIWYG HTML Editor #
Here is how you can set different content on your hotspots.
i. Style: #
If you’re going to use Text in the hotspots, you can choose the style for it.
Simply type the text in the field and choose its style.

You can turn the text into Headers, Quotes, or simply keep it as a Paragraph.
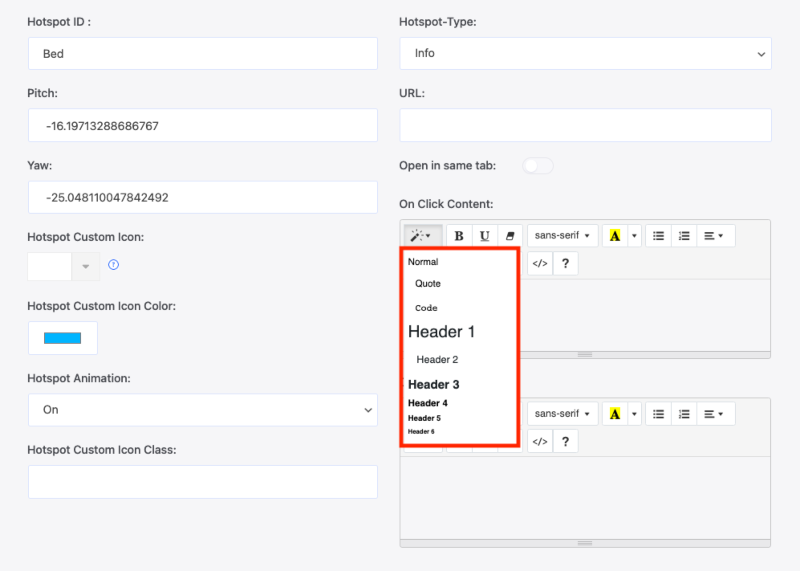
You can set a text as a Header like this:
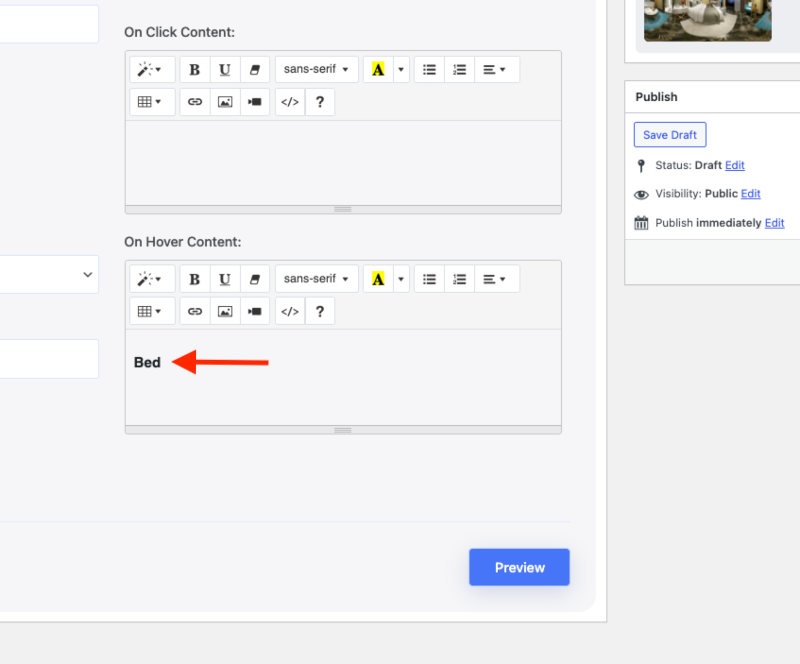
Then add another text as a Paragraph below that.
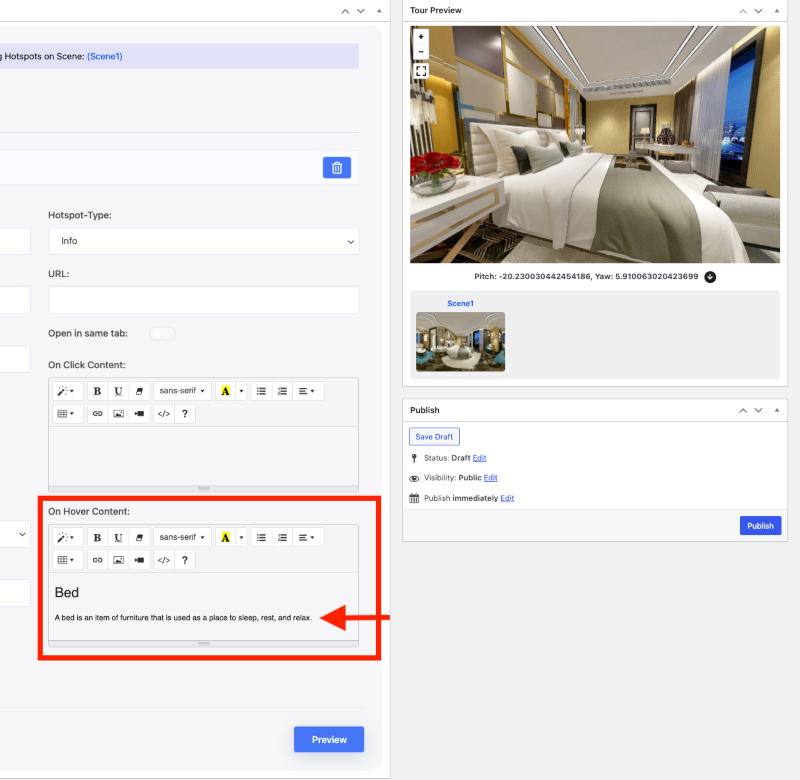
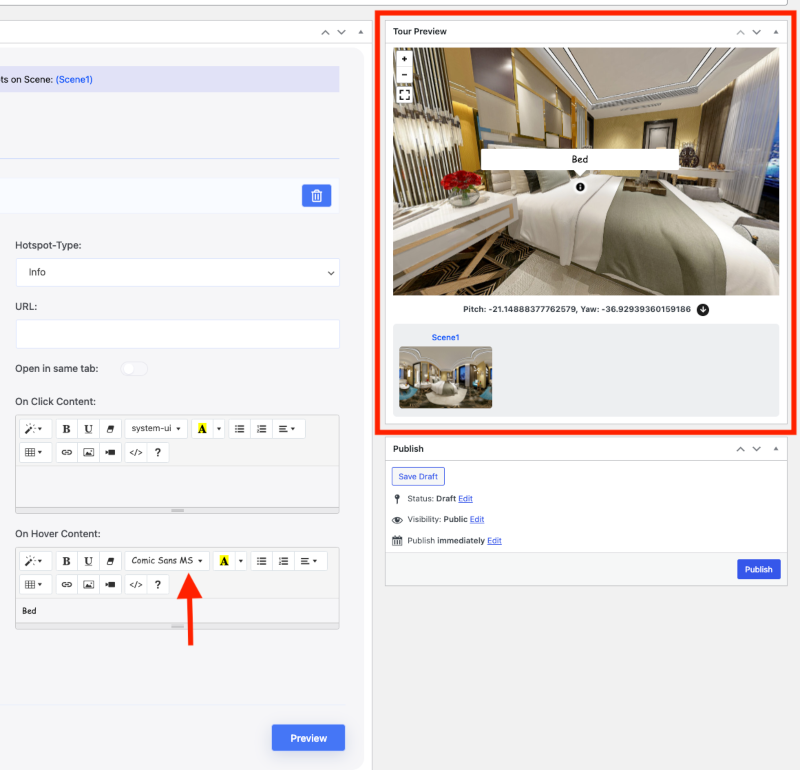
Now, if you click on Preview, the hotspot will appear like this:

This way, you can set multiple texts with different styles to show on hotspots.
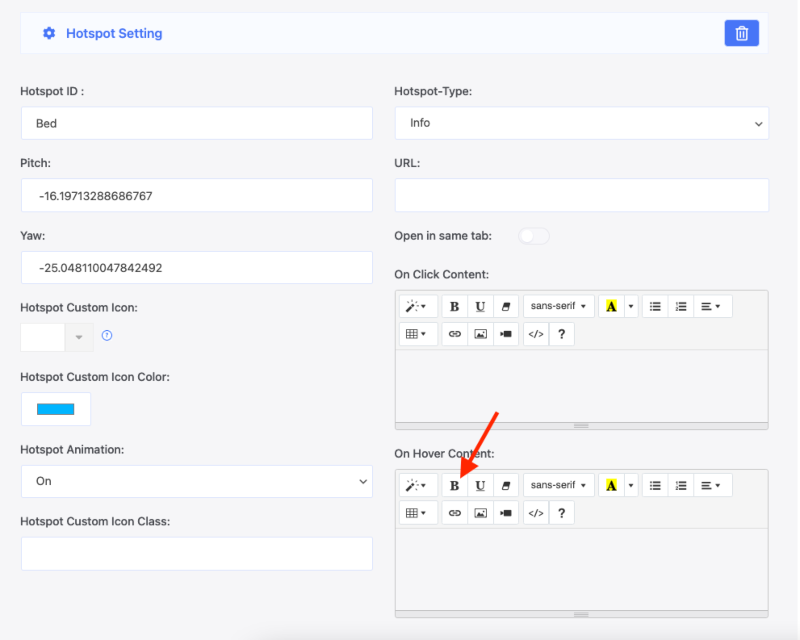
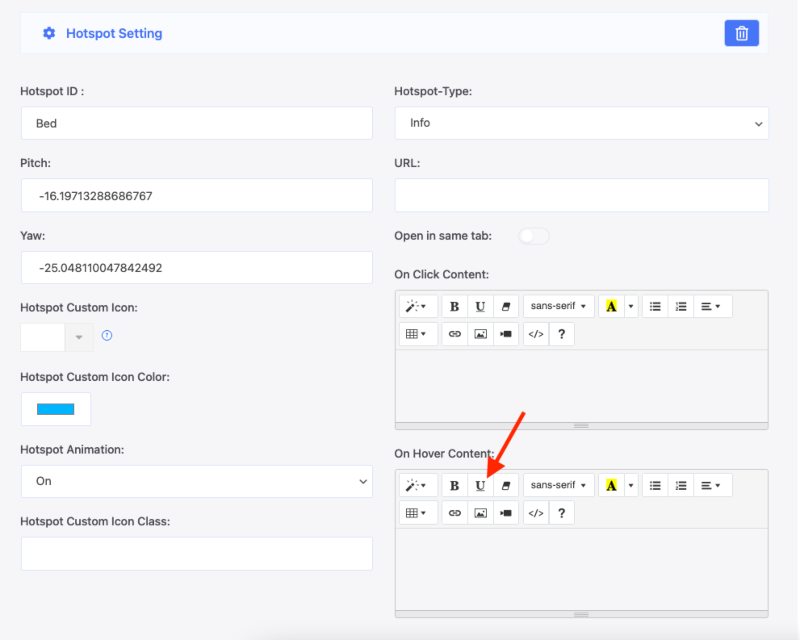
ii. Bold Text and Underlined Text: #
After adding a text, you can simply choose to show it in Bold:
Here you can see it in the Preview.
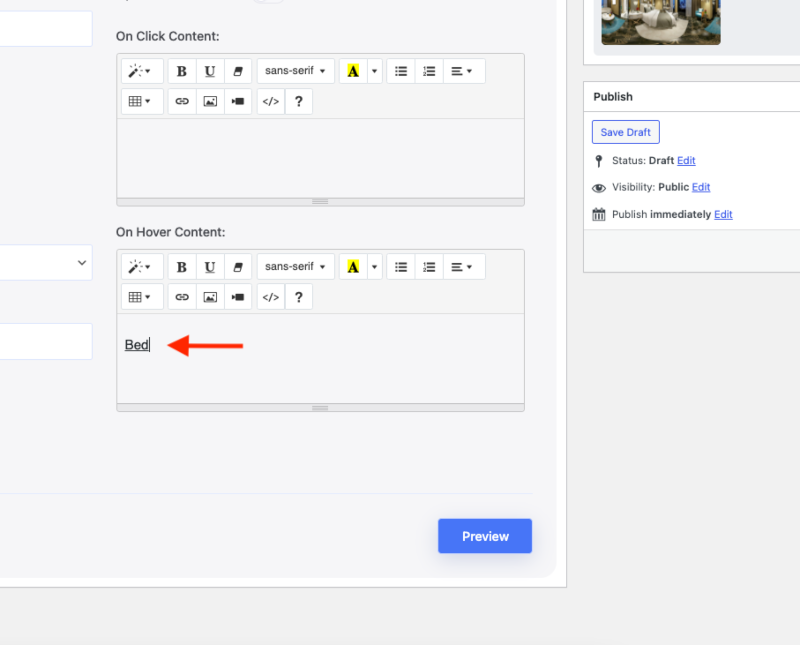
You can also choose to Underline a text.
Here is the underlined text in Preview mode:
iii. Font Family: #
You can add different font types with our new editor as well.
You’ll find a collection of fonts that you can use for each text.
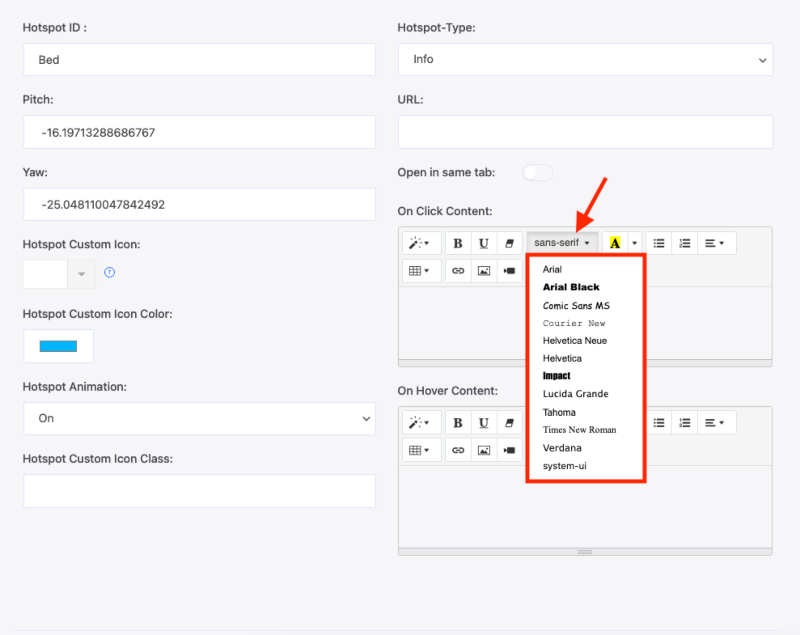
By default, the font is always sans-serif.
But you can select your preferred one from this list.
Let’s add a Comic Sans MS and see how it appears on the Frontend.
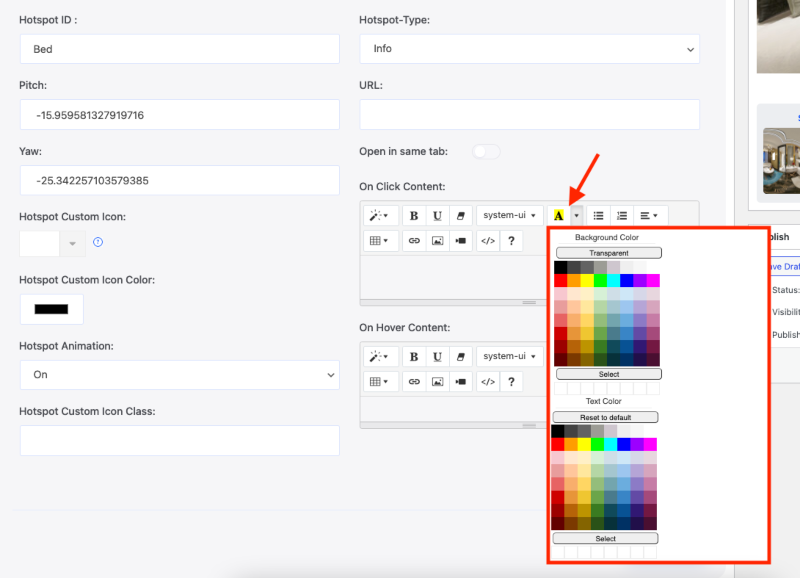
iv. Font Background Color & Text Color #
You can select the text background from a variety of color palettes included in the WYSIWYG Editor.
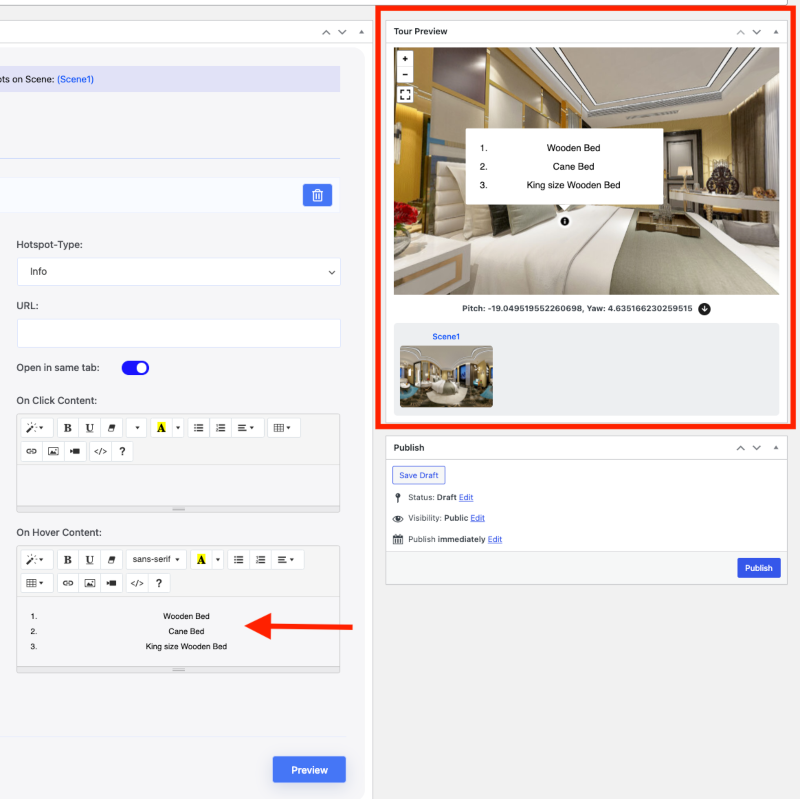
v. Ordered List, Unordered List & Alignment #
With the first two of these options, the user can simultaneously add a Bullet List and an Ordered List to the hotspot.

And with the third option, you can fix the alignment of the hotspot content.
Here’s an example with an ordered list and centered alignment text:
vi. Images #
The process of adding images to hotspots is now much easier.
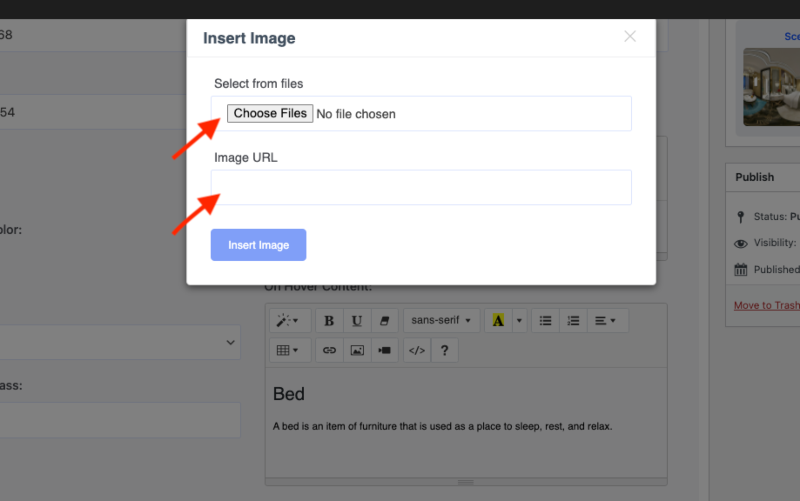
Click on this option to add an image:

A popup will appear where you can upload the image or add the URL of an image that you want to set here.
After successfully adding the image, here’s what you’ll see:
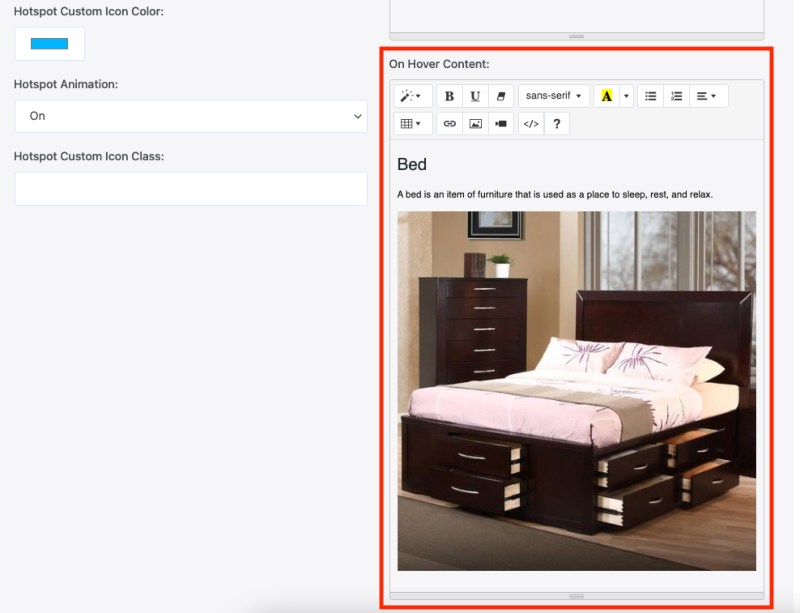
And on the virtual tour, here is how it’ll appear:

vii: Videos #
To add a video to your hotspot, click on this video icon.

A popup will appear where you can insert the URL of your desired video.

After you’ve set the video URL, it’ll appear like this:
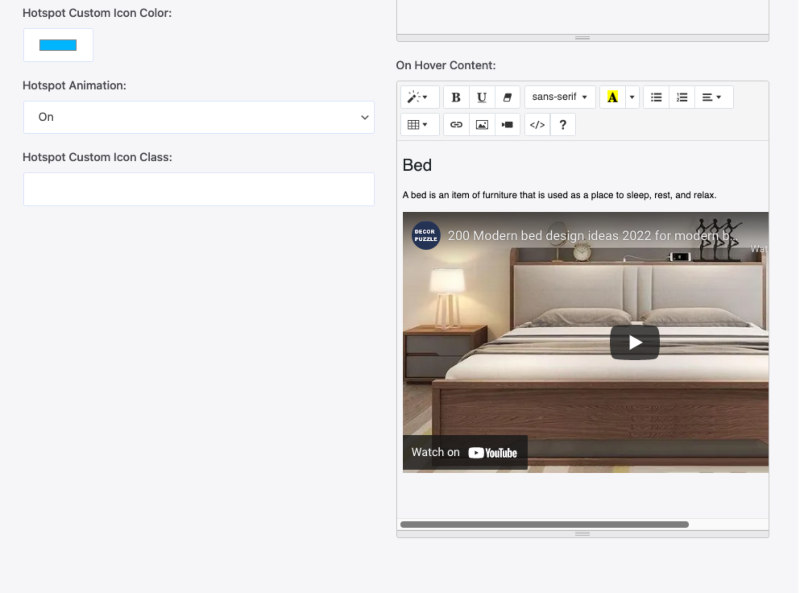
On the virtual tour, it’ll look like this:

You can play the videos directly from the hotspot.
viii. Hyperlink #
To set a Hyperlink, click on the link icon shown here:

This pop-up will appear.
Here you can set the both text and the URL that you want to use.

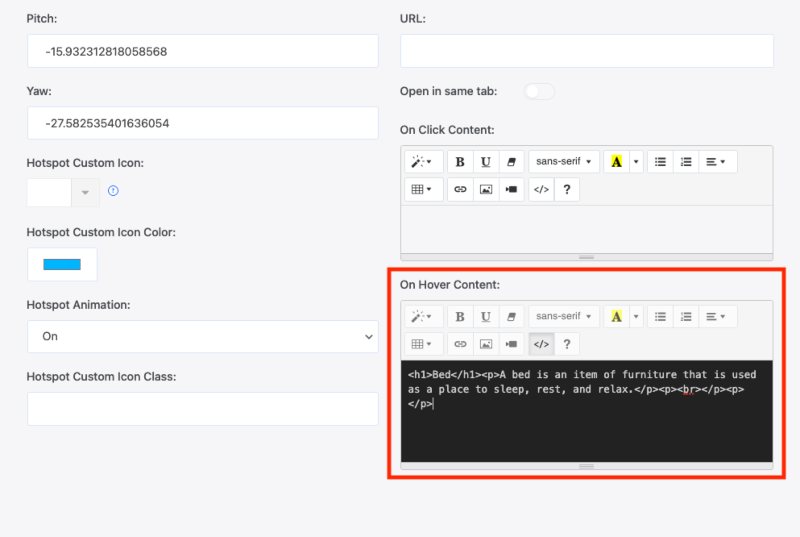
Bonus: Code View of the Hotspot Content #
Once you’ve set any content on your hotspot, you can choose to see the HTML version of it.
For this, just click on this HTML icon:
As you can see, the process of adding content to your hotspots has become much easier.
To customize your hotspots even more, follow this to set custom hotspot icons and colors.