WP VR has made it possible to experience a responsive virtual tour from a smartphone or a mobile device with a more realistic view, using the Gyroscope Sensor feature.
You can move and rotate the mobile device while experiencing a tour and the tour will respond to your device movement and rotation.
Simply enable the Gyroscope Control on your tour to give your viewers this amazing realistic experience.
Volg de onderstaande stappen.
Enable Gyroscope Sensor #
**To enable Gyroscope sensor, your website must be SSL certified (i.e. your website should start with “https”).
1. While editing or creating a tour, go to the Settings Tab.
2. Here, on top, go to the Advanced Controls tab.
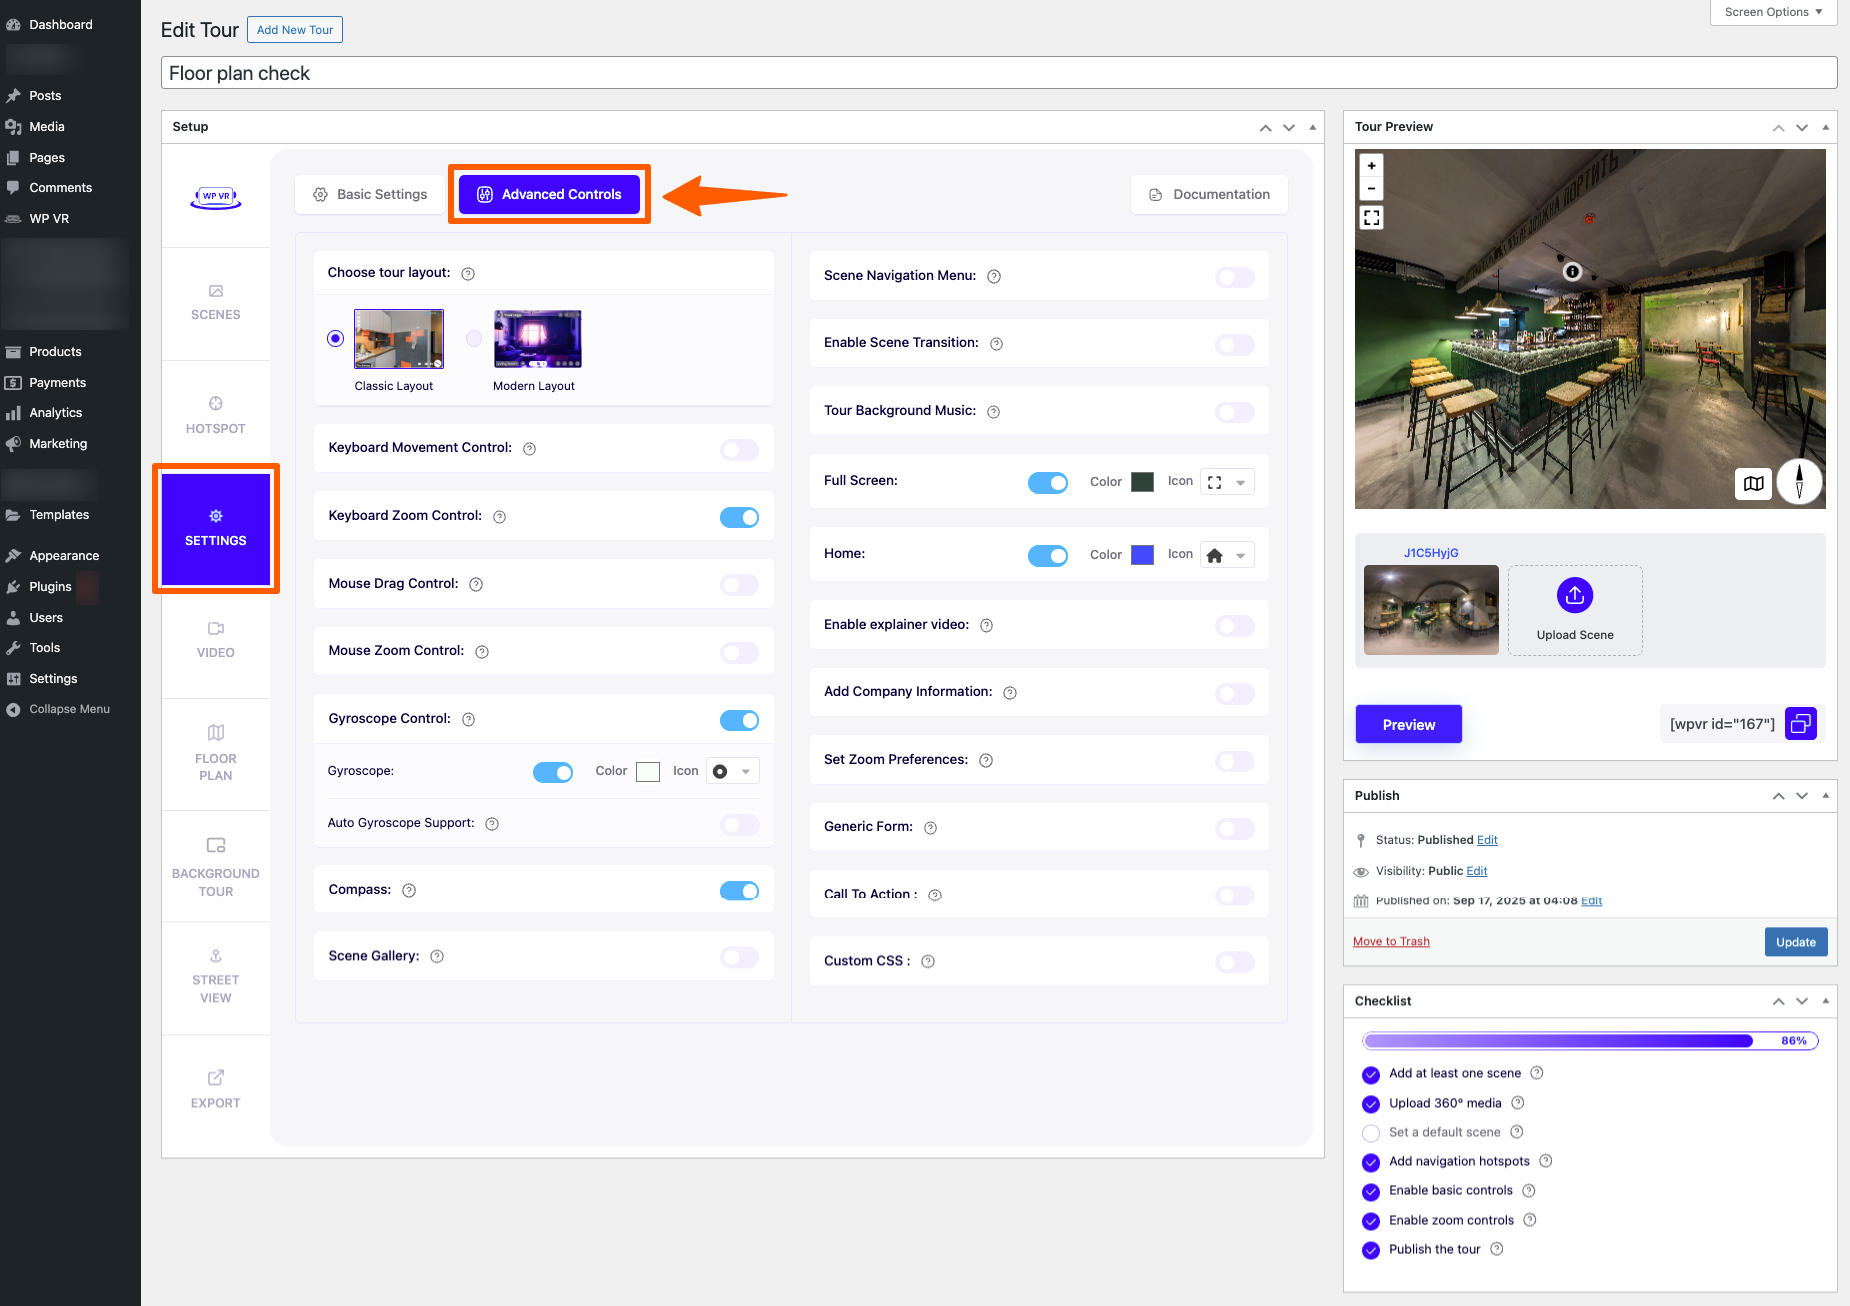
3. You’ll find the “Gyroscope Control” option on the left side. Enable it.

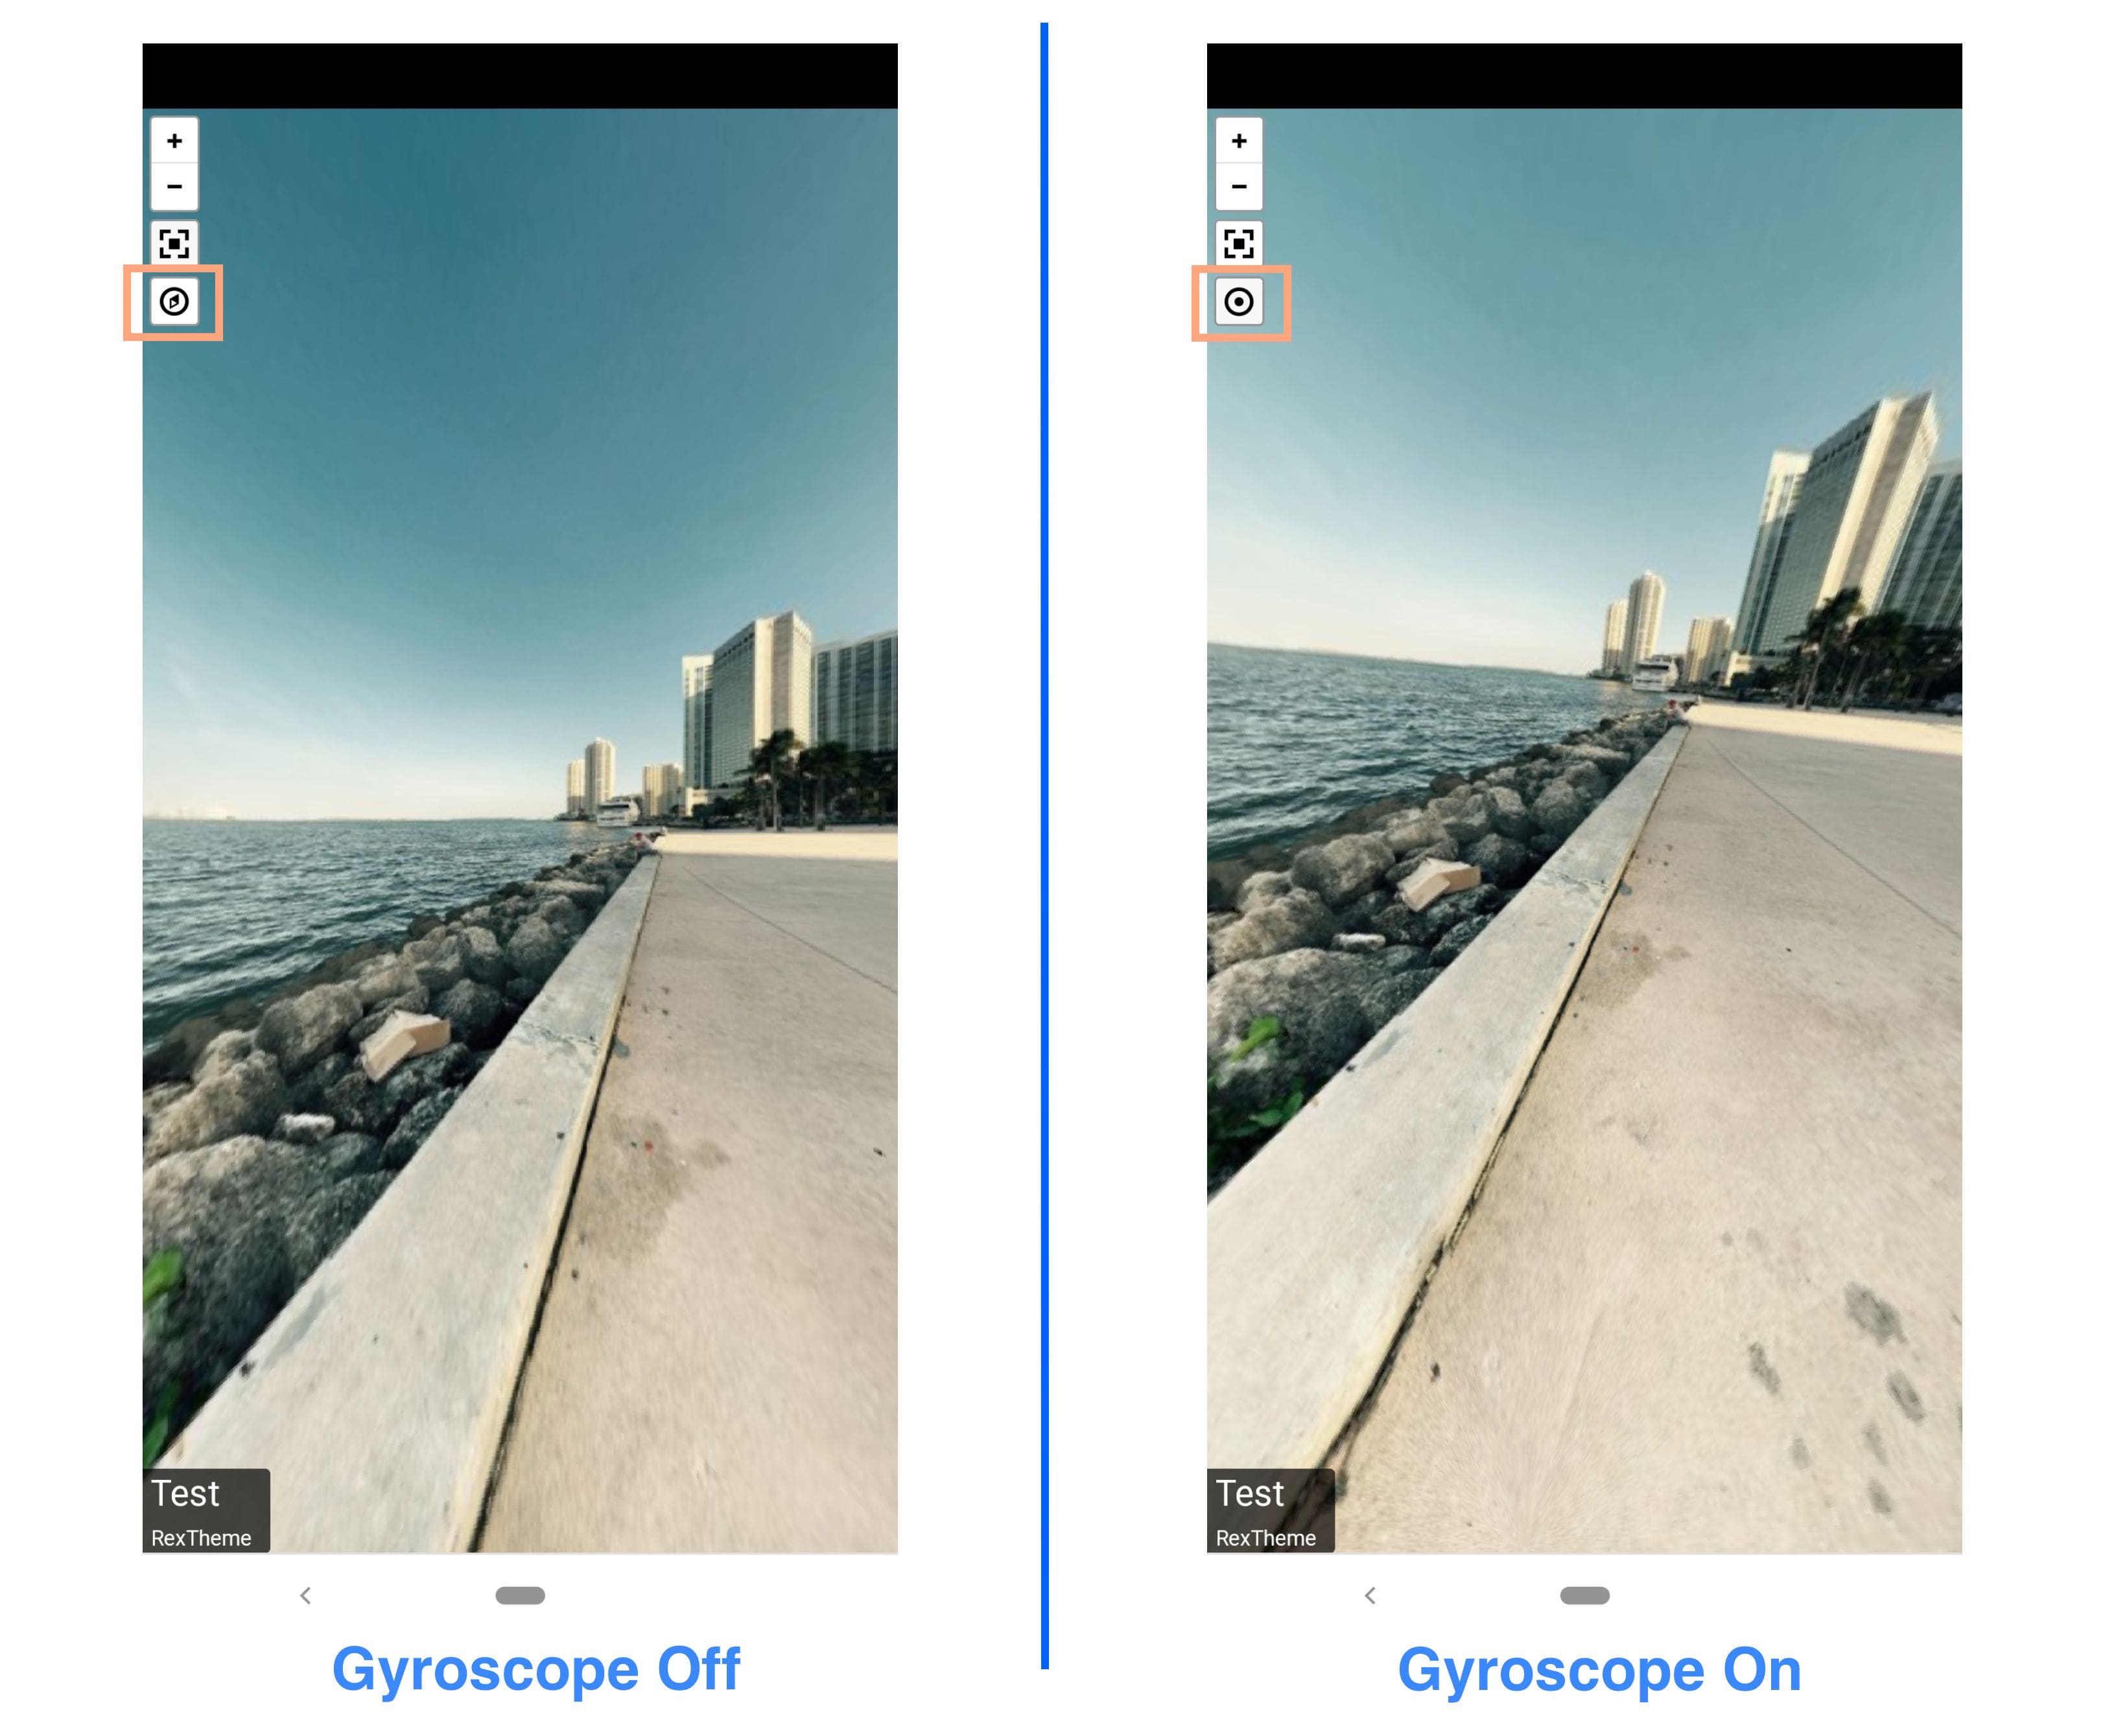
Once you enable it, a gyroscope sensor button will appear on the frontend of the tour when visited using a mobile device.
4. Then you can publish the tour and embed it on a post or page. Then you may visit that page using a mobile device to test it out.
Your viewer can turn the Gyroscope mode ON or OFF by clicking on the small icon on the top left side (as shown in the image below).
Auto Gyroscope Sensor #
You can also set it up so that when a person visits your virtual tour, the gyroscope sensor will be enabled automatically.
Here’s how.
1. Once you enable Gyroscope sensor, you will get an option just below it, called “Auto Gyroscope Support“. Enable it.
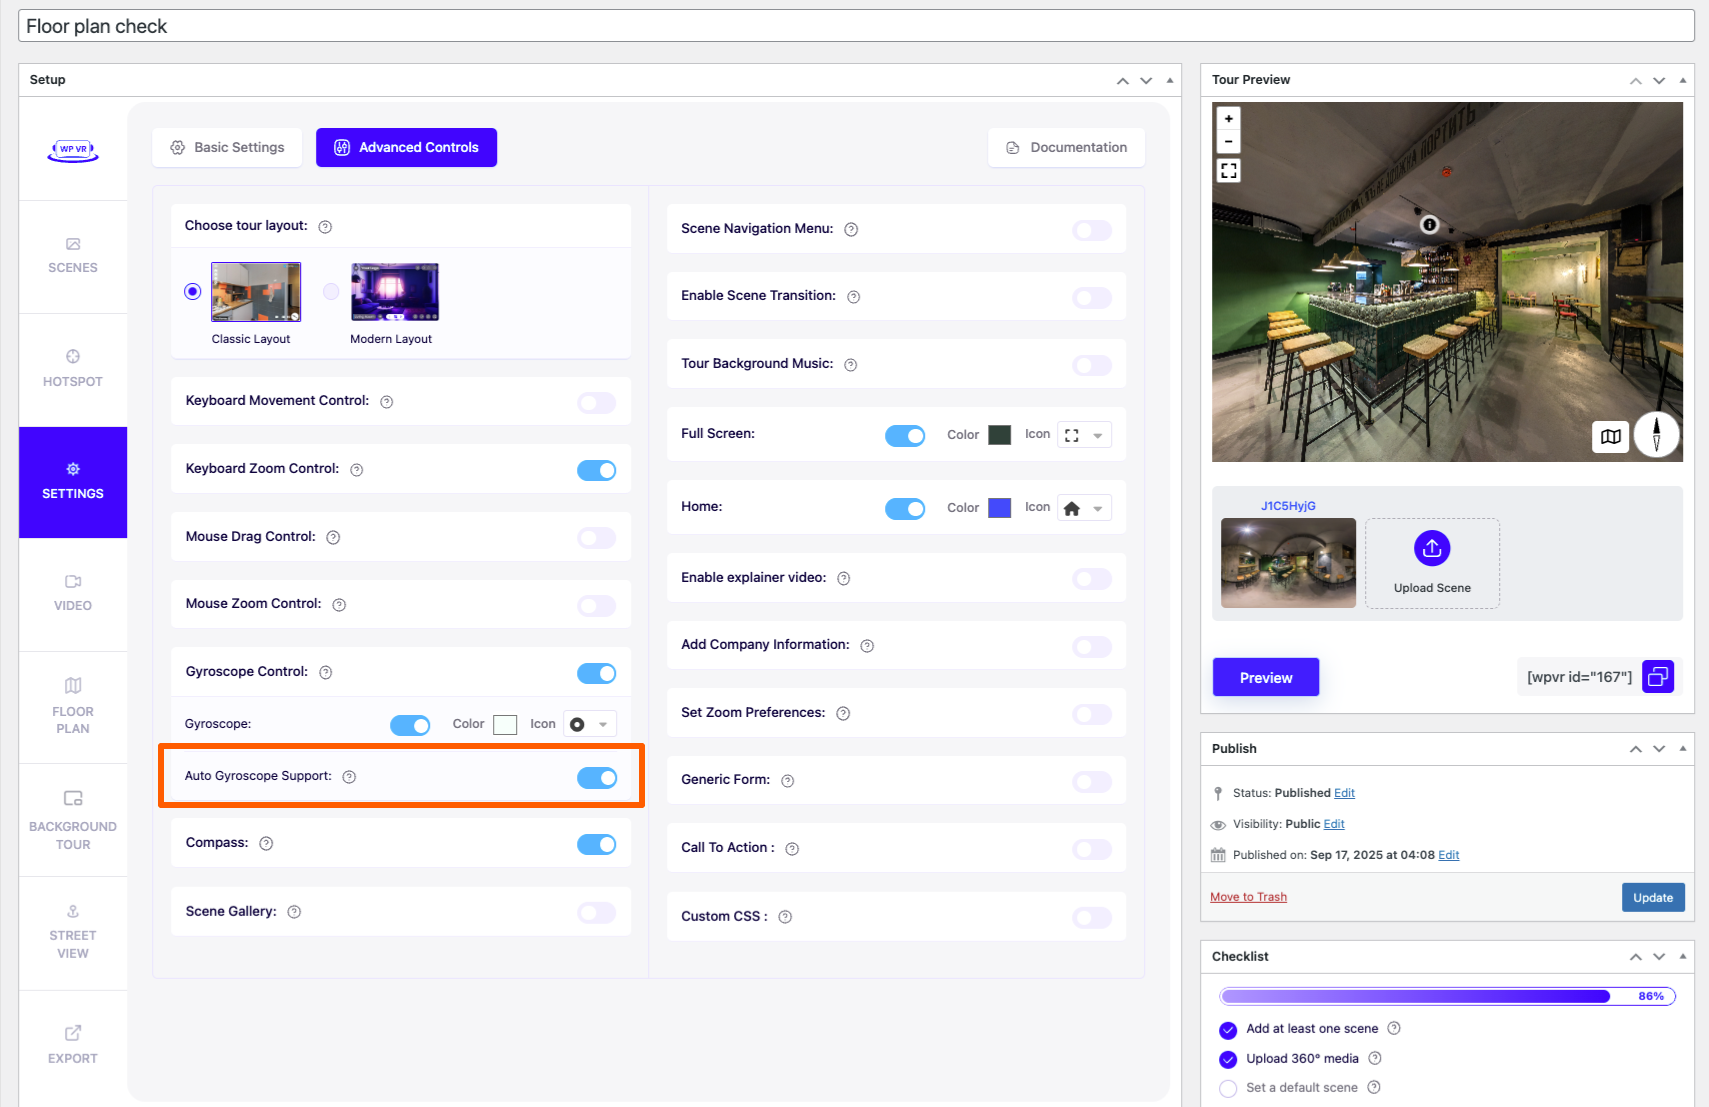
Once you enable it, whenever a viewer visits the virtual tour on a mobile device, the gyroscope support will be turned on by default. (The visitor can turn it off by clicking on the gyroscope button again).
Use Custom Gyroscope Icon #
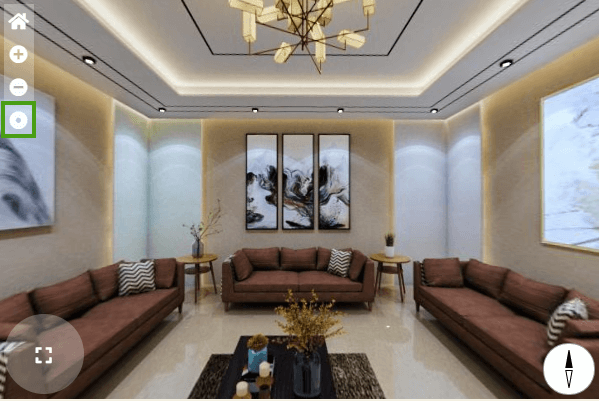
You can choose an icon of your choice and assign a color.
Once done, the tour will include a gyroscope icon on the top left side.
**If you use a custom gyroscope icon, it will appear on a tour even when visited via a computer, but it will not be usable. The gyroscope will only work on mobile devices, or other devices that support gyro function.
That’s it. You can try it out. It’s pretty cool.
And just like that, you can add more exciting features to your virtual tours.
Follow this guide to turn on an interactive Scene Gallery inside your virtual tour.
Follow this guide to set a soothing background audio to your virtual tour.