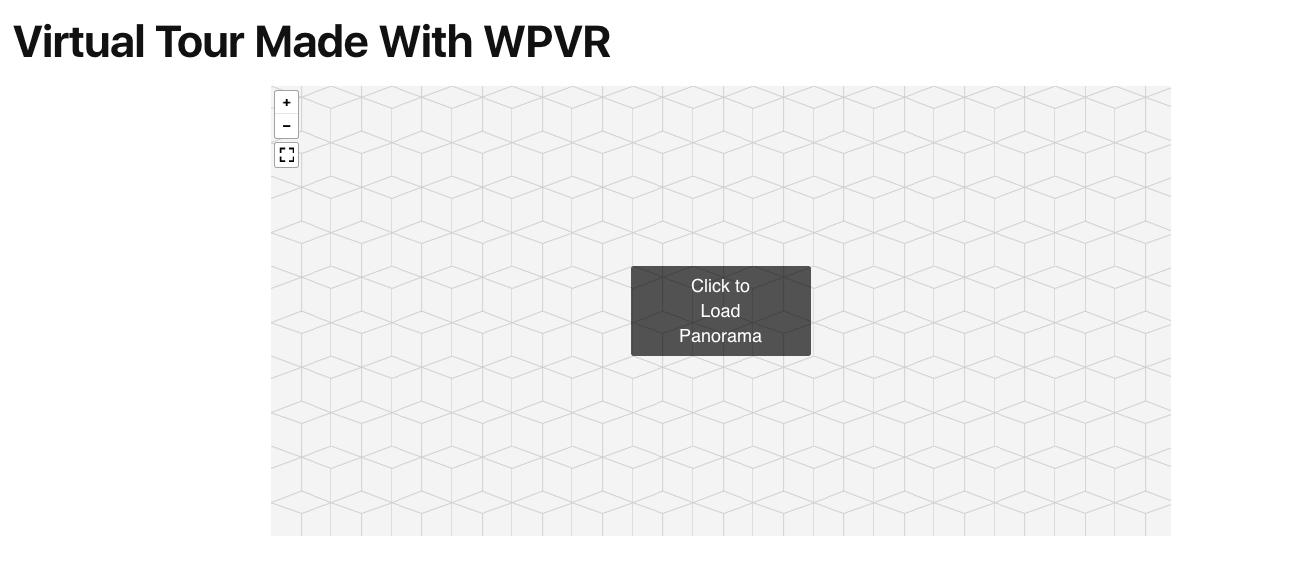
If you’ve turned off the autoload option for your virtual tour, a netted placeholder with a Click to Load Panorama option will appear on the page where you’ve published a tour.
Here is what it looks like:
You can set a preview image or a cover image on this virtual tour.
Suppose you created a virtual tour of your property, then you can set a flat image of the entrance of that property as the preview image.
You can also use your company banner as the preview image.
With WPVR, you can set a preview image on your virtual tour easily with only a few steps.
So, let’s see how can you set a preview image on virtual tours.
Add A Preview Image To Your Virtual Tour #
Follow these simple steps to add a preview image to your virtual tours:
1. While creating or editing a virtual tour, on the Settings tab, go to Basic Settings.
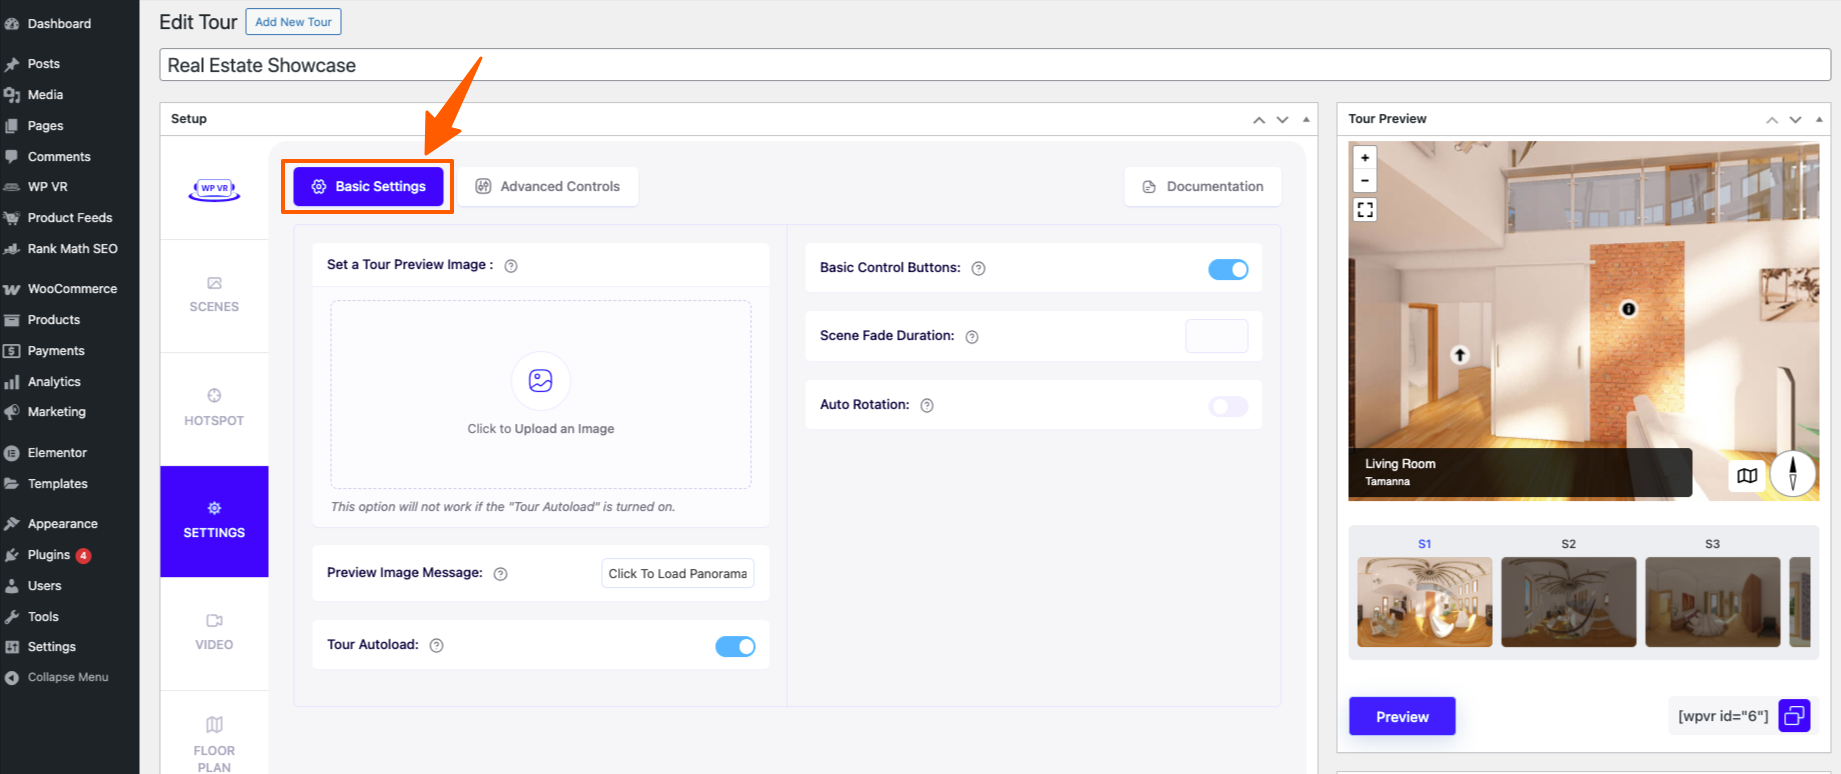
2. Here you will see a section called “Set a Tour Preview Image”.
Click on it to upload or choose an image to set it as a preview image.
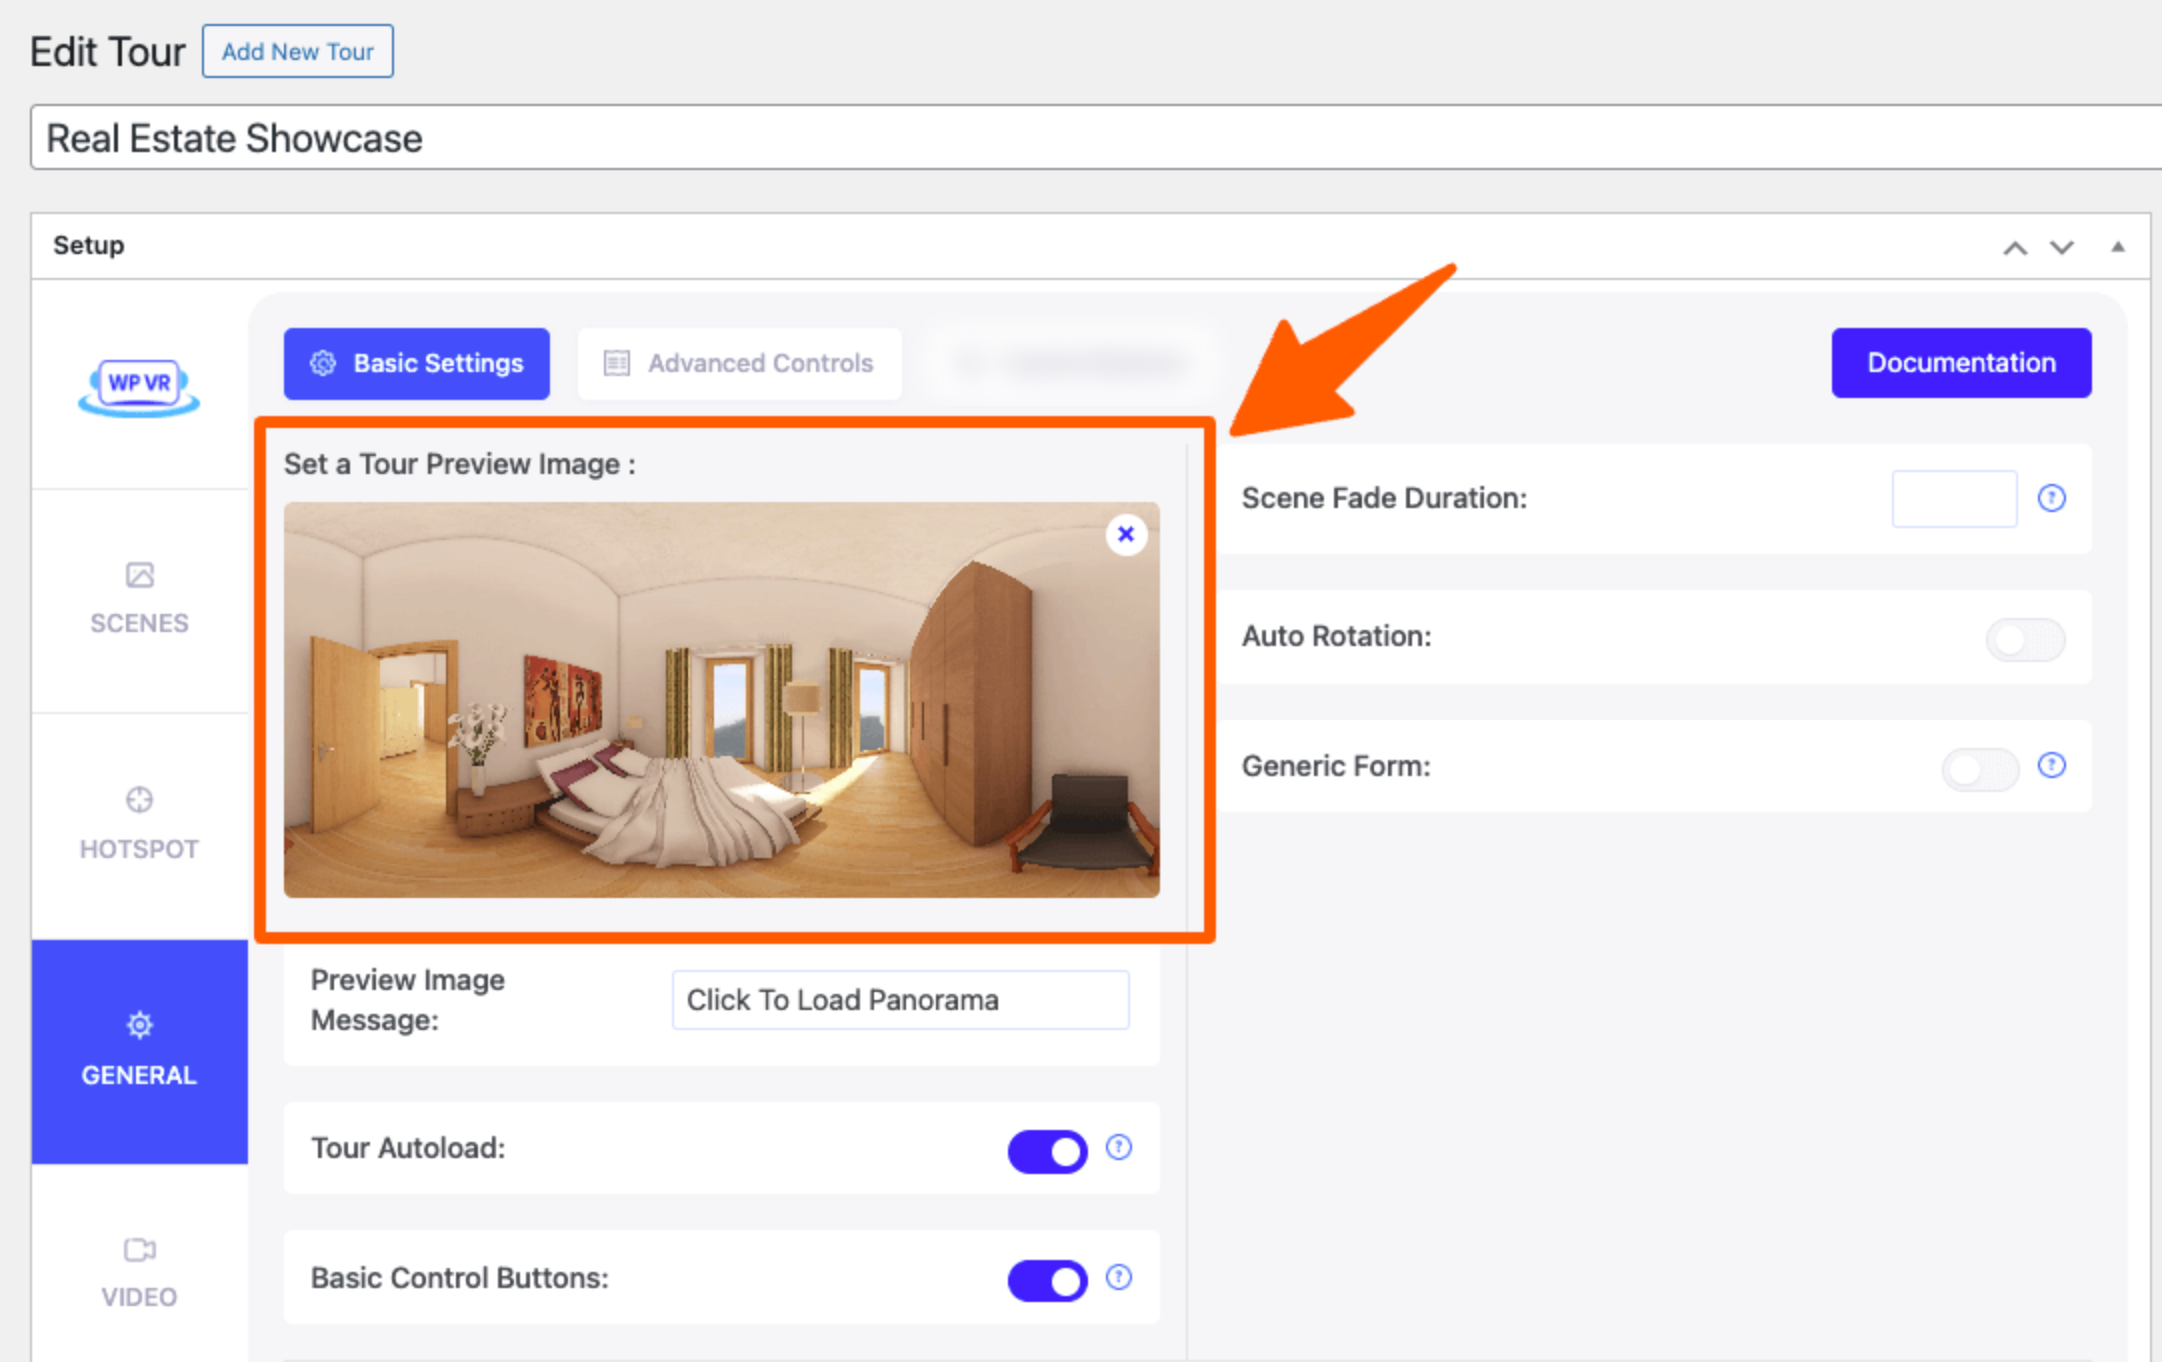
3. After uploading the image, a thumbnail of that image will appear.

Now turn off the Tour Autoload option right below.
**Your tour preview image will not appear if the Tour Autoload option is turned on.
4. Now go to the Scenes section and click on the Preview button to have a live preview of your tour.

Now, in the Tour Preview section, the preview image will appear instead of the actual scene.
5. Publish the tour on your website and it will appear like this.

Click on the Click to Load Panorama option in the middle of the window to load the tour.
That’s it. You’ve successfully added a preview image on your tour.
It’s really easy and simple.