In this guide, I will show you how you can generate a product feed with WPML-translated product data.
Volg de onderstaande stappen.
Note: WPML integration ensures only the product data in the feed is translated—plugin interface remains in the default language.
Step 1 – Install WPML #
*Make sure you have the Free version of WPML Multilingual & Multicurrency for WooCommerce activated.
You can download it from here: Link
*To use WPML for translation, you may purchase the WPML CMS or Agency plan. Here’s the link
After that from your WPML account, download the WooCommerce Multilingual & Multicurrency and String Translation components.
1. To install them, go to the WordPress dashboard >> Plugins >> Add New, and click on the Upload Plugin button.

2. You will get an option to ‘Choose file.’ Click on it to upload WPML Multilingual CMS and String Translation one by one, and then click on the Install Now button.

3. Once the plugins are installed, click on the Activate button to activate the plugins.
4. Next, you will get the option to configure the plugin. Click on the Configure WPML button.

Step 2 – Configure WPML #
1. Once you click on the Configure WPML button, it will take you to the configure page.

Follow their official documentation for the Setup. Here is the link: WPML Getting Started Guide
2. After configuration, it will take you to the Translation Management page.
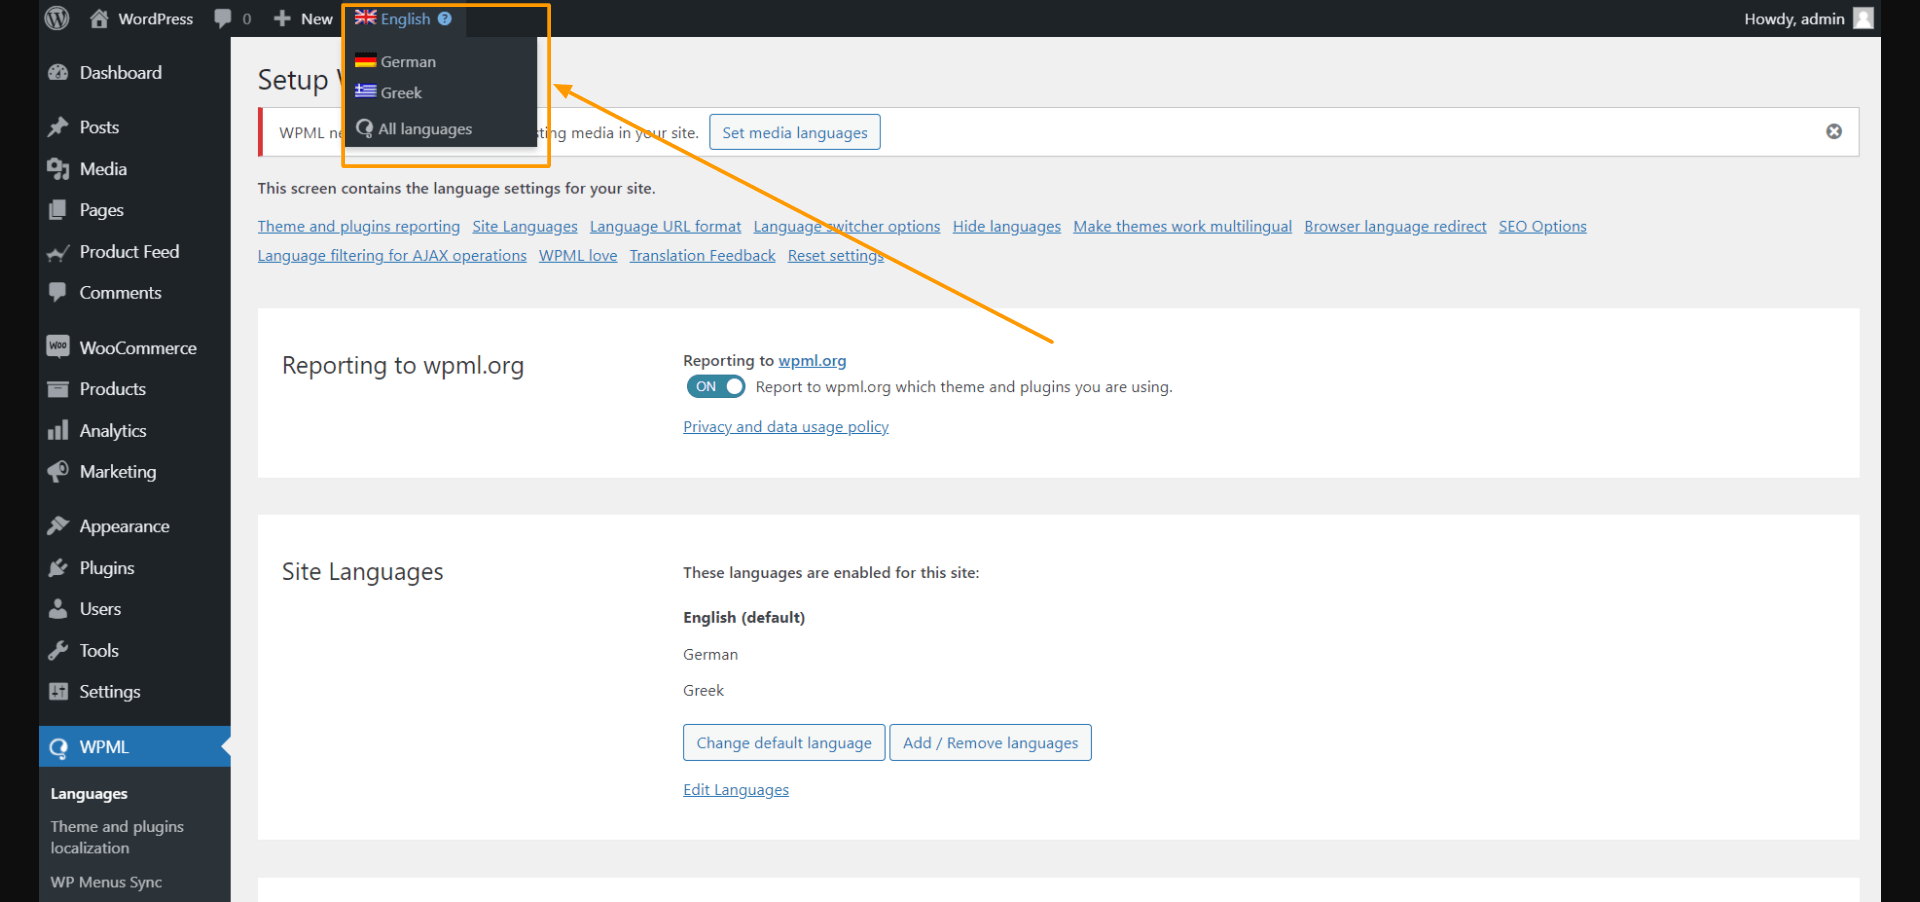
Here, you will see that there is a language option on the top, and when you click on that, you will get all the selected languages here.
Step 3 – Give Permission To WPML to Translate Your Feed Data #
1. Make sure that you have enabled translation for WooCommerce products within the WPML settings in the Post Type Translation section. This step is crucial to allow translation for your products.

You may then translate the WooCommerce product data. Follow this official guide from WPML to translate products easily.
2. To be able to generate a product feed with your translated product data, again go to WPML > Settings and under the Post Types Translation section. Here, enable the option Product Feeds [product-feed] by clicking on the radio button beside it under the Translatable column.

Click on the Save button below and your WPML configuration is complete. You will now be able to generate product feed in different languages that you created using WPML.
Step 4 – Create Feed With Translated Product Data #
1. Go to Product Feed Manager >> Add New Feed. Select your preferred Merchant. On top, you will get an option to select the feed language.

2. Now, select your preferred Merchant, configure your attributes, and click on the Publish button to publish the feed.

3. Now your feed is published.
Go back to your All Product Feeds Page, and you will see that there’s an extra row for the languages and you can click on any language to get all relevant language.

** Note that we have selected the language of this product feed: Greek so the feed will be generated with Greek products only.

As there is one product in the WooCommerce store in the Greek language that’s why in the feed, the total product is one.

That’s it. Your language-based feed is ready.