


You can now Export a virtual tour from a website and Import it on another site that has WPVR Pro installed and activated.
Let’s say you have a good virtual tour on one WordPress site, and you want to feature that on another WordPress site of yours. So you can simply export it from the first website, and import it on the second easily.
Follow the steps below to export and import a virtual tour.
How To Export A virtual tour #
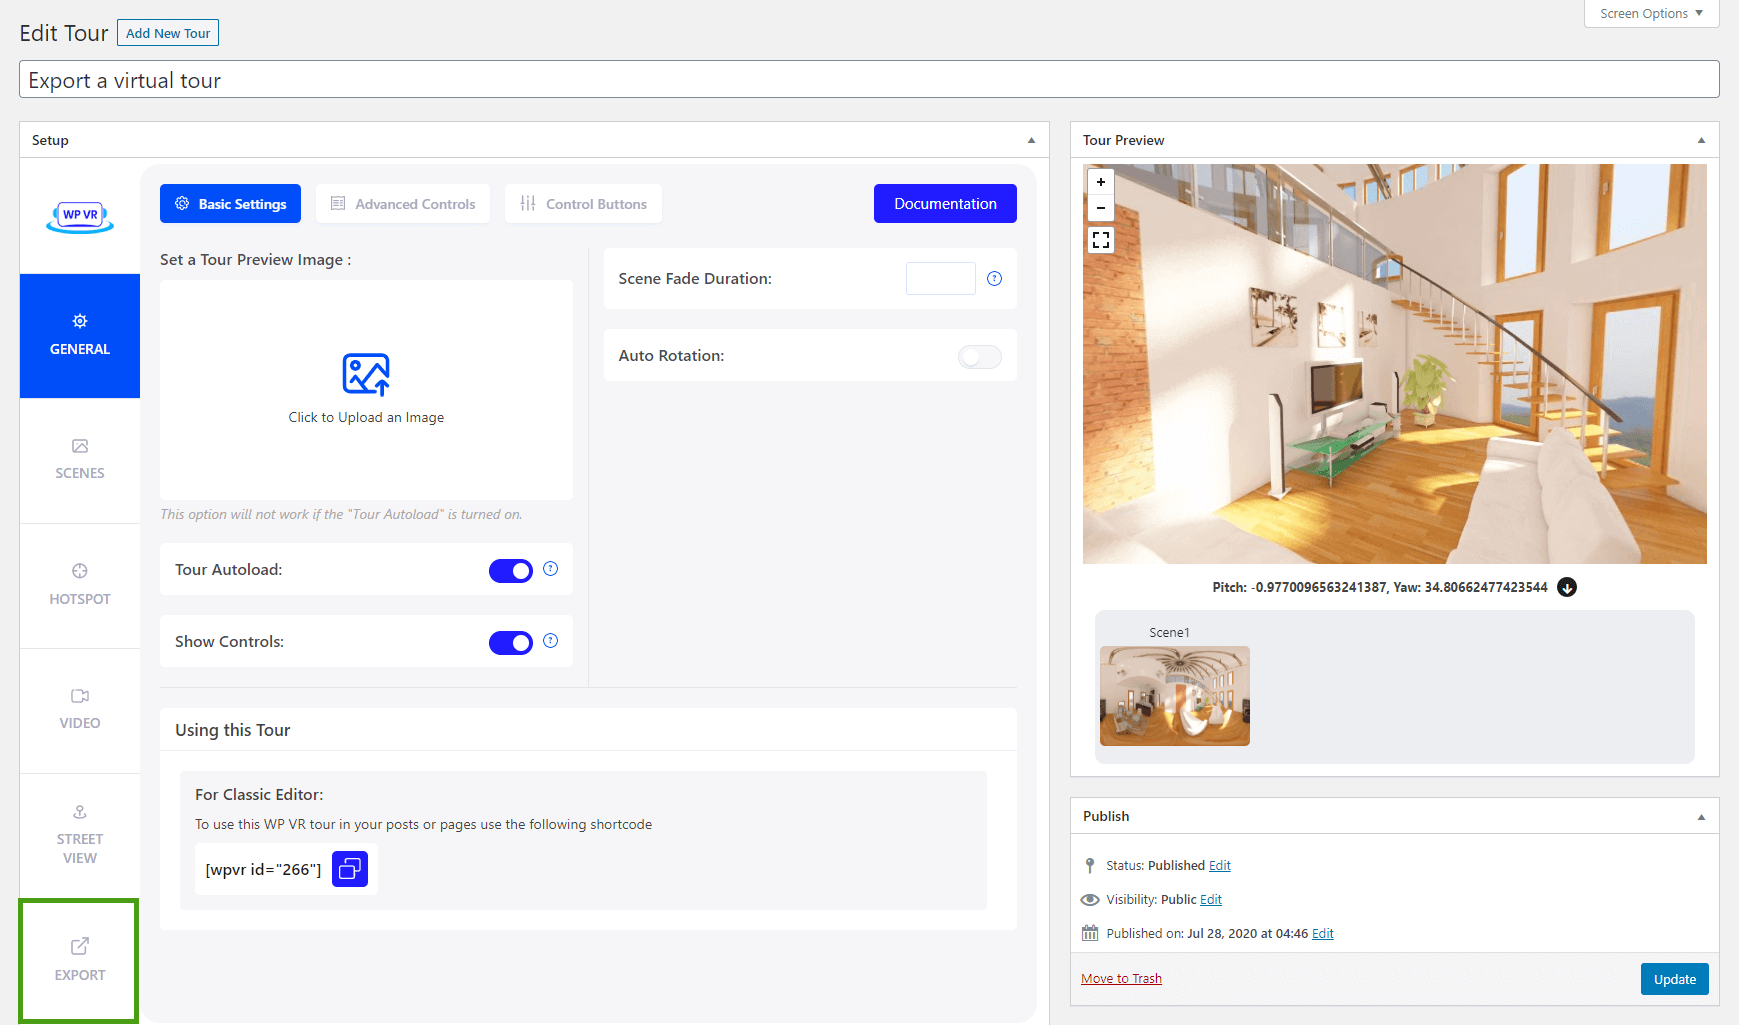
1. Once you published tour, a new Export tab will appear on left side.
2. Click on the Export tab and you will find the option to download the tour.
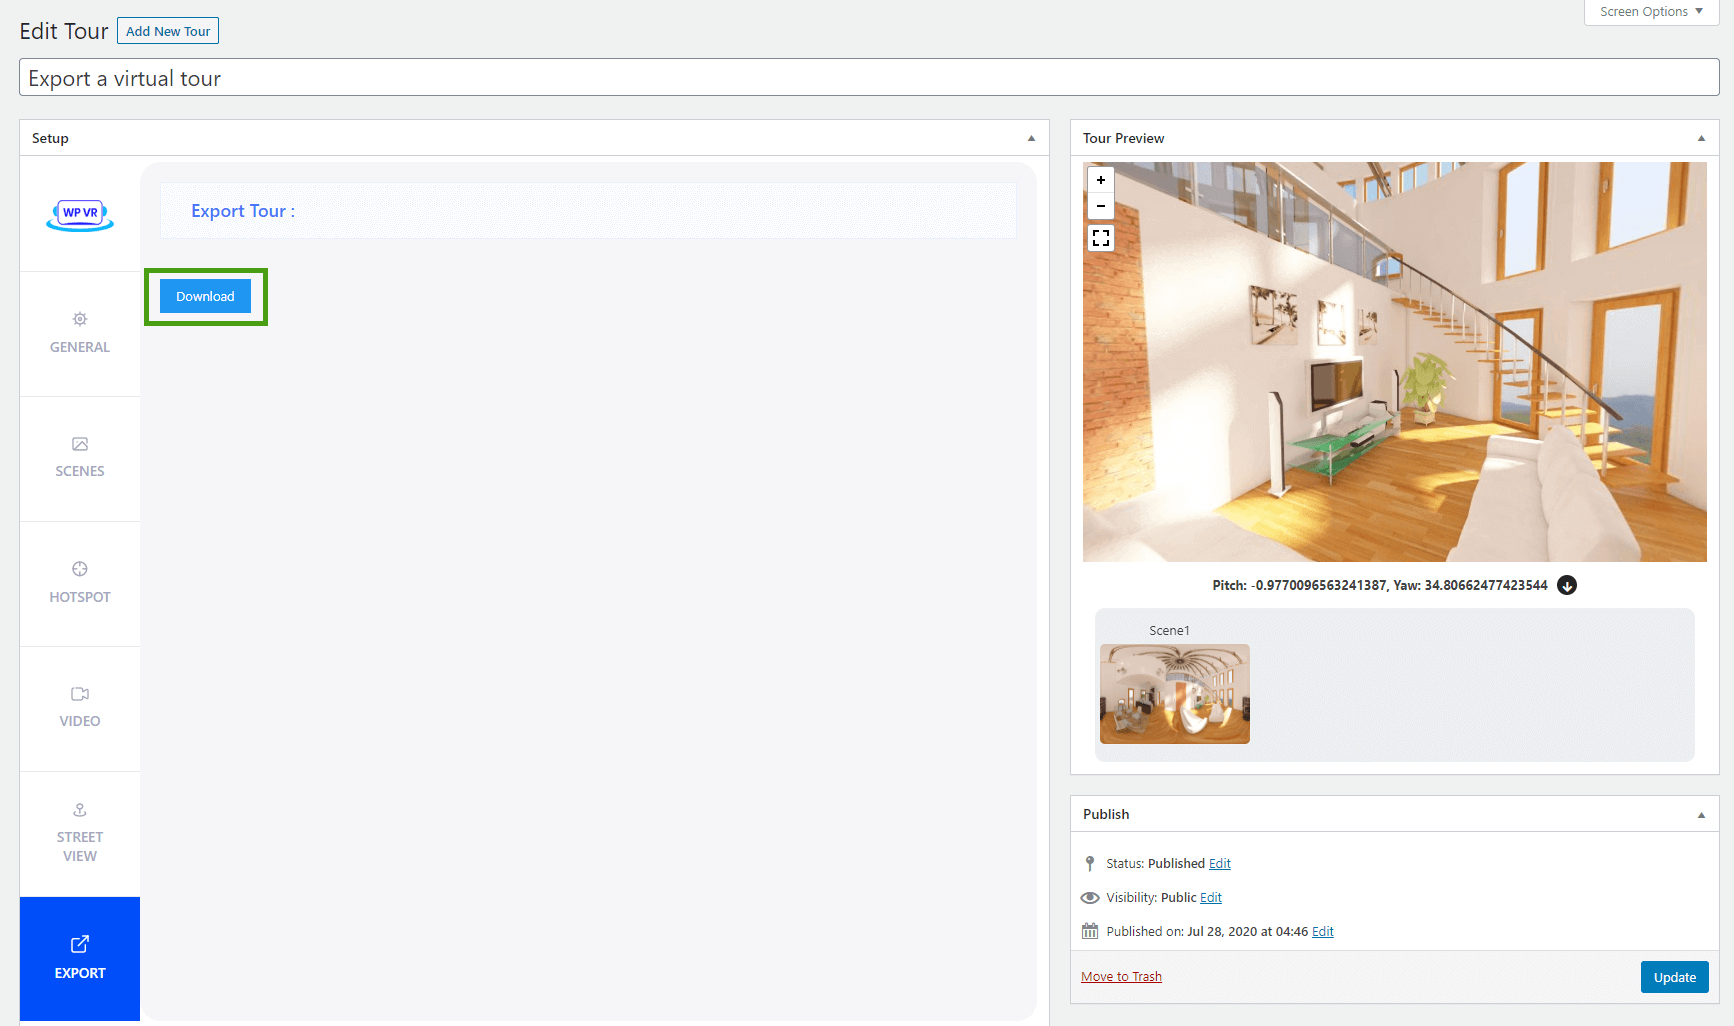
3. Click on Download, and a copy of your tour will be downloaded in zip format.
Thus you have successfully exported a virtual tour.
How To Import A Virtual tour? #
If you have a downloaded copy of a WPVR virtual tour, then you can import it on any site that also has WP VR Pro.
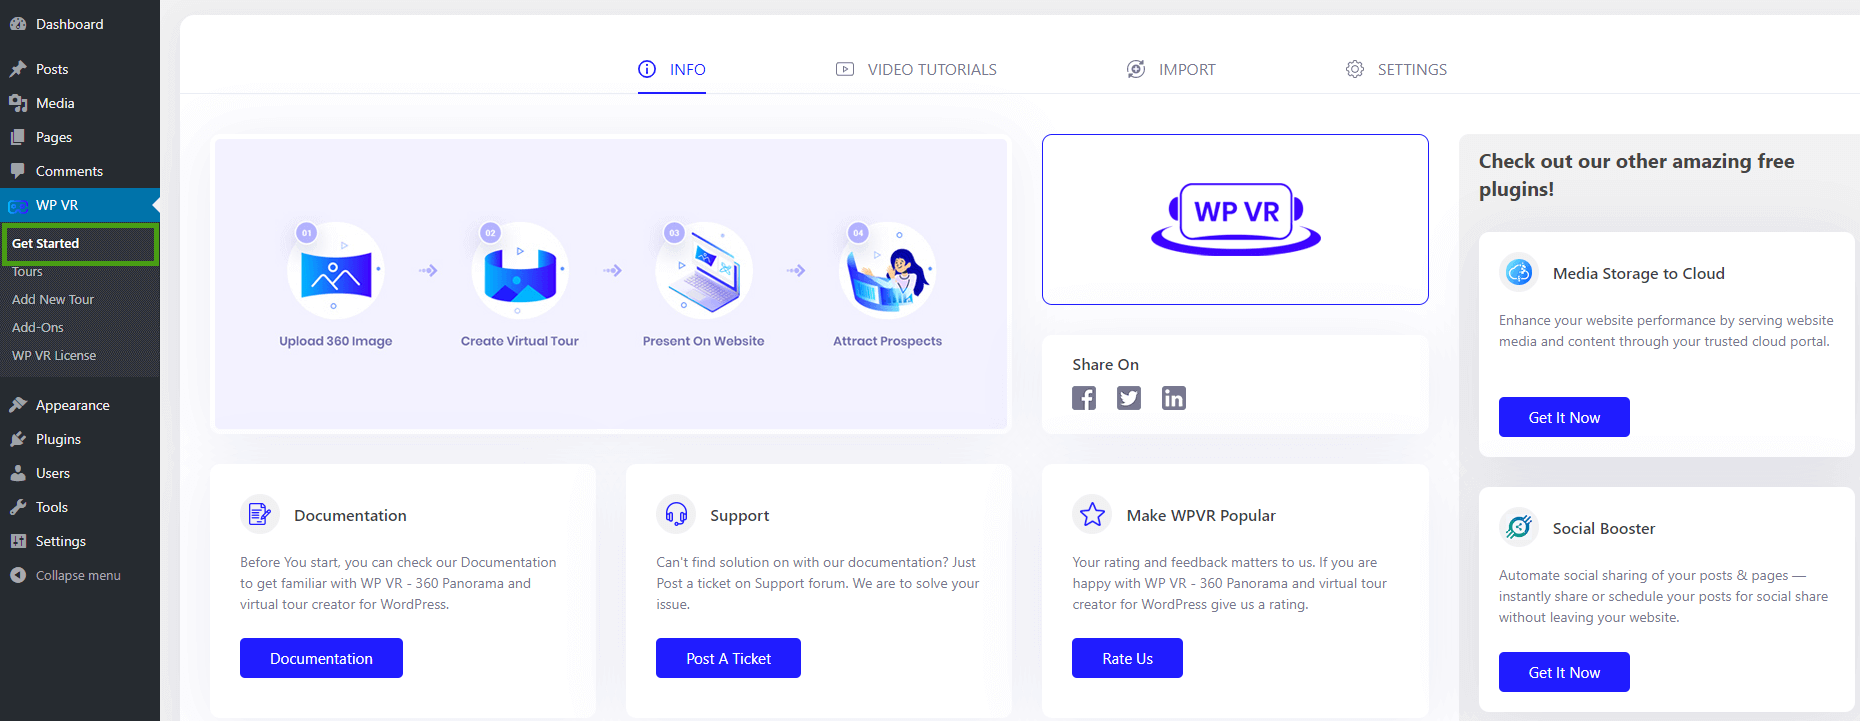
1. Go to Dashboard > WP VR > Get Started
2. On the top, you will find a tab called Import. Click on it to go to the import page.
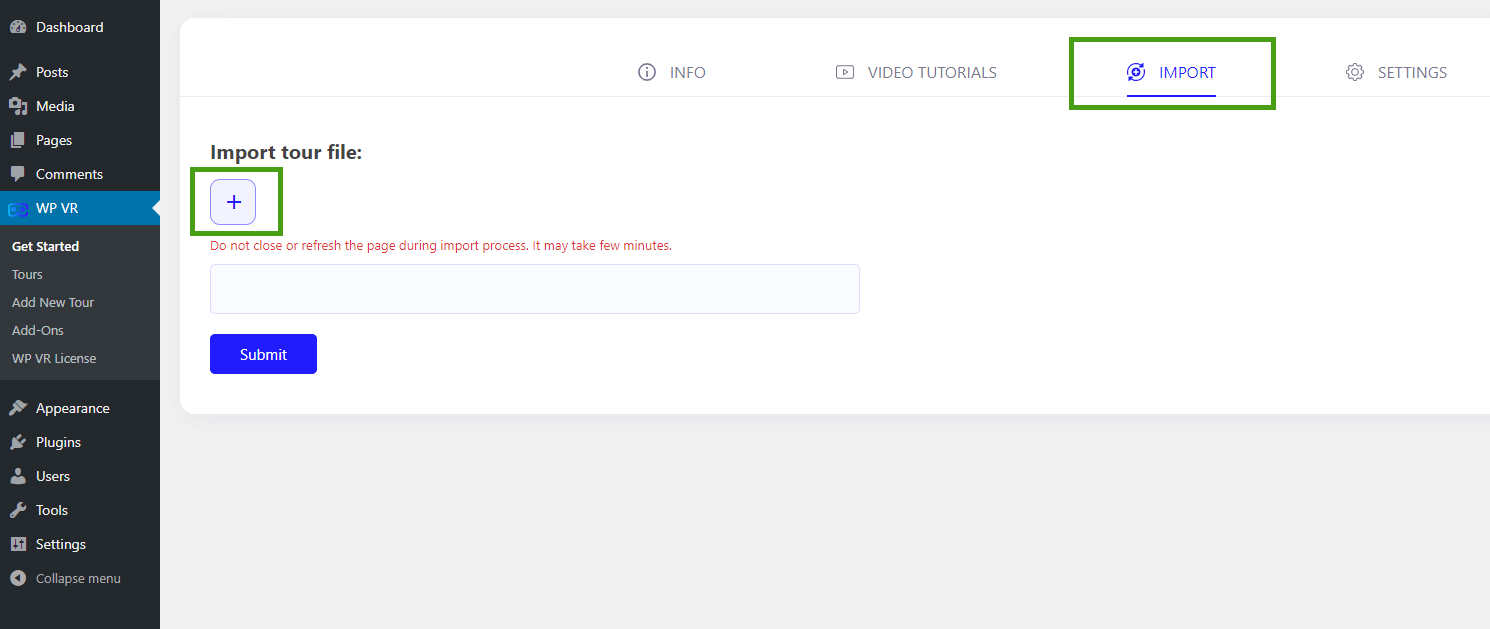
3. Click on the blue plus button and upload the zip file of the tour you wish to import.
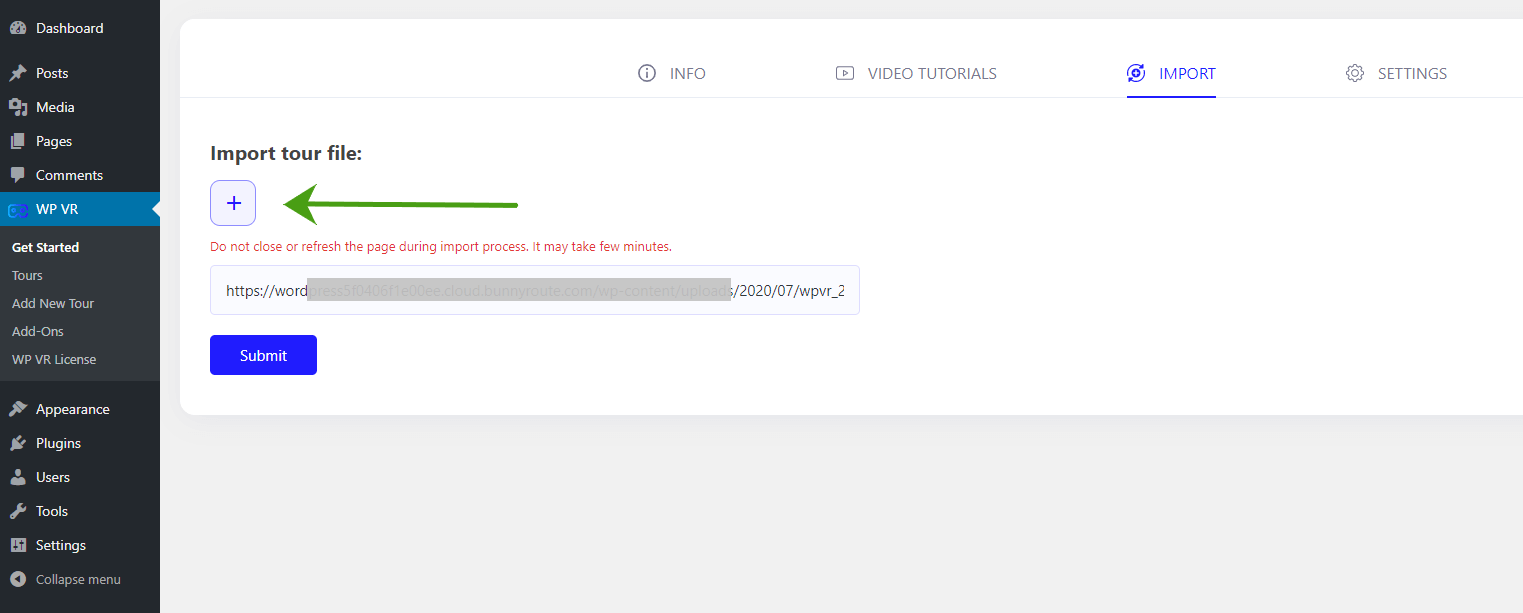
Once the file is added, an URL will appear below it.
4. Then click on the Submit button.
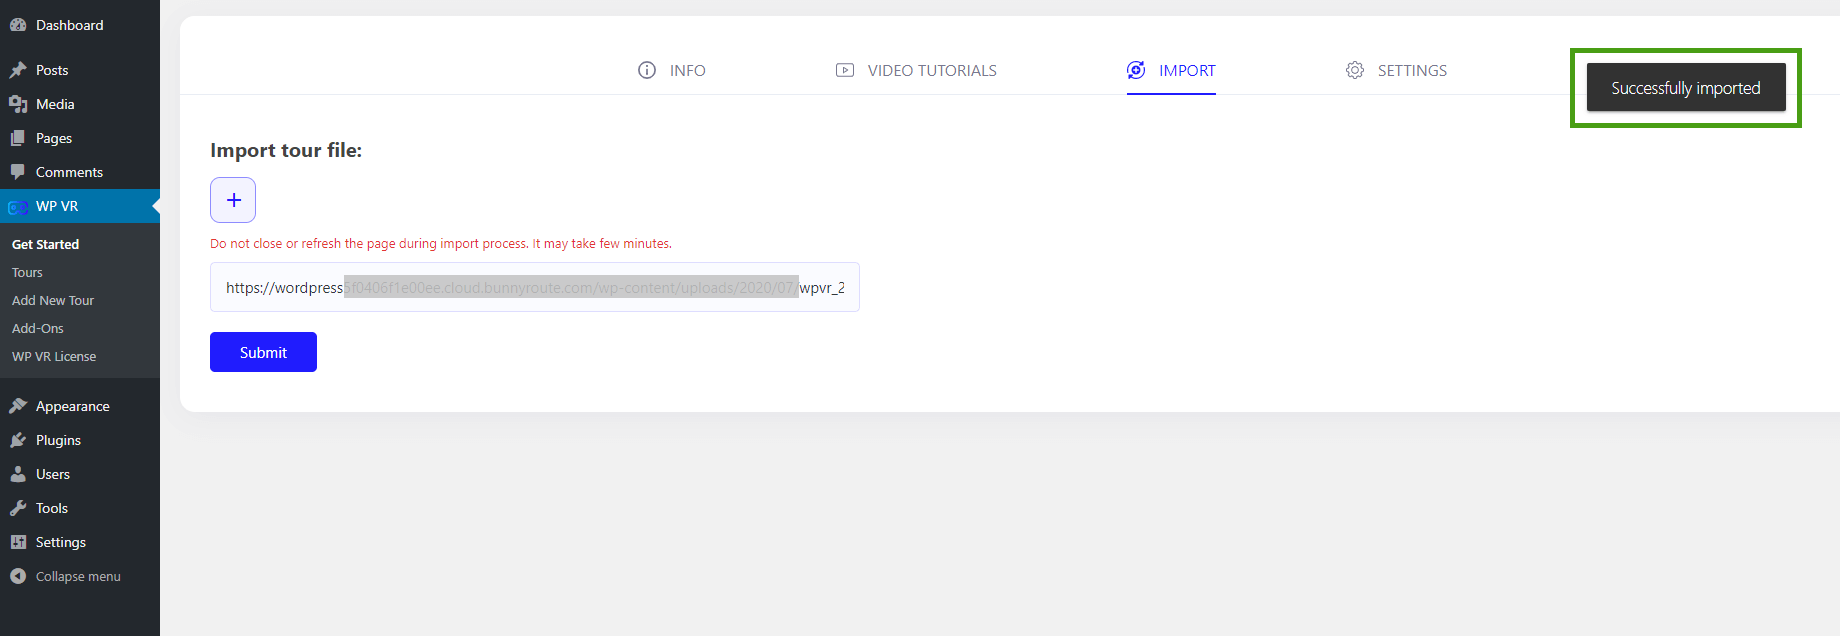
Once the import is complete, you will get a message on the top right corner with the confirmation.
That’s it. You have successfully imported the tour. You can then simply go to Dashboard > WPVR > Tours and see that the tour is added with a new tour ID.