While promoting your feed in your preferred merchant you may want to include discount information in your product details.
You can use the plugin ‘Discount Rules for WooCommerce’ to insert the discount info into your products.
In this guide, I will show you how you can include your discount information in the feed using Discount Rules for WooCommerce.
Add Brand To Your Product #
1. At first you need to install and activate Discount Rules for WooCommerce.
Click on the Plugins >> Add New button from the WordPress Dashboard, and it will take you to the Add Plugins page.

2. Search for Discount Rules for WooCommerce in the Search Plugins box, and you will get the Discount Rules for WooCommerce in the search result.

3. Click on the Install Now button, it will start installing the plugin into your site, and once the installation is completed, you will find an option to activate the plugin and then click on the Activate button to activate the plugin.
Once the plugin gets activated, it will take you to your plugin page.
4. Your plugin is activated, now you have to Set up the plugin. Follow the official guide of Discount Rules for WooCommerce for the setup.
Include Discount Rules In The Feed #
Once the Discount Rules are added to your product, now you want to include the Discount data in the feed.
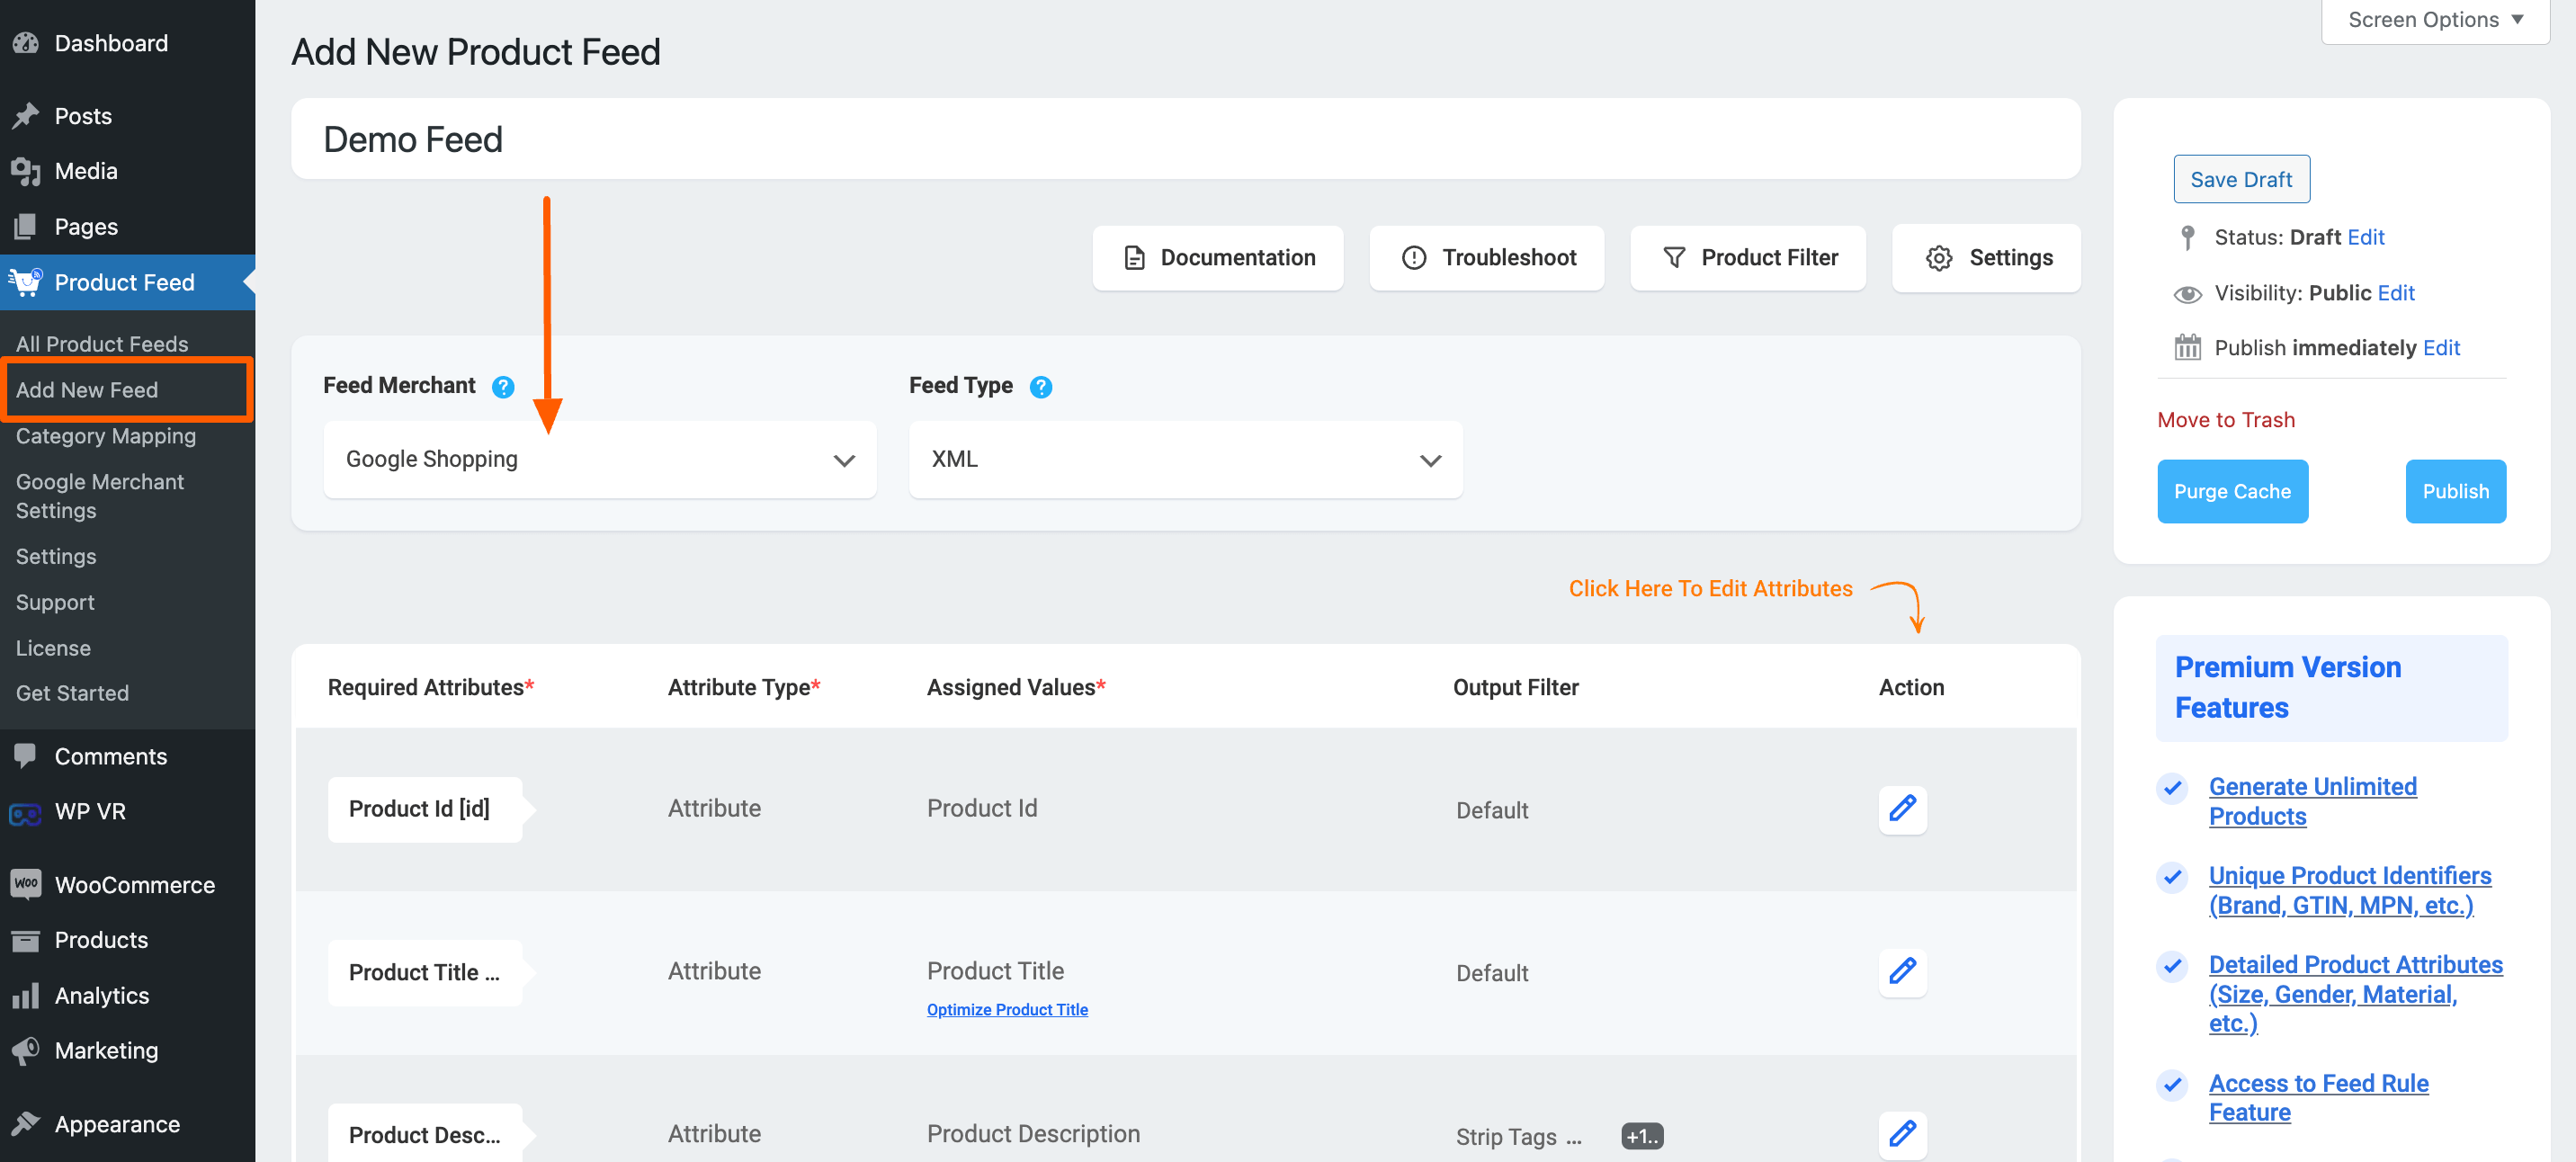
1. At first go to Product Feed Manager >> create a new feed >> select a merchant or open your existing feed. Here you will find all the attributes as per your selected merchant.

2. Currently, we have the following two options for this plugin:
- Woo Discount Rules – Price
- Woo Discount Rules – Expire Date
You can find them under the `Woo Discount Rules` group in the attribute dropdown list.

4. Finally, scroll back to the top and click on the publish/ update button to publish/ update the feed.

That’s it, now when you open the feed, you will find that the Price is showing as the value for the concerned attribute.