The first task at hand is to track abandoned carts.
Now, a lot of time maybe wasted by manually tracking the abandoned carts and creating a list, and then setting up recovery campaigns every day.
However, you can save yourself from all the hassle using Cart Lift.
Simply let the plugin track abandoned carts for you, automatically. It will detect cart abandonment real-time and create a list to keep track of them.
How To Enable Automatic Tracking Of Abandoned Carts? #
Once you install and activate the plugin, follow the steps below to enable automatic tracking of abandoned carts on your store.
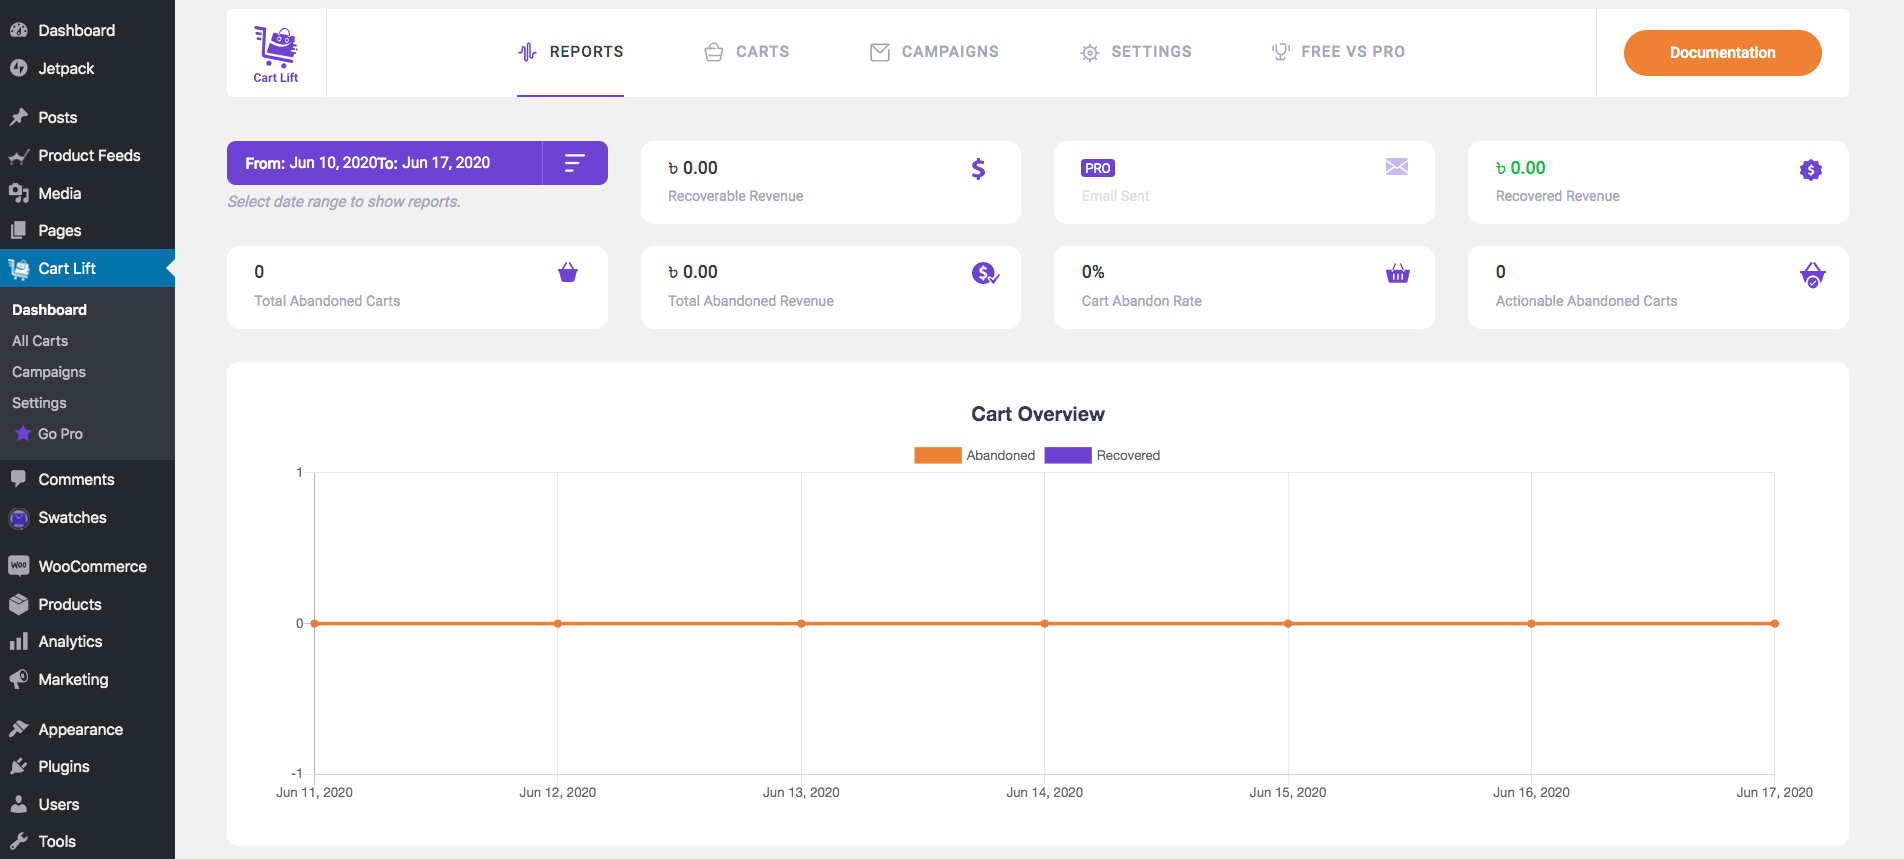
01. Go to Cart Lift Dashboard #
Go to Dashboard > Cart Lift and it will take you to the Cart Lift plugin dashboard.
02. Go To Settings #
On top, you can see a few tabs. Click on the Settings tab and it will take you to the settings page for Cart Lift.

03. Enable Abandon Cart Tracking #
Under the Settings tab, clicked on General. There are several options.
As you can see, the first option is “Enable Abandon Cart Tracking“
Enable it.
Now, the plugin will start tracking abandoned carts in your online store automatically.
04. Set Abandoned Cart Cut-off Time #
If you look lower into these options, you will see an option called ‘Cart Abandoned Cut-off Time’.

Basically, when a person leaves your site after adding products to the cart, after this cut-off time, it will be considered as an abandoned cart and will be enlisted for the recovery campaign.
Minimum time is 15 minutes to consider a cart as abandoned.
05. Set A Cart Expiration Time #
Just above the cut-off time option, you will also see an option called ‘Cart Expiration Time‘.

Once considered as an abandoned cart, you can set a time until which the buyer will be part of the abandoned cart list.
Usually, when a person abandons a cart, cookies are saved in his browser for the time mentioned in this option.
So if you set the cart expiration time as 30 days, then after 30 days, the buyer will be removed from the abandoned cart list.
View All The Abandoned Carts On Your Site #
Once you start tracking abandoned carts, they will be listed within Cart Lift. There you can view them and get more details such as customer information, products in the cart, what stage is the buyer in the recovery campaign, etc.
Here’s how you can find them.
01. Go to the Carts Tab #
Got to Dashboard > Cart Lift and on top, click on the Carts tab to find the list of all the abandoned carts on your store that are still part of the active recovery campaigns.
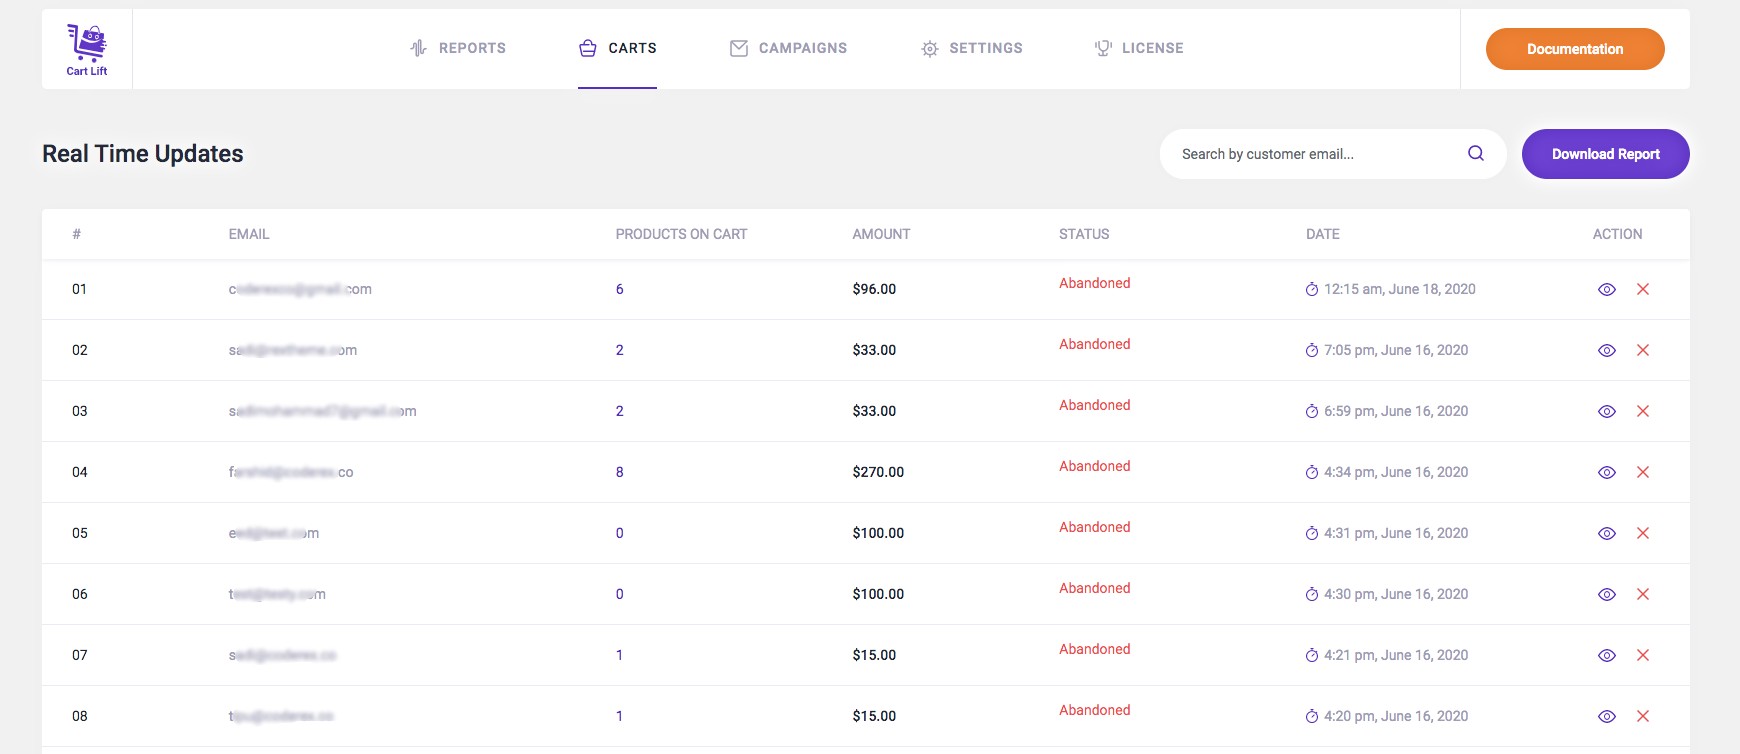
Once you set up automatic tracking, this is where the abandoned carts are tracked and listed.
02. Get A Basic Overview Of The Abandoned Carts #
Here you will get the following details for each abandoned cart:

- Email – the email address of the potential buyer
- Products On Cart – the number of products added in the cart
- Amount – the total cost of the cart
- Status – is it still abandoned or recovered
- Date – date of abandonment
You will also see two action buttons, an eye icon, and a cross icon.
If you want to delete an abandoned cart lead, you may click on the cross icon.
Click on the eye icon to get more details about this abandoned cart..
03. Get More Details For An Individual Abandoned Cart #
As mentioned earlier, the eye icon gives you a detailed overview of each lead. If you click on it, a pop-will appear as shown below:

As you can see, you will find the following data for an abandoned lead:
• Status –
On the top left corner, you can see the status. It is a red shape with the text ‘Abandoned’. When the status is abandoned, this red shape will be there. It will be a green shape with the text ‘Recovered’ if the cart was recovered.
• User Details –
Next, you can see the User Details section on the left.

Here, you will find the Name of the person who abandoned the cart, the Email of this potential buyer, Cart Total cost, and the abandoned date when the recovery campaign was issued for this potential buyer.
• Email Log –
On the right side, you will see the Email Log.

Here you will get
- how long ago email(s) were sent to the buyer
- how long left for the next email(s) to be sent to the buyer.
- failed message if email sending was failed
• Cart Contents –
At the bottom, you will get Cart contents i.e. the products in the cart and their details.

• Unsubscribe –
And at the bottom right corner, the Unsubscribe button.

Click on this if you want to stop the recovery campaign for this particular lead.
Observing abandoned carts can be very useful to understand which products are commonly abandoned and the price range of products for which abandonment happens.
Now you know how you can automatically track abandoned carts and where to get details about them.
Let’s move on to the next step, creating and activating the abandoned cart recovery campaign.