
You can now use the scene gallery feature of WP VR on both the backend and the frontend of a virtual tour.
To add a scene gallery, you must have WP VR Pro installed and activated.
Follow the steps below to add a Scene gallery to any virtual tour.
Adding A Scene Gallery To A Virtual Tour #
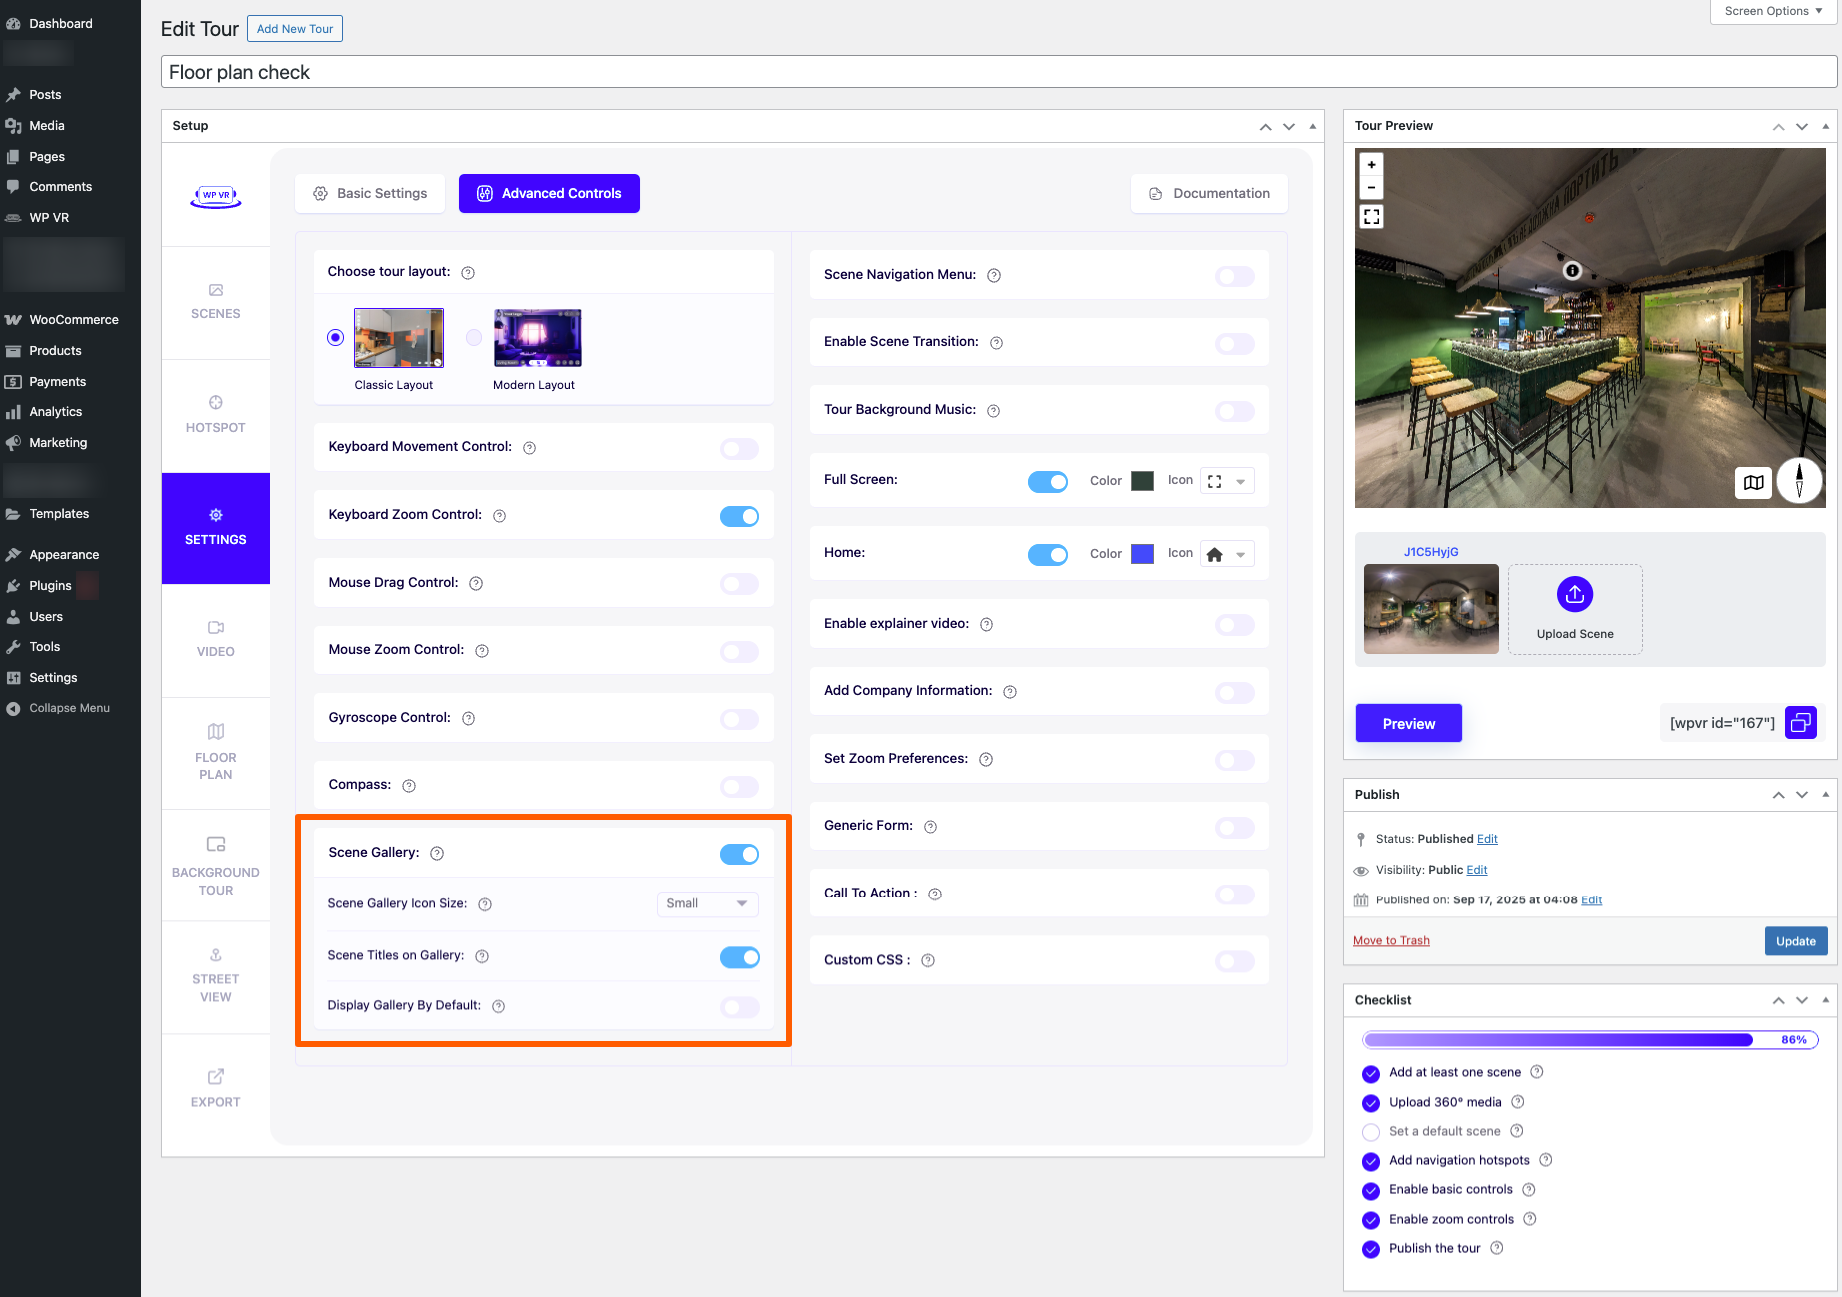
1. While creating or editing a virtual tour, on the Generals tab, click on the Advanced Controls tab on top.
2. You will find an option called Scene Gallery. Enable it.
3. Once you publish the tour and embed it on a page, you will find a small arrow in the bottom-middle side of the tour.
Clicking on the small arrow will display the scene gallery.
Doppelklicken Sie auf eines der Bilder in der Galerie, um direkt zu dieser Szene in der virtuellen Tour zu gelangen.
Use Scene Titles On The Scene Gallery #
You can display Scene Titles on top of their respective scenes on the scene gallery.
1. Assign suitable scene titles to each scene.
2. on the Generals tab, click on the Advanced Controls tab on top.
3. Here, enable Scene Gallery, and an option to add Scene Titles On Gallery will appear. Enable it.
4. Now preview the tour, or publish and embed the tour on a page, and you will find the Scene titles on top of their respective scenes.
You will also get a scene gallery under the tour preview by default.
That’s how easy it is to set the Scene Gallery.