![How to Start an Ecommerce Business Right Away- 10 Basic Steps [2026]](https://rextheme.com/wp-content/uploads/2025/11/How-to-start-an-Ecommerce-Business.png)
When you decide to start an ecommerce business for real, it’s not about putting a few products online and hoping someone buys.
It’s almost 2026, and you definitely want something that grows, scales, and feels like a real brand—not a weekend experiment.
And, you already have a product idea and an audience in mind. What you need now is a clear path to build the whole machine—the store, the offers, the operations, the marketing, and the sales flow that actually makes money.
Most guides stop at the basics: pick a niche, know your audience, stay consistent. You’re past that. You need steps that take you from “I have a business idea” to “my store is live, working, and ready to scale.”
This guide walks you through how to start an ecommerce business in a true sense with ten practical steps serious ecommerce founders follow. Along the way, you’ll see where the right tools and processes make the launch smoother, faster, and more professional from day one.
Let’s build this the right way.
TL;DR – How to Start an Ecommerce Business
Why WooCommerce is the Best Platform
- Scalable, flexible, professional, integrates with marketing & sales tools
10 Steps to Start an Ecommerce Business
- Step 1 – Validate Your Product and Offer
- Step 2 – Design Pricing and Promotion Strategy
- Step 3 – Secure Product Sourcing and Fulfillment
- Step 4 – Business Structure and Branding
- Step 5 – Build a WooCommerce Store
- Step 6 – Set Up Shipping, Payment, and Taxes
- Step 7 – Prepare Your Marketing Engine
- Step 8 – Launch With a Clear Traffic and Conversion Plan
- Step 9 – Recover Lost Sales and Improve Lifetime Value
- Step 10 – Scale With Systems, Tools, and Multi-Channel Selling
Why Most New Ecommerce Stores Fail
- No pre-launch validation
- Manual cart recovery
- Static checkout
- Disconnected sales channels
- Set-and-forget pricing
Start Your Ecommerce Business Confidently with the WooCommerce Sell Kit bundle.
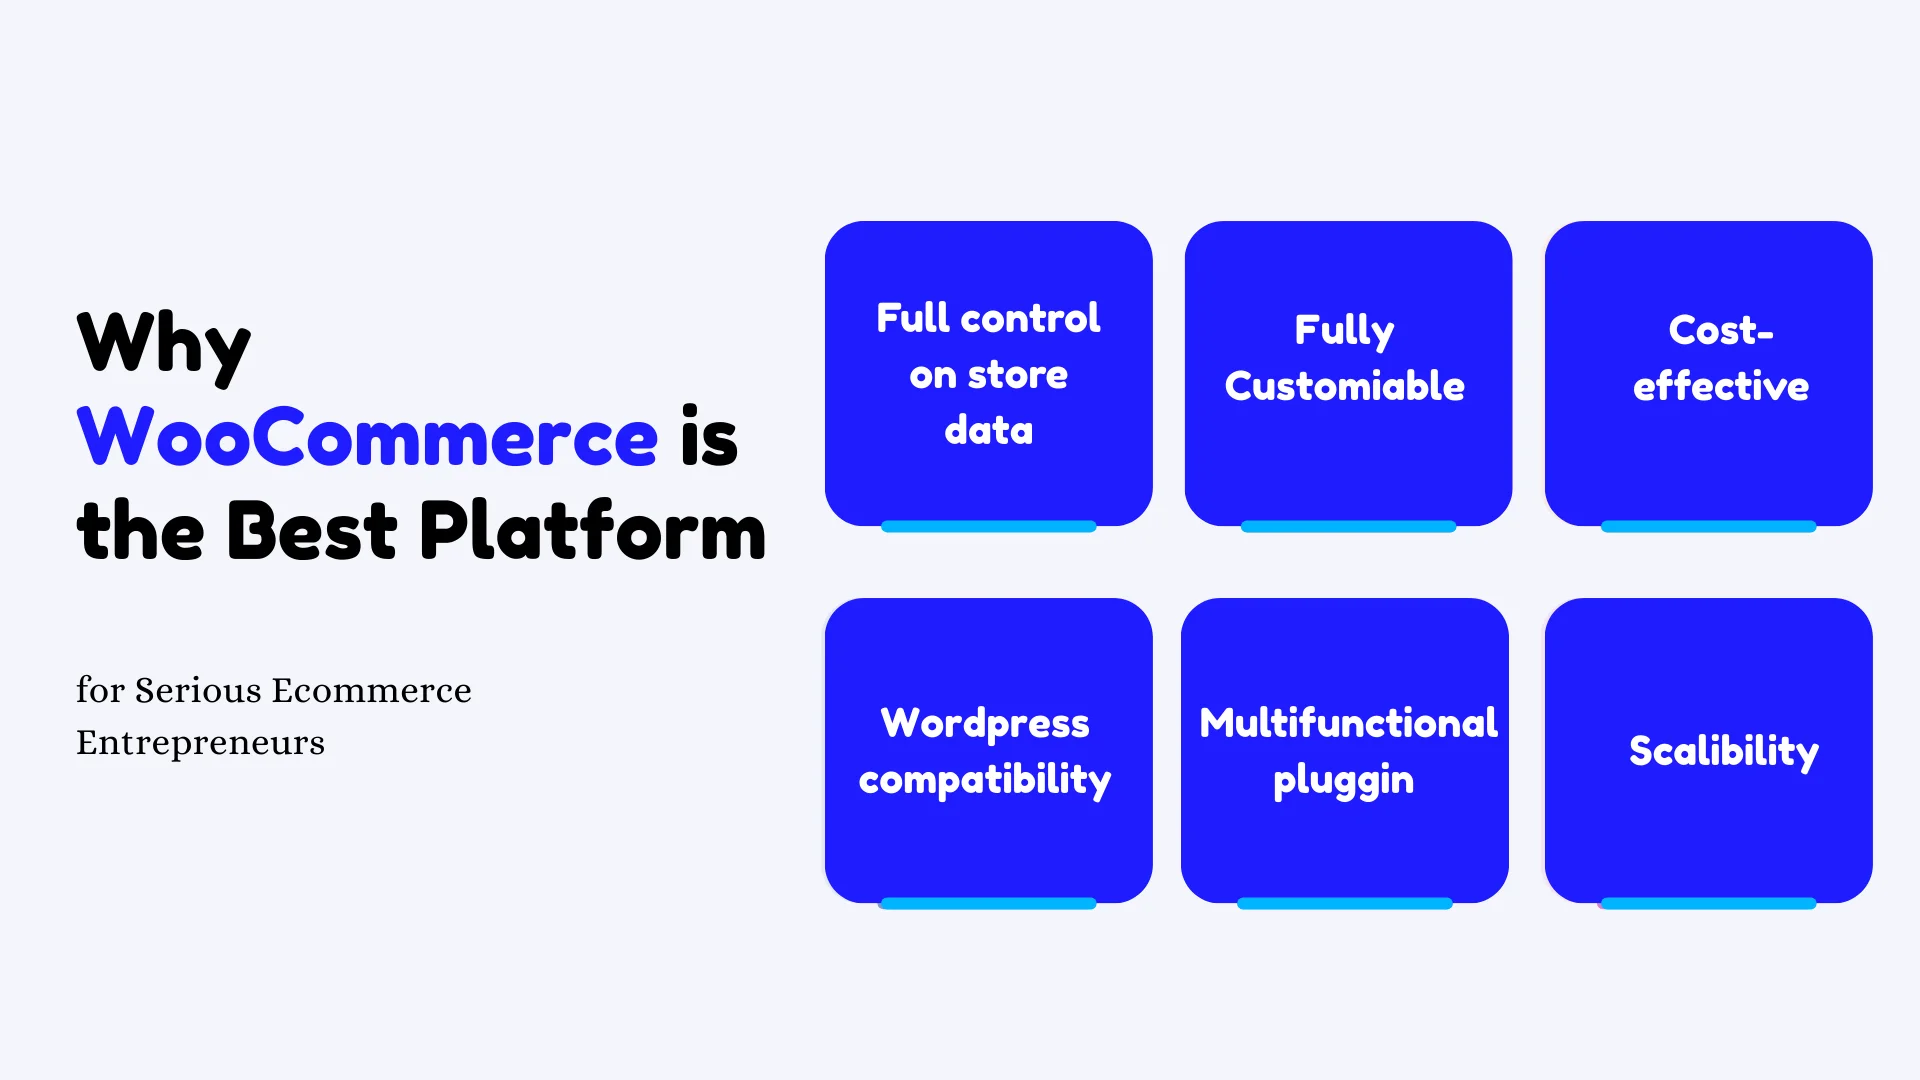
Why WooCommerce is the Best Platform for Serious Ecommerce Entrepreneurs
First, let me give a quick explanation of why WooCommerce is the platform I’ll focus on.
You could use other platforms, but if you want full control over your store, the ability to grow without hitting limits, and options that won’t drain your budget, WooCommerce is the clear choice.
Here’s why it works so well for someone serious about building a real ecommerce brand:
- You own your store and data – Your products, customer info, and sales records belong to you. If you ever need to move your store or change tools, you’re not locked in.
- You can customize almost everything – From product pages to checkout flows, you can tweak designs, layouts, and features to match exactly how you want your store to work.
- It’s cost-effective – You only pay for hosting, themes, and plugins you actually need, instead of a big monthly fee that keeps growing as your sales increase.
- Works with WordPress for content and SEO – You can create blogs, landing pages, and content that naturally drives traffic from search engines without relying only on ads.
- Plugins cover every function you need – Whether it’s automated email follow-ups, discounts, analytics, or abandoned cart recovery, there’s a plugin that lets you set it up quickly.
- Scales with your business – Start with a few products and simple workflows, then add features, multiple payment options, and even handle hundreds of orders a day without switching platforms.
The steps in this guide are all tailored for WooCommerce, so as you move through them, you’ll be able to make the most of these features from day one and build a store that’s ready to grow.
How to Start an Ecommerce Business – 10 Advanced Steps
Before I jump into the steps, let’s be clear: a serious ecommerce business isn’t just about putting a few products online and hoping they sell. You’re here because you want something that grows—a real brand, a system that works, not a weekend experiment.
To get the most out of this guide, you need a few things roughly mapped out. Don’t overthink them; these are just your starting points.
Before You Start: What a Serious Ecommerce Business Really Needs
I’m assuming you already have a product idea or a niche in mind and a basic understanding of who you want to sell to.
Here’s what you should have in place before Step 1:
- Who you want to serve (ideal customer profile): Know exactly who your product is for. For example, if you’re selling ergonomic office chairs, your audience might be remote workers aged 25–40 who care about comfort and posture. Knowing this helps you craft offers and messaging that actually click.
- The product category or niche: Don’t just say “furniture” or “gadgets.” Define your category enough to see where you fit in. Are you affordable, premium, or a mix?
- Rough pricing and positioning: Decide if your product is budget-friendly, mid-range, or premium. This guides your marketing, copy, and offers from the very start.
- Clear revenue goal for the first 12 months: Even a simple number like $50K or $100K will shape your strategy, from how many units you need to sell to which marketing channels to prioritize.
- Time and budget you can realistically invest: Be honest. If you only have 10–15 hours per week and $5K to start, your launch plan will be very different than someone who can go full-time with $20K.
**Action note: Spend a few hours (no more than a day) documenting these. Don’t over-perfect them because real clarity comes from actually working through the steps ahead.
Let’s get started.
Step 1 – Validate Your Product and Offer With Real Demand
Now here’s where many “serious” entrepreneurs still get it wrong: they build a store around what they like, not what people want.
Don’t make that mistake. You need to make sure that your product is something people are actively searching for and buying.
Here’s how to plan it out-
i. Analyze Demand, Competition, and Pricing
Start by looking at the market. Check search demand, competitor stores, and marketplaces like Amazon or Etsy. See how people are already solving this problem. Look at prices, bundles, shipping options, and customer reviews.
For instance, if you’re selling a yoga mat, notice if competitors are offering eco-friendly materials, free shipping, or bundle discounts. If reviews complain about durability, you can position your mat as “long-lasting and extra-grip,” maybe with a free carrying strap. That’s a differentiator.
You can create some minitasks you can do:
- List 5–10 direct competitors and note their prices.
- Pull 20–30 customer reviews and highlight pain points.
- Decide how your offer will be different: better value, better quality, or a more compelling bundle.
ii. Turn Your Idea Into a Clear Offer
Now, shape your offer beyond just the mat itself. Think about what the customer actually gets: product, bonuses, bundles, pricing, launch perks, delivery promises, and return policies.
Example: instead of just a yoga mat, your launch offer could include a small exercise guide, free shipping for early buyers, and a 30-day guarantee. That first-time buyer has no reason to hesitate.
- Start with 1–2 flagship products. Don’t overwhelm yourself with a huge catalog.
- Identify the core benefits you’ll highlight on your product pages: durability, eco-friendliness, and comfort.
- Include at least one first-time purchase offer that makes it easy to say yes.

Step 2 – Design a Profitable Pricing and Promotion Strategy
Now that your offer is clear, it’s time to make sure the numbers actually work. Serious ecommerce brands don’t just pick a price—they design pricing and promotions that protect profit while still making the product attractive.
i. Set Your Base Prices and Margins
Start by figuring out your real cost per item. Don’t just think about the product itself. Include packaging, shipping, marketplace or transaction fees, and a bit for basic marketing. Once you know your costs, decide on a target profit margin.
- Decide on the minimum profit per order that still makes sense for your business.
- Plan room for discounts, like 10–20%, without going below your margin.
- Avoid the trap of undercutting everyone else; cheaper isn’t always better.
- Factor in small extras like complimentary straps or mats in bundles—they can increase perceived value without breaking your margin.
ii. Plan Your Core Offer Types (Bundles, Upsells, Launch Deals)
Next, think about how to structure your offers so each sale makes more than just the base product. Bundles, upsells, and first-order incentives can drive more revenue and give buyers a reason to spend a little more.
For example, with your yoga mat:
- Offer a starter kit bundle: mat + carrying strap + mini workout guide.
- Add a checkout order bump: a water bottle or yoga block for a small extra cost.
- Create a tiered bundle: buy one mat, save 5%; buy two mats, save 10%.
- Include a first-order discount for email subscribers to kickstart your list.
- Use limited-time launch offers to create a sense of urgency without feeling pushy.
If you want, tools like Dynamic Discount can handle these offers automatically. That way, you can give buyers incentives without manually adjusting prices, and your margins stay protected.

Read these:
Step 3 – Secure Reliable Product Sourcing and Fulfillment
Once your pricing and offers are set, it’s time to lock in how you’ll actually get products to customers. Treat sourcing and fulfillment like the backbone of your business—without it, even the best offer can fall apart.
i. Choose Your Supply Model (Inventory, Wholesale, or Dropshipping)
You have a few ways to source your products, and each has pros and cons depending on your budget, control, and growth plans.
- Manufacturing your own products: Full control over quality and branding, but higher upfront investment and longer lead times.
- Buying wholesale: Lower investment than manufacturing, decent control over quality, faster to stock, but margins can be slimmer.
- Dropshipping: Minimal upfront cost and no inventory to manage, but you give up some control on quality and shipping speed.
- Hybrid: Mix of inventory and dropshipping to balance risk, cost, and fulfillment speed.
Think about what fits your yoga mat example: if you want premium materials and a branded experience, manufacturing or wholesale might make more sense. Dropshipping can work if you want to test demand first without tying up cash.
ii. Set Up Operational Basics (Stock, Packaging, Fulfillment Rules)
Before your store goes live, define how you’ll handle orders from start to finish. Clear rules now prevent confusion later.
- Draft a simple workflow: order received → pick and pack → ship → confirm delivery.
- Decide whether you’ll handle packing and shipping yourself or use a fulfillment partner.
- Set minimum stock levels for each product so you never oversell.
- Define packaging standards: presentation matters, even for simple items like yoga mats.
- Document expected processing times (e.g., 1–2 business days) and rules for backorders or pre-orders.
This step ensures every order flows smoothly, customers get what they expect, and your operations won’t hold back your launch
Step 4 – Choose the Right Business Structure, Name, and Brand Fundamentals
With your sourcing and fulfillment ready, the next step is setting up the foundation your store needs to operate. Keep this part simple. You’re only putting the basics in place so everything runs smoothly once orders start coming in.
i. Register Your Business and Sort the Essentials
You don’t need a legal textbook for this. You just need a structure that fits your situation and the right documents to operate in your region. This includes your tax IDs, payment accounts, and basic compliance. Keep it straightforward and get professional help only if you need it.
- Decide on a business structure with guidance if required.
- Set up a dedicated business bank account and your payment processor accounts.
- Draft clear store policies for shipping, returns, and privacy.
- Keep all documents organized so you can access them quickly when needed.
ii. Choose a Brand Name, Visual Identity, and Messaging
Once the legal setup is handled, lock in a brand that feels right for your niche. Your name, visuals, and tone set the first impression when someone lands on your site. Aim for something simple, memorable, and available across all the places your audience will look.
- Check domain availability and run a trademark search before you commit.
- Pick a name that fits your niche and is easy for people to remember.
- Create a clean logo and a basic color palette you can reuse everywhere.
- Write a short brand story that explains who you serve and why your product matters.
- Draft a simple brand promise that will sit on your homepage and About page.
- Make sure the branding you choose can carry across product pages, email, social posts, and retargeting ads later.
This step ensures your brand looks consistent the moment you start promoting your store, which helps people trust you faster and understand what you stand for.
Step 5 – Build a High-Converting WooCommerce Store
Now that your brand and structure are ready, it’s time to bring everything online. This is where WooCommerce becomes the center of your entire operation. Your products, offers, payments, and marketing all live here, so the setup needs to be clean and conversion-focused from day one.
i. Set Up Your WooCommerce Foundation
Start by installing WordPress and adding WooCommerce. Once both are in place, you’re choosing a lightweight, fast theme that’s built for ecommerce business. Keep the setup simple. Configure your store currency, taxes, shipping rules, and the basic settings you need to operate without confusion later.
When the base is ready, create the core pages your store depends on:
- Home
- Shop
- Product pages
- Cart
- Checkout
- About
- Contact
- Policy pages
Make sure every page loads fast and works smoothly on mobile since most buyers browse and shop from their phones.
ii. Craft Product Pages That Actually Sell
Your product pages do the heavy lifting, so treat them like prime real estate. Use clear product titles, short benefit-focused descriptions, and strong visuals. Add lifestyle shots or 360° views if your product benefits from being seen from multiple angles. These details help buyers feel confident before they add anything to cart. Add reviews and ratings early as your social proof grows.
A simple structure you can follow:
- Main image or gallery at the top
- Short benefit section that tells people what they gain
- Key product details such as materials, size, or variations
- A small FAQ block for common concerns
- Reviews and ratings
If your niche relies on visuals—like home decor, showrooms, or travel—richer imagery or interactive views can increase trust and clarity very quickly.
iii. Optimize Checkout for Frictionless Conversion
A good checkout keeps people moving without slowing them down. This means fewer fields, clear steps, and payment options that match your audience. When buyers feel the process is quick and predictable, they finish their order without second-guessing anything.
A few steps to keep your checkout tight and easy to complete:
- Remove extra fields that don’t affect the order
- Keep the layout clean with no unnecessary distractions
- Add small trust elements like secure payment icons or a money-back guarantee
- Offer multiple payment methods
- Add a simple order bump or a one-click offer to lift your average order value
Try out Checkoutify for a frictionless checkout experience.

There are tools built for WooCommerce that help you adjust these fields, add trust elements, and test different checkout flows without complications.
- Learn about these 12 Checkout Optimization Tips to Increase Conversion Rates [2025]
Step 6 – Set Up Smart Shipping, Payment, and Tax Configuration
As your store starts taking shape, the next piece is making sure people can actually buy and receive what you sell without confusion. Shipping and payment setups affect your conversions more than most people realize, so you want this part clean and predictable.
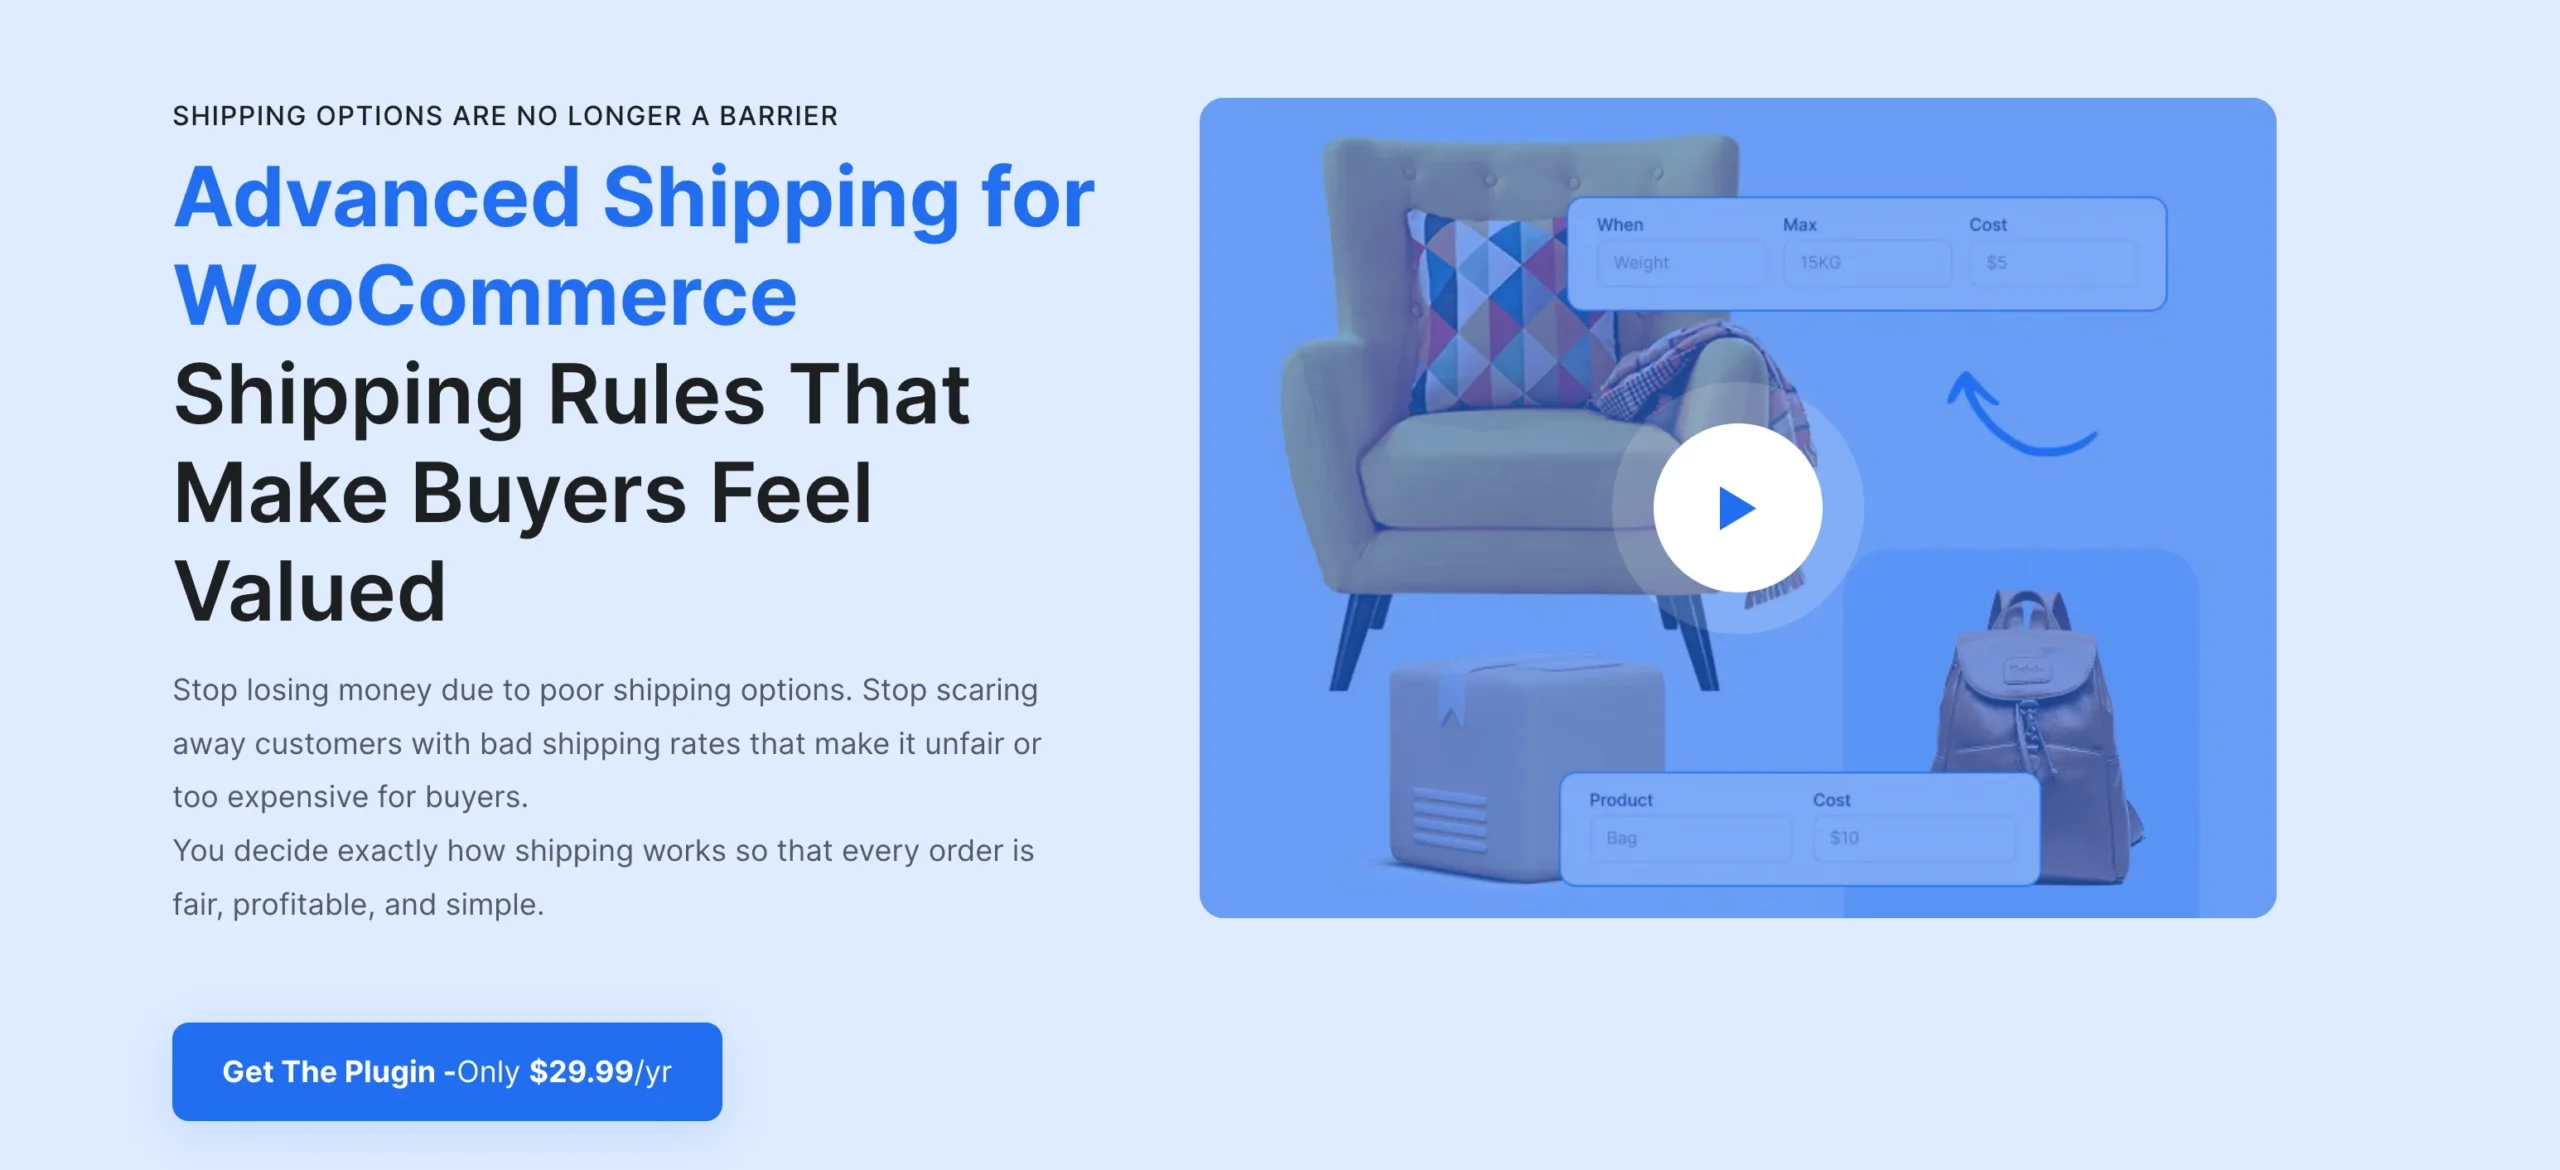
i. Define Shipping Zones, Methods, and Policies
Start by deciding where you’ll ship and how you’ll ship. Keep your options simple so customers don’t feel overwhelmed. Many stores stick to a clean setup like free shipping over a certain amount, a flat-rate option, and an express method for buyers who need their order faster. This structure is easy to understand and works well across most niches.
Once your main methods are set, build the rules around them:
- Choose a free shipping threshold that still protects your margins
- Add clear delivery windows on product pages and at checkout
- Test every shipping rule to ensure prices calculate correctly
- Keep your policy page short and direct so buyers know what to expect
- Add a small note about handling times if certain items need extra processing
To configure the shipping process and policy in a more advanced way, try out Advanced Shipping for WooCommerce
Read these-
ii. Configure Payment Gateways and Taxes
With shipping finalized, set up your payment methods. Offer the options people in your region already trust—usually cards, digital wallets, and any major local methods. You’re aiming for convenience since the fewer obstacles at checkout, the higher your success rate.
A few things to lock in:
- Configure taxes based on your local requirements
- Test every payment method with a small order
- Add a clear billing descriptor so customers recognize the charge
- Make sure refunds work smoothly inside your payment dashboard
This gives your store the reliability people expect so buyers move through checkout without doubts or friction.
Step 7 – Prepare Your Marketing Engine Before Launch
Now that your store setup, shipping, and payments are handled, the next focus is building the parts that bring people in.
Think of it like this: you want everything lined up so the moment your store goes live, traffic starts coming and sales start happening without last-minute panicking and figuring it out on the fly.
i. Optimize for Search (SEO Basics for Ecommerce)
Start with simple keyword research around your products, their use cases, and the terms buyers already search for when they’re ready to purchase. Keep the focus tight. You’re looking for phrases that match buyer intent, not broad topics that attract browsers with no plans to buy.
Once you have your list, update your category pages, product pages, and a few key site pages with those keywords. You’re not stuffing keywords; you’re making sure search engines understand what each page is about. This gives your store a solid base for long-term traffic.
A few tasks to line up:
- Create optimized title tags and meta descriptions for your top pages
- Add keyword-rich but natural product descriptions
- Use clear headings to help both users and search engines
- Add internal links between related products and categories
- Update image alt text with simple, descriptive labels
- Make sure product URLs are short and readable
ii. Plan Your Content and Sales Channels
With SEO in place, choose where you’ll show up during and after launch. Pick channels your audience already uses. This helps you stay focused instead of trying to post everywhere at once. Many new stores keep it simple by combining search with one social platform and, if relevant, a marketplace.
As you plan your channels, start drafting content ideas tied to buying intent. These pieces help bring the right buyers to your store instead of random traffic that doesn’t convert. Keep your product data consistent across your store, social shops, and marketplaces so nothing feels disconnected.
A few steps to lock down:
- Decide which platforms you’ll prioritize at launch
- Draft 2–3 pillar content ideas that support your niche
- Prepare a short list of social posts that highlight your products
- Keep product titles and descriptions consistent across every platform
- Set aside time each week to review performance and adjust
iii . Set Up Email and Basic Automation
Email is one of the strongest assets you can build before launch. It lets you capture leads, welcome early subscribers, and guide new buyers toward their next order. Even simple automation helps you stay connected with people without having to do everything manually.
Set up a basic welcome series that introduces your brand and your best products. Add an abandoned cart flow that follows up when someone leaves the checkout. After launch, use post-purchase emails to request reviews, share care instructions, and offer repeat-buyer incentives. These small steps build trust and help you keep more customers long-term.
Add these to your checklist:
- Create a welcome series for new subscribers
- Add an abandoned cart email flow
- Draft post-purchase emails asking for reviews
- Prepare a repeat-purchase nudge with a small incentive
- Keep your messaging consistent with your homepage and product pages
- Use tools that handle email and cart recovery so you don’t manage everything manually
This gives your store the traction it needs so launch day feels controlled, not chaotic.
Step 8 – Launch With a Clear Traffic and Conversion Plan
With your marketing engine ready, the next move is planning a launch that creates real momentum. Launch isn’t flipping a switch. It’s a short, controlled campaign where you warm your audience, bring them in, and keep improving based on what the numbers tell you.
i. Map Out a 14–30 Day Launch Plan
Break your launch into a simple timeline that covers pre-launch, launch day, and the first weeks after you go live. This helps you avoid random posting and instead push consistent activity across all the places your audience pays attention.
Here are the core pieces to include:
- Announce a pre-launch waitlist and offer early access
- Run a time-bound launch promotion with a clear end date
- Share behind-the-scenes content to build interest
- Post product demos that show real use cases
- Highlight your best offer across all channels
- Keep daily updates going during the first week
- Review early results and adjust your messaging
ii. Use Paid Ads and Social Strategically
Instead of spreading yourself thin across every ad platform, start with a focused plan. Stick to small tests that aim for buyers who already show intent. Retargeting and high-intent keyword ads are usually the fastest way to bring in people who are ready to shop.
Use social content to support those ads, not replace them. Short product demos, customer reactions, and simple comparison posts give your audience more reasons to check your store.
A few actions to follow:
- Start with small daily budgets and test 2–3 audiences or keyword themes
- Send paid traffic to high-intent pages like best sellers or curated collections
- Keep your messaging consistent across ads and organic posts
- Track click-through rate, cost per acquisition, and ROAS from day one
- Pause low performers quickly and move budget to the best ad sets
iii. Install Analytics and Track Key Metrics
From the moment you launch, you want clear visibility into what’s working. Set up analytics and ecommerce tracking before your first visitor arrives so you’re not guessing. This helps you improve your offers, tighten targeting, and adjust pricing when needed.
Keep your focus on a handful of metrics that truly shape revenue:
- Track traffic, conversion rate, average order value, and cart abandonment
- Review performance by channel: organic search, paid ads, social, marketplaces
- Watch which pages gain the most attention and which ones drop visitors
- Use the data to refine offers and adjust your spend
- Review your first week closely and reallocate budget where results are strongest
This gives your launch a structured push instead of a quiet rollout that depends on luck.
Step 9 – Recover Lost Sales and Improve Lifetime Value
By the time you’ve launched and started driving traffic, you’ll quickly notice that not everyone who adds to the cart or browses will buy. A lot of potential revenue slips through the cracks if you don’t actively manage it.
At the same time, keeping customers coming back is far cheaper and more profitable than constantly chasing new ones.
i. Cart Abandonment Recovery and Remarketing
Most new stores lose a big chunk of sales at checkout. Shoppers get distracted, rethink purchases, or compare prices. Having a system in place to recover these lost opportunities can make a huge difference.
- Set up abandoned cart email sequences to gently remind visitors of what they left behind.
- Use retargeting ads for people who viewed products but didn’t buy.
- Offer targeted, time-bound incentives to encourage returning to checkout.
- Track which products are most abandoned to spot patterns.
- Test messaging and timing to find what converts best.
Using specialized cart recovery tools for WooCommerce can automate much of this, making it easier to reclaim lost revenue.
Tools like Cart Lift can help streamline reminders and incentives without manual effort.

Read these-
ii. Build Repeat Purchases With Offers and Experiences
Winning a customer once is good; keeping them coming back is where the real profit is. Repeat buyers spend more and often act as your best promoters.
- Create loyalty offers, bundles, and VIP deals tailored to returning customers.
- Use personalized recommendations and cross-sell campaigns based on past purchases.
- Keep the shopping experience smooth: fast loading, clear navigation, and helpful product reviews.
- For certain products, enhance trust and engagement with richer visuals—360° views, detailed galleries, or virtual tours.
- Plan email sequences to highlight new arrivals or complementary products.
By combining abandoned cart recovery and repeat purchase strategies, you lock in revenue that would otherwise slip away, while increasing the lifetime value of every customer.
Step 10 – Scale With Systems, Tools, and Multi‑Channel Selling
Once your store is running smoothly and repeat sales are coming in, the next step is to scale. Scaling isn’t just about adding more products—it’s about creating a system that can handle more orders, more channels, and more customers without falling apart.
i. Expand to Marketplaces and Additional Channels
Selling in multiple places increases reach, but only if it’s done in an organized way. Listing products on Google Shopping, Facebook, or other marketplaces can bring new traffic while keeping your store manageable.
- Sync your WooCommerce products to key sales channels to maintain consistency.
- Keep pricing, inventory, and product details the same everywhere to avoid confusion.
- Use product feeds (eg. Product Feed Manager for WooCommerce)or auto-sync (Marketplace Autosync) tools to reduce manual updates.
- Prioritize channels that fit your audience and product type.
- Track performance by channel to see where your efforts pay off most.
Read these-
ii. Automate Key Operations and Refine Your Tech Stack
As order volume grows, handling operations manually will quickly become unsustainable. Tools for shipping rules, catalog mode, dynamic discounts, virtual merchandising, and marketplace syncing help you scale without losing control.
- Identify which tasks to automate first, like discounts, abandoned cart recovery, or product feeds.
- Standardize processes for inventory, content updates, and promotions to maintain consistency.
- Use dynamic discounts and visual merchandising tools to increase average order value and engagement.
- Periodically review each tool to make sure it contributes to revenue or efficiency.
- Integrate marketplace syncing and multi-channel operations to avoid duplication or errors.
Once you start scaling, adding channels, and automating tasks, it’s easy to feel like you’re juggling a dozen tools—discounts, abandoned carts, shipping rules, visual tours, marketplace syncing. Managing each one separately can quickly become a headache.
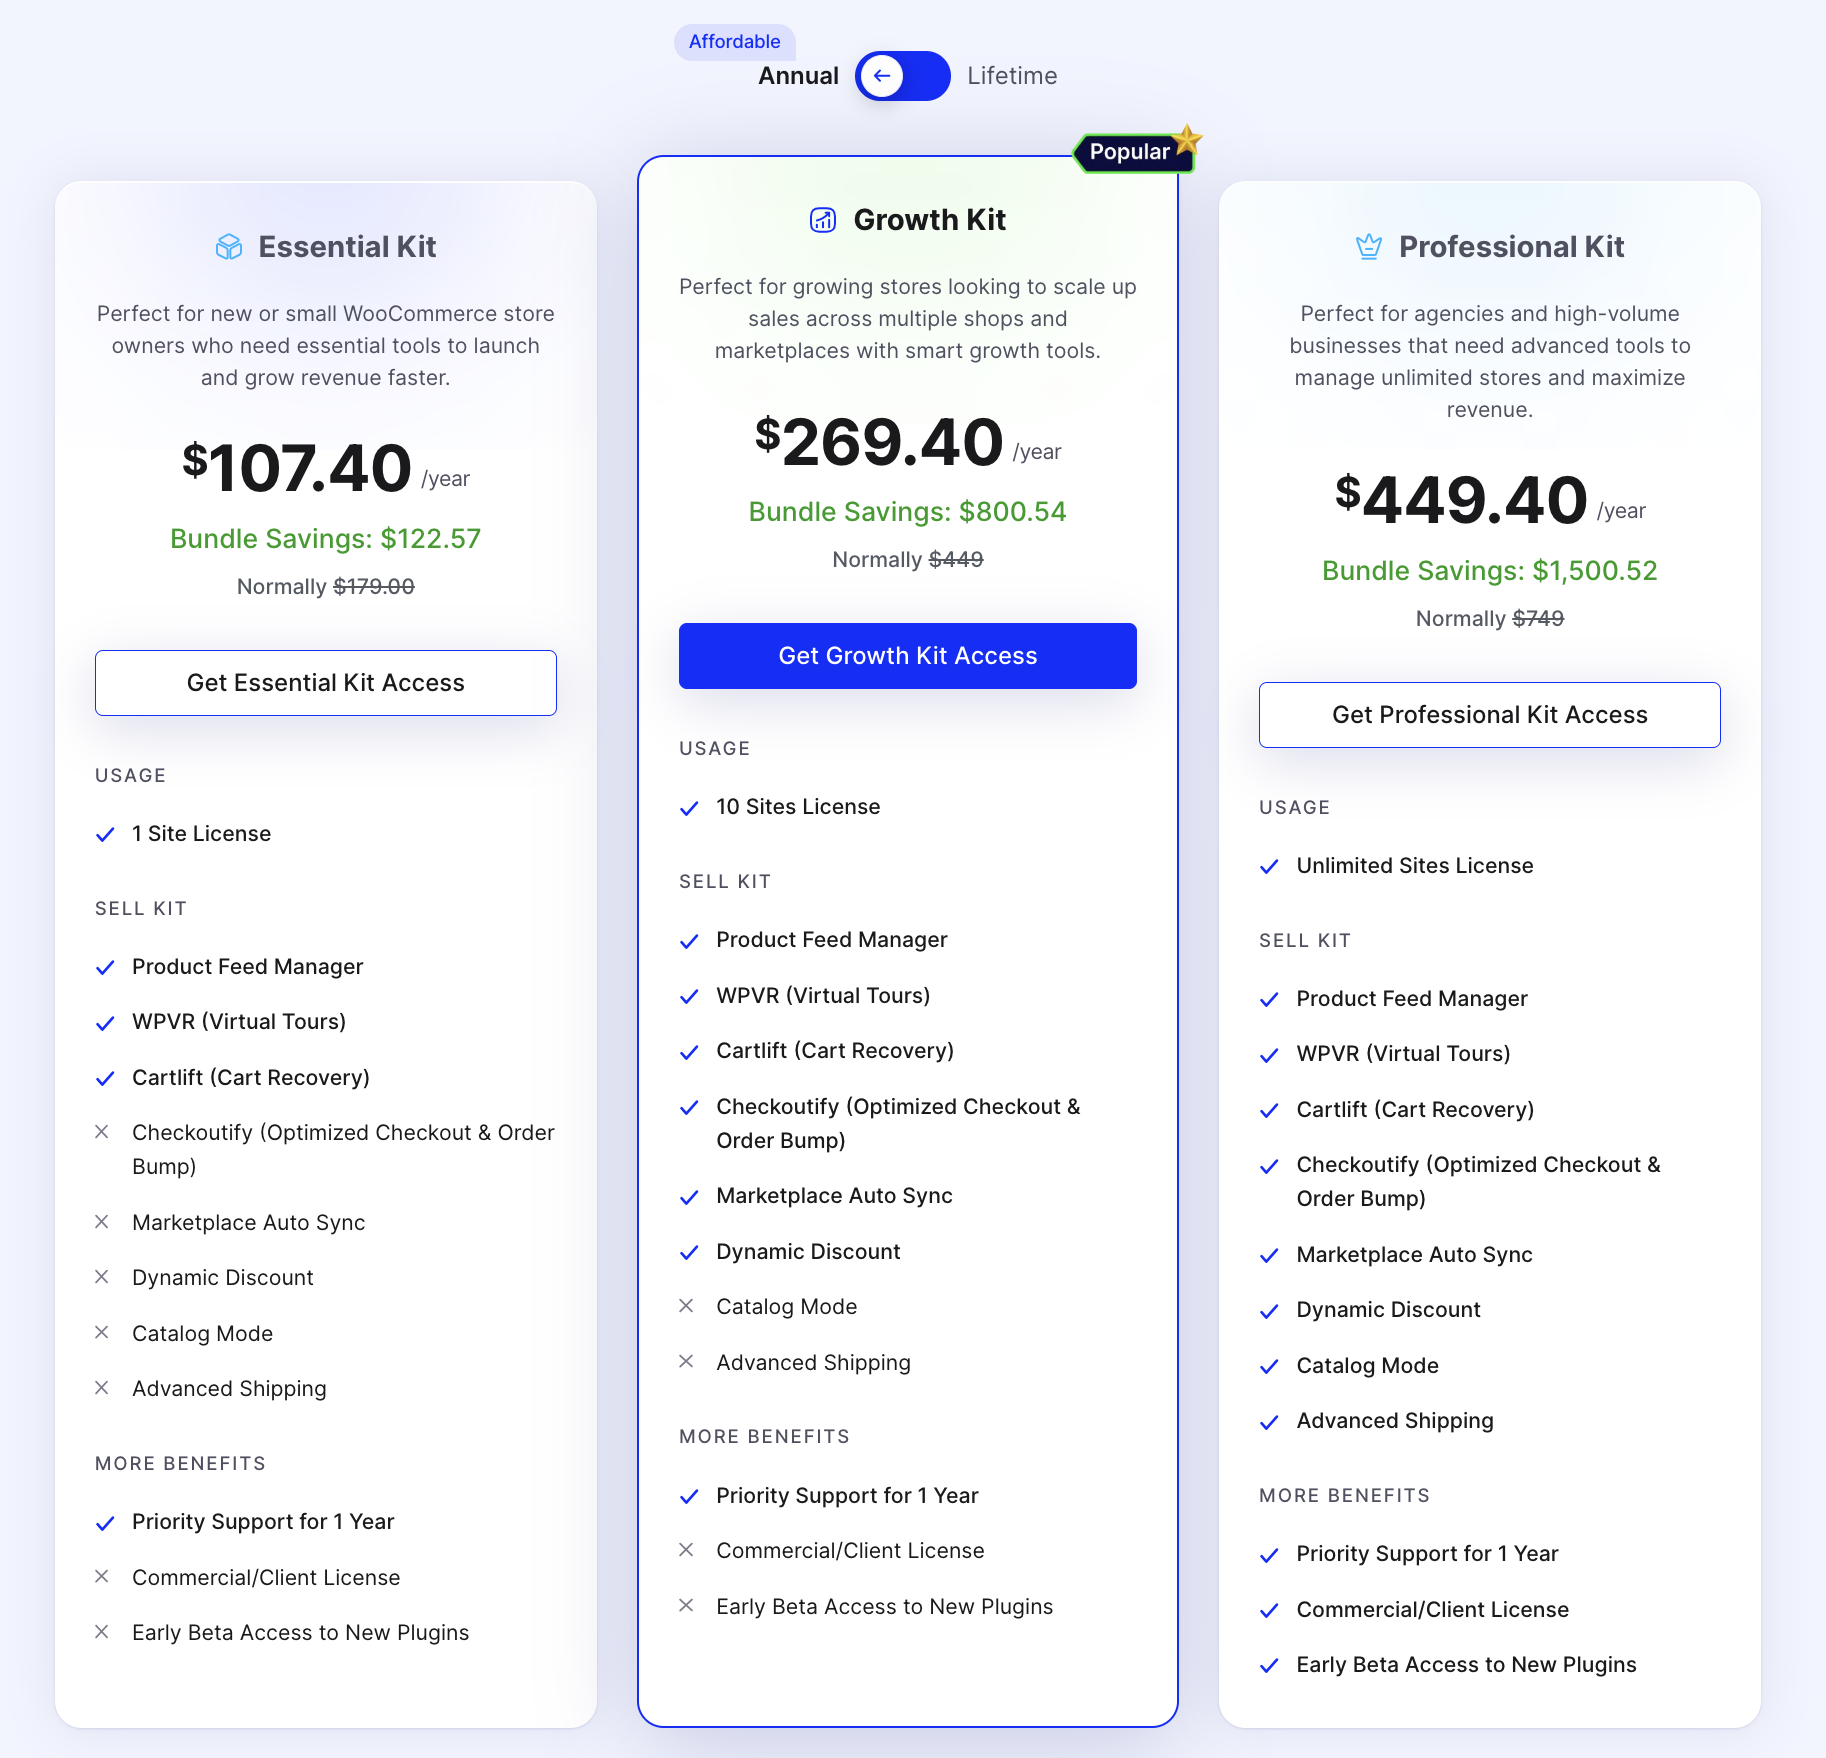
Here’s a smarter way: We offer a bundle WooCommerce Sell Kit that brings all these tools together under one roof.
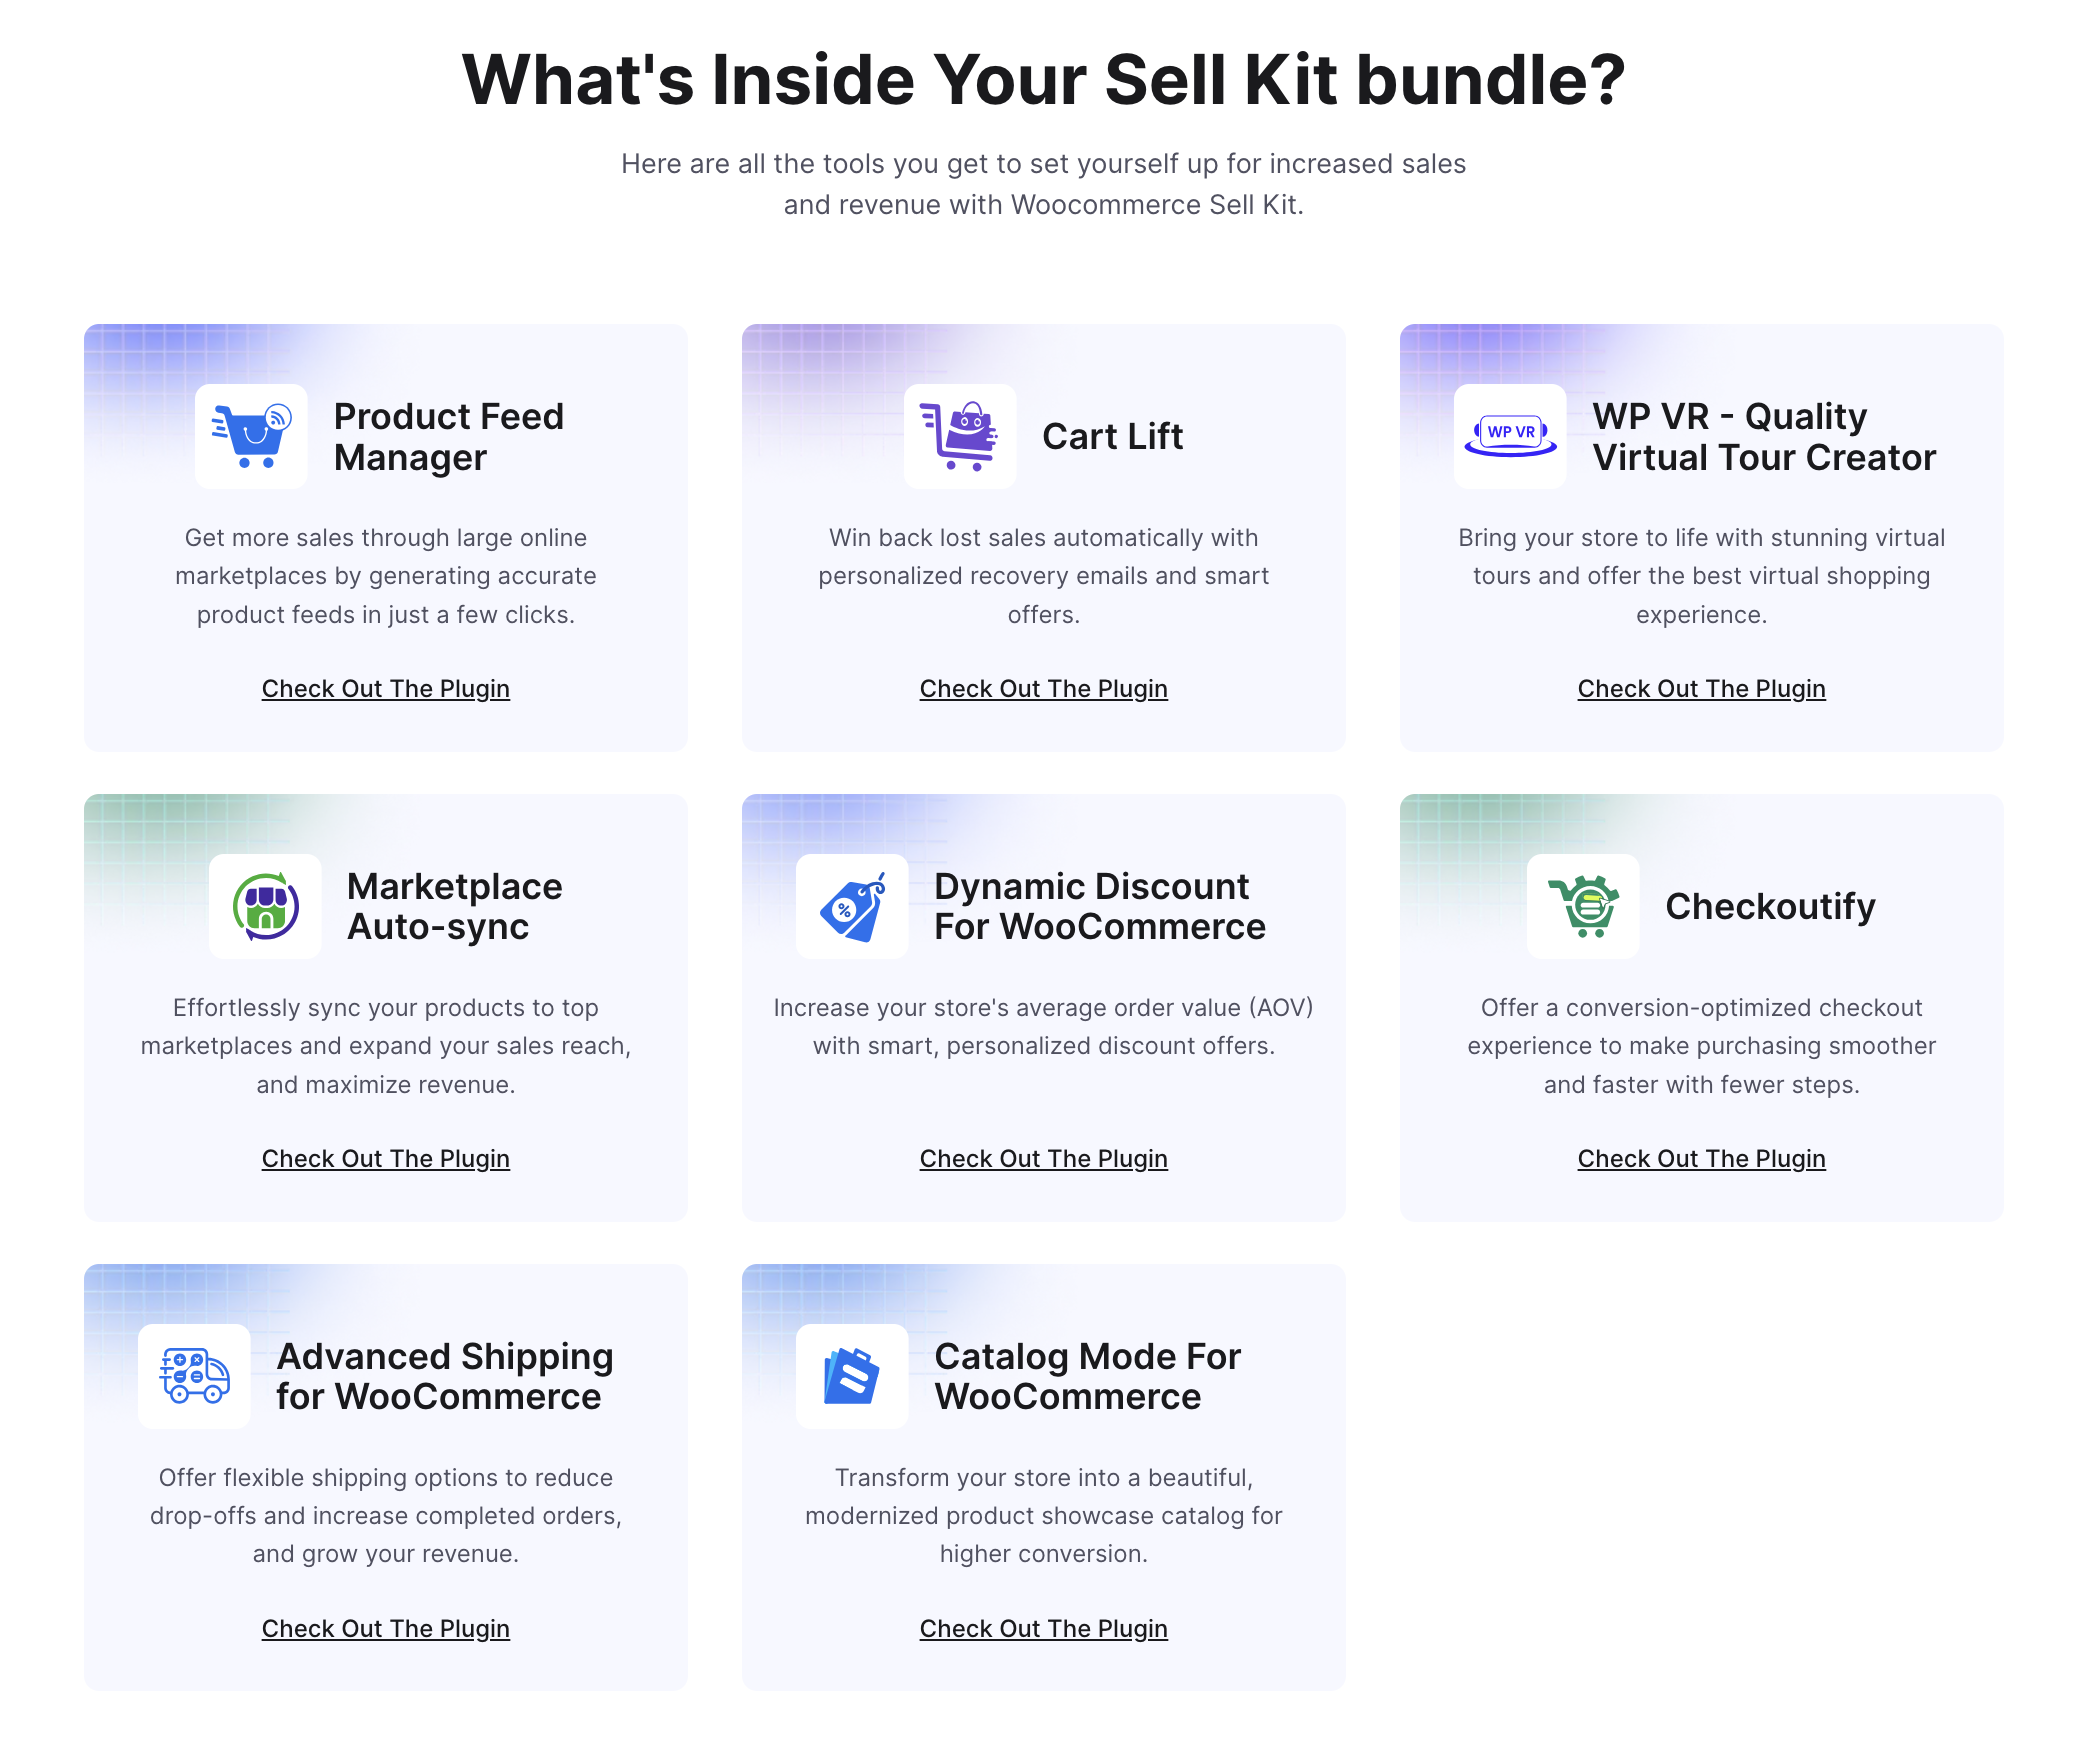
Unlimited licenses, lower price, and everything you need to run a professional, scalable WooCommerce store without constantly switching between plugins. It keeps your operation clean and gives you more time to focus on what really matters: growing your business.
Why Most New Ecommerce Stores Fail (And How to Avoid It)
Even a great product can fail if execution is off. Most new stores don’t crash because the idea is bad; they fail because the systems aren’t set up to actually capture sales and grow efficiently.
Here are the most common execution gaps:
❌ No pre-launch validation → inventory pileup before you even make a sale
❌ Manual cart recovery → leaving 60% or more of potential revenue on the table
❌ Static checkout → missing out on upsells and urgency triggers that boost average order value
❌ Disconnected sales channels → overselling products or running into stockouts
❌ “Set-and-forget” pricing → margins erode fast in competitive markets
These aren’t just risks—they’re almost guaranteed unless you build automation and smart systems from Day 1. Setting this up early keeps you in control and lets you focus on growth instead of firefighting.
Start Your Ecommerce Journey Confidently
Launching a profitable ecommerce business isn’t about luck—it’s about setting up the right systems, capturing every possible sale, and growing with control. You’ve seen how validation, smart pricing, automated recovery, and multi-channel selling all tie together to protect revenue and scale efficiently.
Ready to bring all these pieces together in one go?
FAQs
1. How do I start my own ecommerce?
To start your own ecommerce, create a clear ecommerce business plan, validate your product, pick a platform, and follow structured Steps to Start an Ecommerce business. Look at ecommerce business examples for guidance.
2. What are the 4 types of ecommerce?
The 4 main types are: B2C, B2B, C2C, and C2B. Knowing these helps you shape your ecommerce business plan and pick a model that works.
3. What is needed to start an eCommerce business?
You need a validated product, target audience, platform, payment setup, shipping plan, and a simple ecommerce business plan. Following steps to start an Ecommerce business ensures a smoother launch.
4. What platform is best for ecommerce?
Platforms like WooCommerce, Shopify, and BigCommerce work well. WooCommerce is flexible, integrates tools, and suits serious Ecommerce business growth.
5. Can ChatGPT create an ecommerce website?
ChatGPT can guide you on how to start an ecommerce business, build your ecommerce business plan, and give ecommerce business examples, but it can’t host the site. Use it alongside a platform like WooCommerce to launch.