![How To List WooCommerce Products In Pricerunner DK – Product Feed Guide [2025]](https://rextheme.com/wp-content/uploads/2021/08/PriceRunner.jpg)
There are many ways you can increase WooCommerce sales. One of the best ways today is to promote your WooCommerce products on large price comparison sites that have a high amount of active users.
If you run a WooCommerce store in Europe and ship your products to Denmark, Sweden, UK, or other nearby EU countries, then you must promote your products on Pricerunner DK.
Pricerunner is currently one of the largest price comparison sites in Europe with over 2 million visits every month. And it is trusted by sellers to increase their online sales by a significant amount.
Right now, it’s easier than ever to list your products on the Pricerunner’s price list. All you need to do is signup as a merchant and upload your products with the right product data.
In this guide, you will learn how you can start promoting on Pricerunner and get step-by-step instructions on generating your WooCommerce product feed to upload products on Pricerunner real quick.
So let’s get started.
1. How To Start Promoting On Pricerunner DK
The first thing to do is to sign up for listing your store products on Pricerunner DK.
FYI, you may list your products on Pricerunner for free and pay on a CPC basis.
However, it’s quite different from other marketplaces. You may increase your CPC amount, i.e. set a higher spending budget to increase your visibility for certain products or products in certain categories, similar to how social media dynamic Ads work.
This means you may choose to spend a bit extra to promote your best sellers so that you can get a higher number of sales without much effort.
Though this makes the marketplace a bit competitive, at the end of the day, this won’t matter too much if you sell quality products.
Once you have registered your store to list products on Pricerunner, the second step is to upload your product data in the right format.
So let us look at the required product attributes that you must submit to list your products on Pricerunner.
2. Mandatory Attributes & Product Feed Specification For PriceRunner DK
Following are the product attributes that you may include in the product feed when trying to list your WooCommerce products on the PriceRunner price list.
Some of them are mandatory to be accepted in the marketplace. Others are optional attributes that you may choose to submit for a better chance of appearing on users’ search results.
**The ones marked in Pink color are required attributes and the ones marked Grey are optional attributes.
Product ID/ SKU (ProductId)
Example Format:
<ProductId>12340-004_1300_34_34</ProductId>
You can use the WooCommerce Product ID or the SKU for this attribute.
Product Name (ProductName)
Example Format:
<ProductName>
<![CDATA[ PriceRunner Tapered Jeans (Navy – W34 / L34) ]]>
</ProductName>
Use the product Title in your WooCommerce store. For variable products, it’s recommended to include the variation term to the tile for each variant.
Product Price (Price)
Example Format:
<Price>549.00 GBP</Price>
Use the current price of the product on your site, i.e., if you have a sale running, then submit the sale price, else submit the regular price.
Shipping Cost (ShippingCost )
Example Format:
<ShippingCost>49.00 GBP</ShippingCost>
The product’s shipping cost. Shipping cost needs to combine all shipping/order costs for the consumer, like for example environmental surcharge, freight surcharge, handling surcharge, packaging fee etc.
Stock Status (StockStatus)
Example Format:
<StockStatus>in stock</StockStatus>
If you manage stock in your WooCommerce store, then you may use the number of products available in stock to submit this attribute.
Delivery Time (LeadTime)
Example Format:
<LeadTime>1-3 days</LeadTime>
This is the promised delivery time from the time of the order in the number of days. It’s important that the delivery time in the feed corresponds to the info on your site.
Brand/ Manufacturer (Brand)
Example Format:
<Brand>PR Jeans</Brand>
If the product is manufactured by a renounced Brand, then you have to include the brand name in the product name as well as under this attribute.
Manufacturer SKU/MPN (Msku)
Example Format:
<Msku>PRjeans1231</Msku>
Manufacturer’s unique article number. Used by us to automatically match many product types.
EAN/GTIN (Ean)
Example Format:
<Ean>4051015130000</Ean>
EAN code. Unique barcode number. Used by us to automatically match many product types and make the products searchable in the barcode scanner in our app.
Product URL (Url)
Example Format:
<Url>https://www.example.com/Product.html</Url>
Submit the product link. For variable products, the URL should be unique for each variant.
Image URL (ImageURL)
Example Format:
<ImageUrl>https://www.example.com/images/Product.jpg</ImageUrl>
URL to the product image. The CMYK format is not supported.
Product Category (Category)
Example Format:
<Category>
<![CDATA[ Clothing > Mens > Pants > Jeans ]]>
</Category>
Use > to separate multiple levels in a category. Also, include a space before and after the > symbol.
Product Description (Description)
Example Format:
<Description>
<![CDATA[ Cotton blend Flex twill – Sleek tapered cut – YKK zip-fly – Jeans-style pockets – Authentic tailored details ]]>
</Description>
Detailed information about the product. PriceRunner’s search engine and filters work using the information in this field. Try to include the keywords you want to be found for.
Adult Content (AdultContent) – optional
Example Format:
<AdultContent>No</AdultContent>
Indicate a product includes sexually suggestive content (yes/no)
Age Group (AgeGroup) – optional
Example Format:
<AgeGroup>Adult</AgeGroup>
The demographic for which your product is intended
Bundled (Bundled) – optional
Example Format:
<Bundled>No</Bundled>
Indicates a product is a merchant-defined custom group of different products featuring one main product (yes/no)
Color (Color) – optional
Example Format:
<Color>Blue</Color>
This is the color of the product
Energy Efficiency Class (EnergyEfficiencyClass) – optional
Example Format:
<EnergyEfficiencyClass>A</EnergyEfficiencyClass>
This is your product’s energy label.
Gender (Gender) – optional
Example Format:
<Gender>Male</Gender>
The gender for which your product is intended
Condition (Condition) – optional
Example Format:
<Condition>New</Condition>
The condition of your product at time of sale e.g. “new”, “used”, “refurbished”, “demo”. PriceRunner only lists and compares new products atm, but we are looking into the possibility to expand this in the future. Until then its important these types of products are tagged correct in your product feed.
GroupId (GroupId) – optional
Example Format:
<GroupId>123</GroupId>
ID for a group of products that come in different versions (variants)
Material (Material) – optional
Example Format:
<Material>Demin</Material>
Your product’s fabric or material
Multipack (Multipack) – optional
Example Format:
<Multipack>No</Multipack>
The number of identical products sold within a merchant-defined multipack (yes/no)
Pattern (Pattern) – optional
Example Format:
<Pattern>Plain</Pattern>
Your product’s pattern or graphic print
Size (Size) – optional
Example Format:
<Size>32W 34L</Size>
Your product’s size
Size System (SizeSystem) – optional
Example Format:
<SizeSystem>UK</SizeSystem>
The country of the size system used by your product
Example Feed Data With Required Attribute
<?xml version="1.0" encoding="UTF-8"?>
<products>
	<product>
		<ProductId>1001</ProductId>
		<ProductName>Hoodie with Logo
		</Product_name>
		<price>45.00 GBP</price>
		<ShippingCost>15.00 GBP</ShippingCost>
		<StockStatus>in stock</StockStatus>
		<LeadTime>1-3 days</LeadTime>
		<Brand>Lacoste</Brand>
		<MSku>woo-hoodie-with-logo</MSku>
		<Ean>012345678900</Ean>
		<Product_URL>https://yourwebsite.com/product/hoodie-with-logo/</Product_URL>
		<Image_URL>https://yourwebsite.com/wp-content/uploads/2022/08/hoodie-with-logo-2.jpg</Image_URL>
		<Description>Grab this incredible hoodie to change your style in to comfort.</Description>
	</product>
</products>
How To Generate PriceRunner Product Feed In WooCommerce
In WooCommerce, you will find an easy-to-use plugin, Product Feed Manager for WooCommerce (PFM), with which you can generate an XML feed in just a few clicks.
This is because the plugin has a pre-built template for PriceRunner with the right XML format and product attributes.
- So first, go ahead and activate PFM.
Then, follow the step-by-step instructions below to successfully generate a product feed for Pricerunner DK.
Step 1 – Import PriceRunner Template For Feed Generation
1. On your dashboard, click on Product Feed and then click on Add New Feed option.
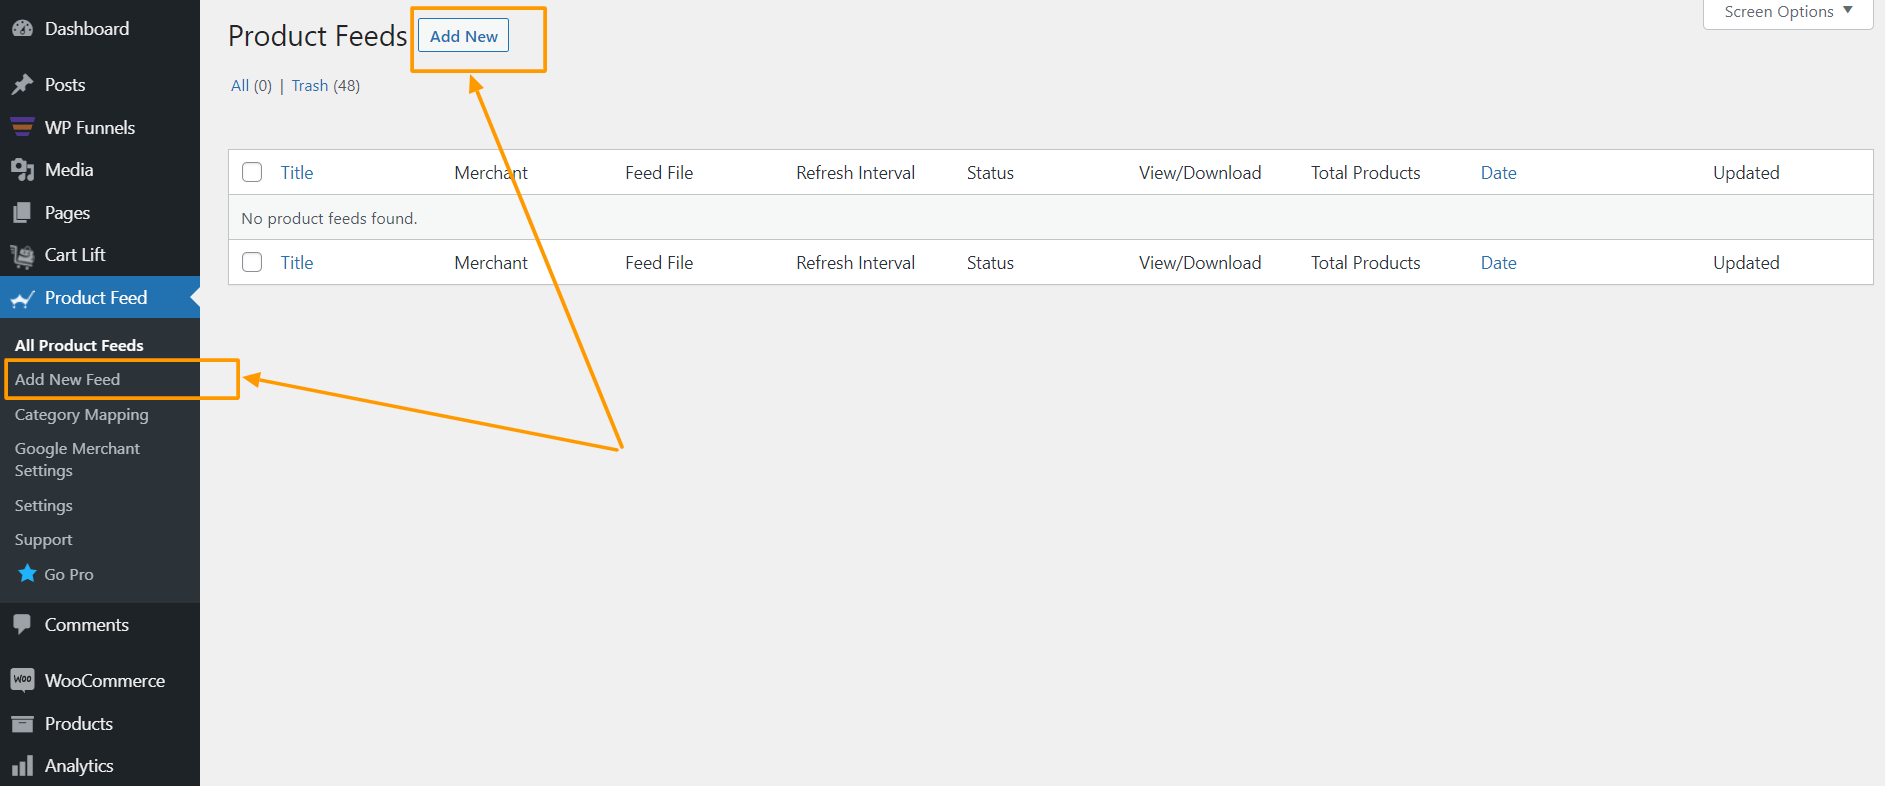
It will take you to the feed creation page.

Here, on the top you will get an option to give a name to your feed, you can skip it too.
2. Click on the Feed Merchant Dropdown and you will get the list of all the supported merchants.
You can scroll down this merchant dropdown list or you can type PriceRunner in the search box, and you will get the PriceRunner option in the list.
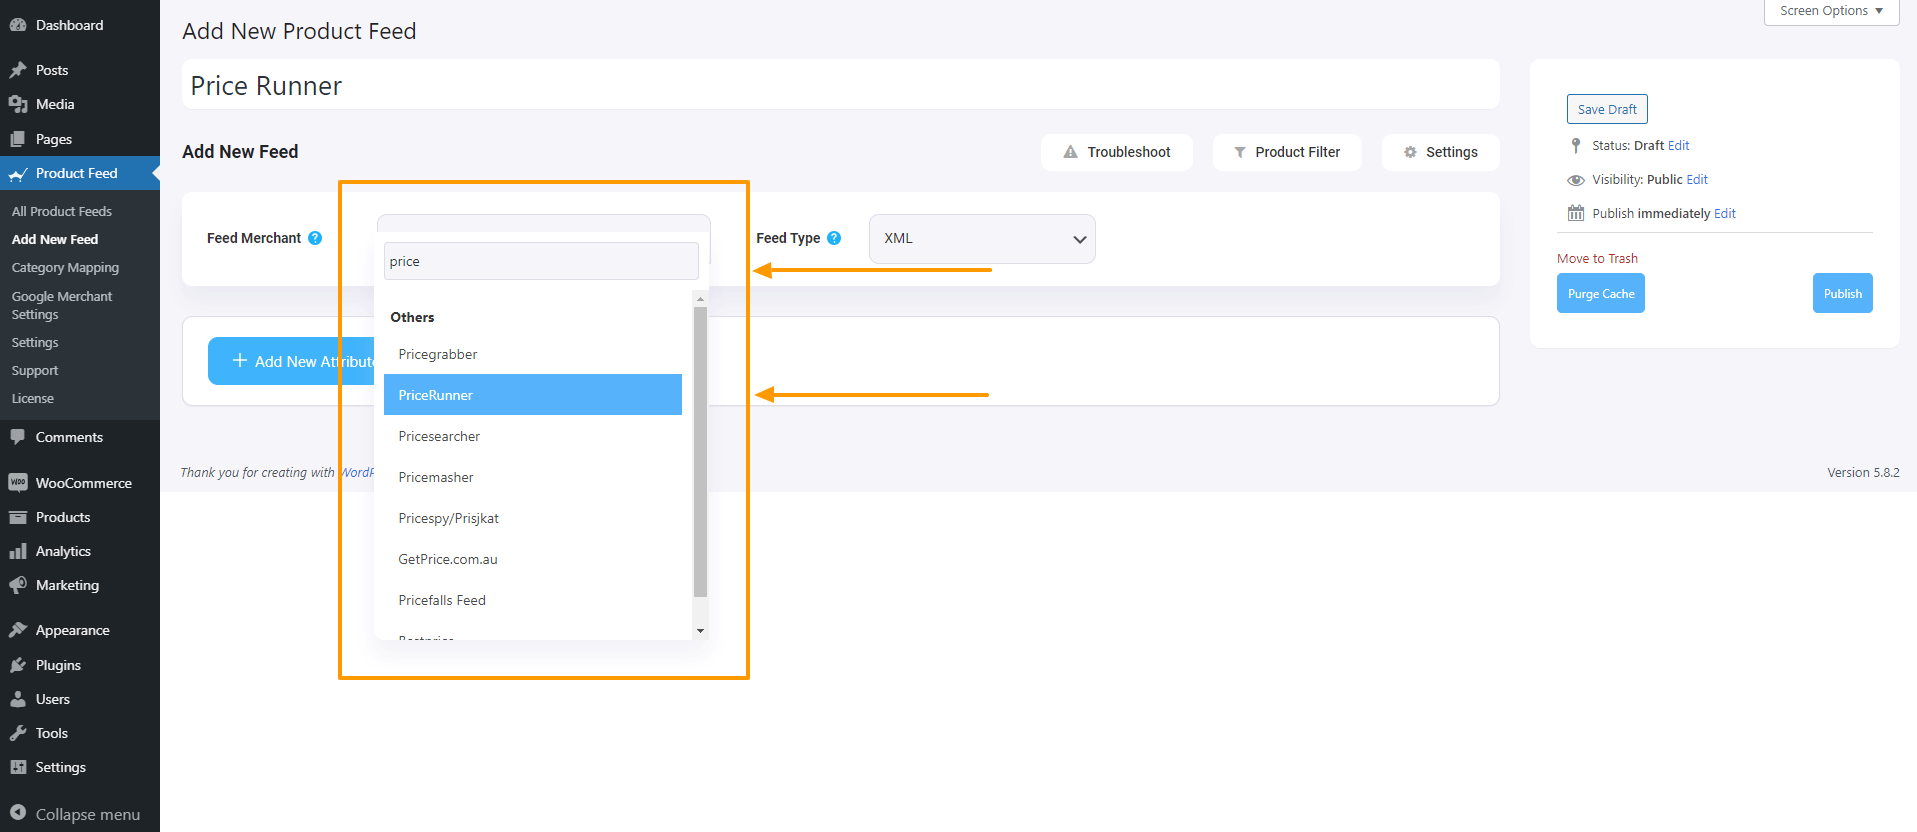
Select PriceRunner, and all the required attributes of PriceRunner will be loaded below.

Step 2 – Feed Configuration
Now, you can see three buttons under the Feed Title text box, Troubleshoot, Product Filter, and Settings.
1. If you are having any issues generating feed, click on this Troubleshoot button, it will take you to the Troubleshoot page, it could be helpful for you.
2. If you want to use any filter or condition, you can click on the Product Filter option, and a drawer will slide in from the right side of the window, and there you will get the following filters:
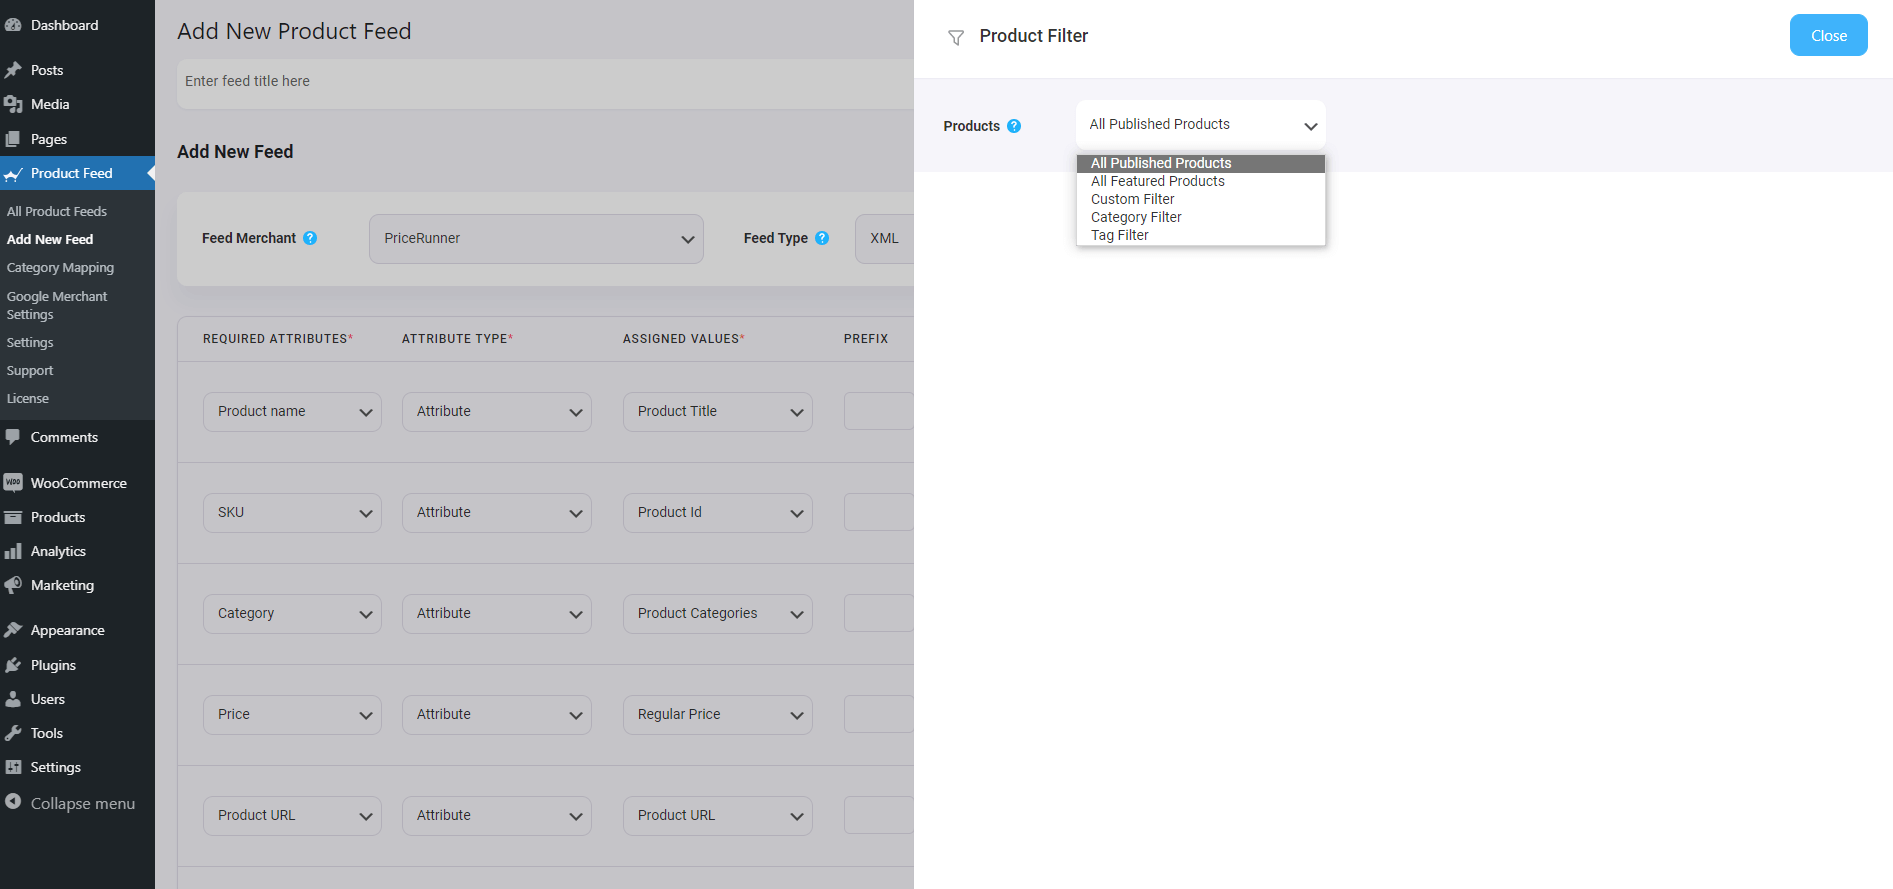
- All Featured Items
- Custom Filter
- Category Filter
- Tag Filter
- Product Filter (Pro)
You can select any filter option and use them as per your need and click on the Close button when done.
3. Now, to schedule your feed or to choose which type of products will be included in your feed, click on the Settings button, and you will get a list of options to exclude or include products.

Change the options as per your need and click on the Close button when done.
Step 3 – Use The PriceRunner XML Feed Template
1. If you look at the Feed Merchant dropdown button, there you will get another dropdown Feed Type, you can click here to set the type of this feed. You can set different types of feeds depending on what types of feeds this merchant supports or what types of feeds this Product Feed Manager has the support for.
For PriceRunner, keep the Feed Type as XML.
2. Now, in the attributes section, you will see that all the attributes are under the Required Attributes column, and their values are set according to the attributes under the Assigned Values column.
You can change any values to any attributes, simply click on the value dropdown, and select your preferred value.
All the required attributes will appear below. Now, most of the attributes will already be configured but notice that some of these attributes are unassigned.
Step 4 – Assign The Right Values To Unassigned Attributes
1. You will need to assign values for the following:
- Shipping Cost
- LeadTime
- Brand
- Ean
**For these 4 attributes, WooCommerce doesn’t have default fields in the product data section to assign these values to the products. So the best option here is to add custom fields and save these values there. You may then use those values in the feed.
Watch these videos – Video1 & Video2 – to see how you can get custom fields with PFM.
Step 5 – Publish The Feed And Use The Feed To List Them In the Marketplace
1. Once the attributes are all set, scroll up and click on Publish and the feed will be generated.
2. You will be able to view or download the feed.
That’s it. You have created your required product feed. The next thing to do is upload your products to PriceRunner.
Conclusion
As you saw above, this is how easily you can generate PriceRunner product feed using Product Feed Manager for WooCommerce.
If you want, you can check out the plugin here:
– https://wordpress.org/plugins/best-woocommerce-feed/
– Product Feed Manager for WooCommerce Pro
Initially, test out the free version of the plugin, and once you are sure the plugin does what is required, you can go ahead think about upgrading to Pro.
It’s high time you take advantage of the PriceRunner DK marketplace and start getting more sales on your Danish WooCommerce store.