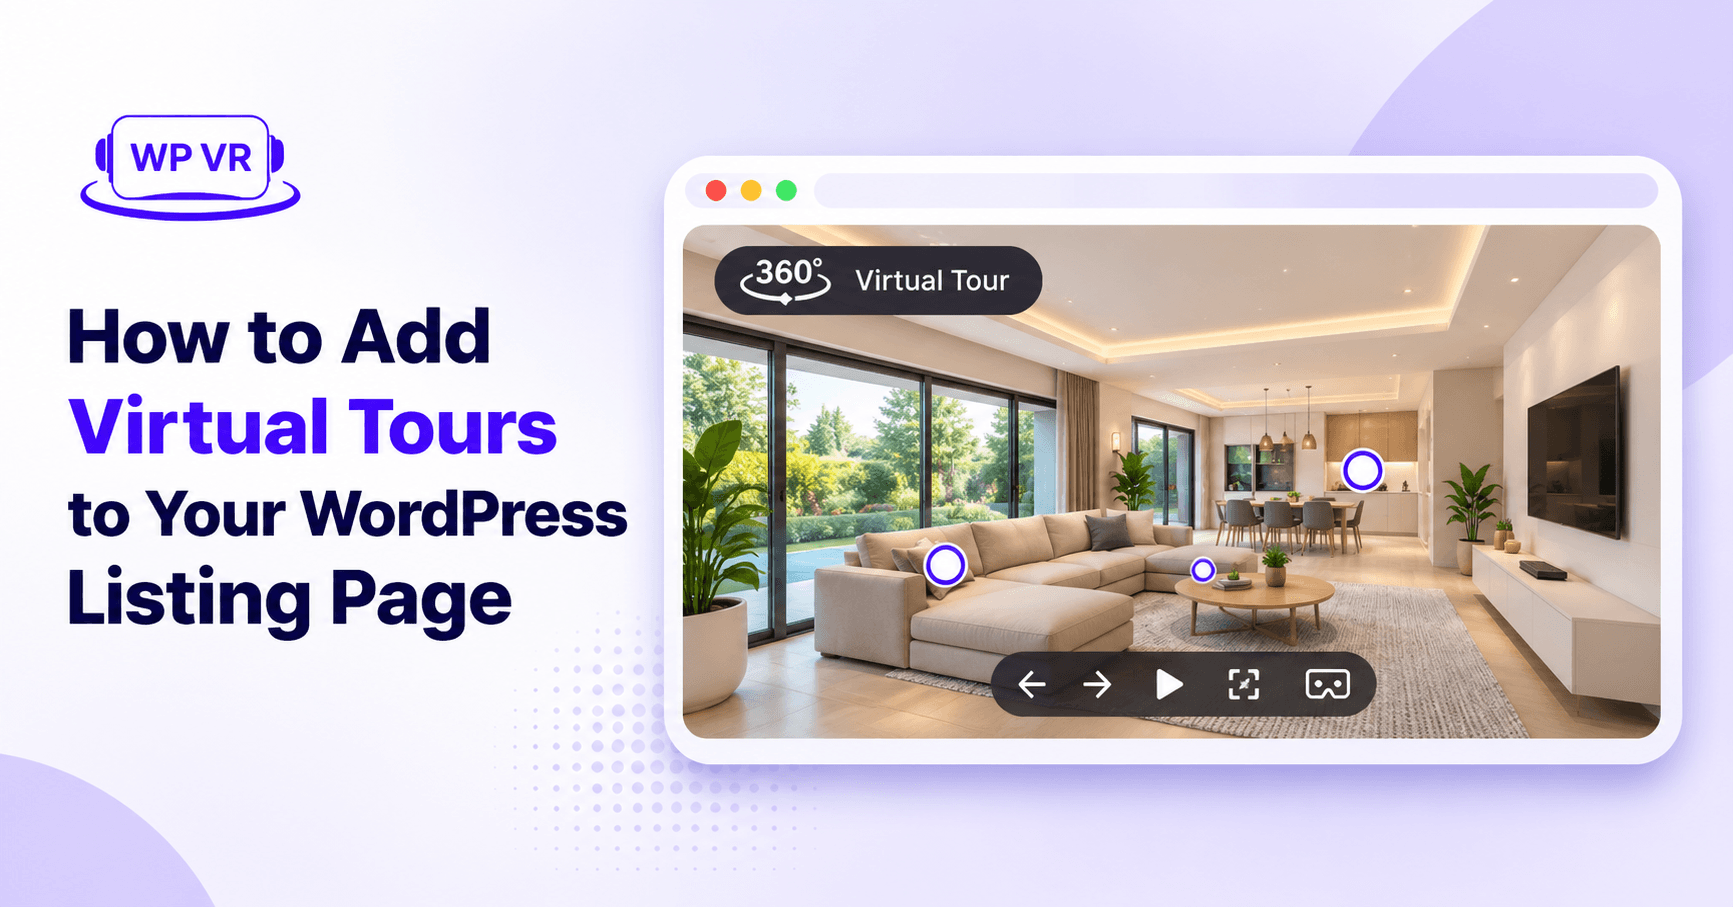
When you want to add a virtual tour to your property listing, the first thing you probably think about is how to put it on the page.
You open your WordPress editor, look for a place to add the tour, and start figuring out how to display it.
But there’s one thing you need to sort out before getting to that part.
Where will you get the virtual tour…?
You see, creating a tour and adding it to your listing page are two different things. You need to create the tour first, then bring it onto your website.
And there are a few ways to do that. You can create it directly inside WordPress, use a cloud platform, or hire an agency to make it for you.
But which approach makes sense for your listing? That depends on what you already have, how much work you’re willing to do, and what you’re prepared to spend.
Let’s walk through all three options, what you’ll need for each one, and how to get the finished tour onto your listing page.
Quick Answer
How do I get a virtual tour onto my listing page if I don’t have one yet?
You need to create the virtual tour first, then add it to your listing page. You can build it inside WordPress using your phone’s 360 photos and a tour plugin, create it on a cloud platform, or hire an agency to make it for you. Once it’s ready, add it to your page using a block, shortcode, or embed code.
TL;DR: How to Add a Virtual Tour
- A tour has to be created before it can go on your listing page.
- Your phone can take the 360 photos, so building it yourself is very doable.
- Inside WordPress, a plugin turns those photos into a tour that lives on your own page.
- A cloud platform or an agency works too, but you pay more and control less.
- Before you share the listing, open it on your phone and check the tour.
A quick note: we make WPVR, a virtual tour plugin for WordPress. You’ll see it in the first way, and we’ll be plain about the others.
So how do you create and add the tour in the first place?
There are three main ways to create a virtual tour. Let’s take a look at each one.
- Build it inside WordPress: Use your phone’s 360 photos and a WordPress tour plugin to create and publish the tour on your website.
- Use a cloud platform: Create the tour on a separate platform, then bring it onto your listing page using an embed code.
- Hire an agency: Let professionals create the virtual tour for you, then add the finished tour to your page.
Whichever route you choose, the end result is the same: your virtual tour appears on your listing page.
What changes is who creates it, where the tour lives, and how much you pay.
Which one fits where you are right now?
That depends on your current situation. Take a look at the options below and see which one sounds most like you.
| Your situation | Where to start |
|---|---|
| Your listings are on your own WordPress site | Build the tour inside WordPress |
| You already made a tour on a cloud platform | Bring that tour onto your WordPress page |
| You’d rather not build anything yourself | Hire an agency to make it |
Most agents who already have their own website start with the first option. So, let’s look at how you can build and add a virtual tour directly inside WordPress.
3 Ways to Create and Add a Virtual Tour to Your Listing Page
Each option has its own process. Let’s start with building the tour yourself in WordPress, then look at what changes when you use a cloud platform or hire an agency.
First way to build and add a virtual tour directly to your WordPress site
When you build a virtual tour inside WordPress, it appears right on the same page buyers already visit. They can explore the property without leaving your website.
You can do it in five steps, and the first one only requires your phone.
Step 1: Take a 360 photo of each room with your phone
You can use your phone with a 360 camera app that captures full spherical panoramas.
Just make sure the app produces images suitable for a 360° virtual tour. A regular horizontal panorama may not be enough.
These photos are what you’ll use to build your virtual tour.
Stand roughly in the middle of each room, switch on the lights, and open the interior doors.
Try to keep your phone at the same height in every room so moving from one room to the next feels natural.
Step 2: Choose a WordPress plugin
Next, you’ll need a virtual tour plugin to turn those 360 photos into an interactive tour.
We recommend WPVR, a 360° virtual tour builder for WordPress that you can use to create property tours directly on your website.
The free version lets you create unlimited tours, with up to 5 scenes in each tour and up to 5 hotspots per scene.
It also supports JPEG, PNG, and WebP images, so you can upload your 360° photos without converting them to another format.
Step 3: Create scenes and add hotspots
Upload your 360 photos and turn each one into a separate scene. Arrange them in the order a buyer would naturally explore the property.
For a house, start outside so buyers can see the property before entering.
Then add the most important areas, such as the living room, kitchen, and bedrooms.
You can include the bathrooms, balcony, or backyard too, depending on how many scenes you want to create.
Just remember that the free version allows up to 5 scenes per tour. If you need more, you’ll need WPVR Pro.
Next, add hotspots to connect the scenes.
Place them near doorways so visitors can move from one room to another.
You can also use information hotspots to add short notes, such as “Laundry is behind this door,” and answer common questions as buyers explore.
Step 4: Publish your virtual tour
Once all the rooms are connected, preview the tour and click through each hotspot to make sure everything works. When you’re happy with it, save and publish the tour.
Our real estate virtual tour guide walks you through each step in the current editor if you want to follow along.
Step 5: Embed the tour on your listing page
Now it’s time to add the tour to your property listing page. In the WordPress block editor, add the WPVR Tour block.
If you’re using Elementor, Divi, or another supported page builder, use its WPVR widget.
If you’re using a different editor, copy the tour’s shortcode, such as [wpvr id="123"], and paste it where you want the tour to appear.
A spot near the top of the page, close to the photo gallery, works best.
That’s the first way to create and add a virtual tour. Everything stays on your own website. But what if you’ve already created your tour somewhere else?
The second way to create a virtual tour using a cloud platform and add it to your WordPress site
If you’ve already chosen a cloud platform, adding the tour to your website is usually straightforward.
Most platforms give you an embed code that you can paste into a Custom HTML block on your WordPress listing page.
The process varies slightly from one platform to another. Matterport has its own app for capturing a 3D model, Kuula lets you upload photos you already have, and Panoee provides iframe embed code that you can use on any website.
So, adding the tour isn’t the difficult part.
There are a few things you should consider before committing to a cloud platform.
First, the tour lives on the platform’s servers, not yours. Your listing page simply displays it through an embedded window.
That also means your options depend on the platform and the subscription you’re using. You’re working with the editing tools and features included in your plan.
For example, Kuula’s Basic plan lets you upload, share, and embed 360° photos. However, its virtual tour editor, which lets you connect panoramas into an interactive walkthrough, is available with the Pro plan.
There’s also the question of what happens to your tours if you stop paying for the subscription. Access to hosted tours can depend on the platform’s subscription and storage policies.
Before choosing a plan, check whether your tours will remain accessible if you cancel or downgrade. Otherwise, a tour embedded on your listing page could stop working as expected.
So, the tour embedded on your listing page will no longer work as expected.
And then there’s the cost. In October 2026, Matterport moved its Professional plan to $90 per month, billed annually ($1,080 per year).
Kuula lists its Pro plan at $20 per month and Business plan at $36 per month, both billed yearly.
If you need a 3D model with a dollhouse view, that extra cost gets you something valuable.
But if a 360° virtual tour is all you need, building it inside WordPress can do the job without adding another monthly subscription.
Third way to hire an agency to create and add a virtual tour for you
With an agency, you don’t have to build the tour yourself. You pay them to take the photos, create the virtual tour, and send you an embed code to add it to your listing page.
The main catch is the cost. According to NAR, professional 360° tours typically cost between $200 and $500 per property.
The actual price depends on the service and what the package includes.
Over a year, that can cost ten times or more than building the tours yourself, as the table below shows.
That’s why hiring an agency makes more sense for a one-off project or a high-end listing.
If you decide to hire one, ask them to give you the original 360 photos too. That way, you won’t be dependent on their account if you ever want to move your tour elsewhere.
Now, before you share the listing, open it on your phone
Whichever method you choose, many buyers will open your listing on their phone first. So, make sure the tour works well on mobile.
Open the live listing page and explore the tour just as a buyer would. Check that it loads quickly, the first room faces the right direction, and every hotspot takes you where it should.
If everything works as expected, you’re ready to share the listing link.
How do the costs of WordPress, a cloud platform, and an agency compare over a year?
Let’s say you’re an agent who wants to create and add virtual tours to 10 property listings over the course of a year. How much would each approach cost?
For the Matterport estimate, we’ll assume you need all 10 tours to remain active at the same time, because its Professional plan pricing is based on the number of active spaces.
Here’s a rough comparison based on the listed prices. This is just one example, not a benchmark. You can adjust the numbers based on how many listings you have and the plans you choose.
| Way | What you pay | Rough annual cost |
|---|---|---|
| WordPress (WPVR) | Free or Starter at $69.99 during deals / $99.99 regular | $0–$99.99 |
| Cloud (Kuula Pro) | $20/month, billed yearly | $240 |
| Cloud (Matterport Professional 10) | $90/month, billed yearly, 10 active spaces | $1,080 |
| Agency | $200–$500 per tour | $2,000–$5,000 for 10 tours |
When you hire an agency, the cost grows with every property because you pay for each tour. Cloud platforms charge recurring subscription fees, which can also increase as your usage grows.
But when you build the tours yourself in WordPress, the cost stays almost the same, even as you add more listings to the same website.
During deal seasons, the WPVR Starter plan is available for $69.99 per year. At its regular price, it costs $99.99 per year.
Conclusie
So, which way should you choose?
If you have your own WordPress website and regularly add new property listings, building the tours directly inside WordPress is probably the most practical option.
You can take the 360 photos yourself, create the tour with a plugin, and add it to your listing page without paying for every new tour.
But if you need a 3D model with a dollhouse view, a cloud platform like Matterport might be worth the extra cost.
And if you don’t have the time to create the tours yourself, hiring an agency is another option.
At the end of the day, you don’t need the most expensive setup to give buyers a better way to explore your properties.
Choose the approach that works for your listings and budget.
And before you share your next listing, don’t forget to open it on your phone and experience the tour just as a buyer would.
Veelgestelde vragen
Can I take the 360 photos with my phone?
Yes. Most smartphones can capture panoramic photos using their built-in camera. You can also use a 360 camera app or an external 360 camera to capture the images needed for your virtual tour.
How many rooms should a virtual tour include?
Include every room a buyer would want to see, in the order they’d naturally explore the property. For a typical home, that means the exterior, living room, kitchen, bedrooms, bathrooms, and any outdoor spaces.
Is the free version of WPVR enough for a normal home?
Often, yes. WPVR’s free version supports up to five scenes, which may be enough to cover the exterior, living room, kitchen, and two additional spaces. If you want to include more rooms or add an interactive floor plan, you can upgrade to WPVR Pro.
Can I add a tour from a cloud platform to my WordPress site?
Yes. Copy the embed code provided by the cloud platform and paste it into a Custom HTML block on your WordPress listing page.
Will my tour show up on property portals or my MLS listing?
Not automatically. Adding a tour to your website only makes it available on the page where you embed it. To share it across property portals and MLS listings, you’ll need to add it to those platforms separately. Our guide to sharing a tour on your listings and portals covers the process.