The eCommerce industry is growing every day. One of the prime reasons for this growth is the increased popularity of large local online marketplaces. If you run a WooCommerce store in Poland, then you must promote your products on Ceneo, the most popular Polish online marketplace.
With an average of 7.5 Million (avg) monthly traffic, Ceneo helped the worldwide e-Commerce industry grow at least 26%, with approximately 22 billion euros in revenue in 2020.
In fact, most small to medium local online shops in Poland have benefitted by promoting their products on Ceneo.pl, and it’s high time you take advantage of their huge audience.
To promote your products on Ceneo, all you need is to create a Ceneo XML feed in the right format and upload your products to their marketplace.
Now, the main issue most people face is that Ceneo has a unique required format for the XML feed structure, and it’s not possible to prepare manually.
However, if you run a WooCommerce store, then you can easily generate a Ceneo product feed in just a few clicks using a reliable tool.
Today, you will learn how to generate an accurate Ceneo XML feed and promote your products to a huge audience. After reading this guide, you will learn
- The mandatory attributes to include in the product data
- The dedicated Ceneo XML feed structure to follow
- How to generate WooCommerce product feed for Ceneo.pl in just a few clicks
Then, you can go ahead and start getting more sales from this huge local online marketplace.
Laten we beginnen.
Inhoudstafel
The Right Ceneo XML Feed Format With WooCommerce Product Data
When creating a new feed for Ceneo, you will need to include a few specific data in the right format.
Normally, the feed structure is as follows:
<?xml version="1.0" encoding="utf-8"?>
<offers xmlns:xsi="http://www.w3.org/2001/XMLSchema-instance" version="1">
  <o id="1" url="https://www.yourwebsite.pl/your-product-1" price="99.99" avail="1" weight="4" stock="2" basket="1">
    <cat>
      <![CDATA[Komputery/Monitory]]>
    </cat>
    <name>
      <![CDATA[LG 27" 27UK650-W (27UK650W)]]>
    </name>
    <imgs>
      <main url="https://www.yourwebsite.pl/your-product-1/img1.jpg"/>
      <i url="https://www.yourwebsite.pl/your-product-1/img2.jpg"/>
      <i url="https://www.yourwebsite.pl/your-product-1/img3.jpg"/>
      <i url="https://www.yourwebsite.pl/your-product-1/img4.jpg"/>
    </imgs>
    <desc>
      <![CDATA[<strong>Nastała era UHD 4K HDR</strong><br><br>Oglądaj nieskazitelny obraz o
      niespotykanym bogactwie kolorów na monitorze LG UHD 4K HDR.Twórcy pracujący z treścią
      HDR ucieszą się z możliwości odtwarzania jasności i kontrastu dopodglądu i edycji.<br>
      <br><strong>HDR Effect do treści SDR</strong><br><br>Monitor LG UHD 4K HDR może
      przekonwertować standardową treść na format HDR wprost na ekranie. Specjalny algorytm
      poprawia mapowanie tonalne i luminancję treści SDR, zapewniając jakość zbliżoną do HDR.
      <br><br><strong>Prawdziwe kolory i szeroki kąt patrzenia</strong><br><br>Monitor LG IPS
      odznacza się wyjątkową dokładnością odwzorowania kolorów – pokrywa 99% gamy sRGB.
      Ponadto ma szeroki kąt patrzenia, dzięki czemu łatwiej jest cieszyć się doskonałą
      jakością kolorów.<br><br><strong>Czystszy i płynniejszy obraz</strong><br><br>
      Technologia AMD FreeSync™ zapewnia płynną i niczym niezakłóconą rozrywkę w wysokiej
      rozdzielczości nawet w dynamicznych grach. Całkowicie eliminuje rozrywanie i zacinanie
      obrazu.<br><br><strong>Indywidualne ustawienia dla każdej gry </strong><br><br><strong>
      Wrogowie nie mają gdzie się ukryć</strong><br><br>Funkcja Black Stabilizer zapewnia
      wyraźny obraz nawet w mrocznych grach. Synchronizuje i rozjaśnia najciemniejsze zakątki,
      dzięki czemu znajdziesz wrogów czających się w ciemności i zaatakujesz przed nimi.<br>
      ]]>
    </desc>
    <attrs>
      <a name="Producent">
        <![CDATA[LG]]>
      </a>
      <a name="EAN">
        <![CDATA[8806098110254]]>
      </a>
      <a name="Kod producenta">
        <![CDATA[27UK650W]]>
      </a>
    </attrs>
  </o>

</offers>
Now let us look at the product attributes that you need to include in the feed.
Mandatory Product Data To Include In the Ceneo Product Feed
Following are the product data that you may submit with your products when uploading the XML feed to Ceneo.
*The ones marked green are mandatory attributes. The ones marked blue are optional.
Product ID (id)
You can use the WooCommerce Product ID or the SKU for this attribute.
Price (price)
Use the current price of the product on your site, i.e., if you have a sale running, then submit the sale price, else submit the regular price.
Product URL (url)
Submit the product link. For variable products, the URL should be unique for each variant.
Availability (avail)
You have to mention how soon you can ship out the product or if some other cases apply.
Accecpted values are 1, 3, 7, 14, 90, 99 and 110.
- 1 – available, the store will send the product within 24 hours
- 3 – the store will send the product within 3 days
- 7 – the store will send the product within a week
- 14 – the store will send the product within 14 days
- 90 – goods on request
- 99 – no information about availability – status “check in store”
- 110 – pre-sale
Category (cat)
You need to submit the exact category your product falls under as per Ceneo’s category list.
Product Name (name)
Use the product Title in your WooCommerce store. For variable products, it’s recommended to include the variation term to the tile for each variant.
Main And Additional Images (imgs)
You must submit at least one image. Use the product’s main image and if you want, you may include extra five additional images as well.
Product Description (desc)
Use a benefit-rich description. You may choose to use the product description or the short description, whichever suits you better.
You may use the following HTML tags for their respective purposes and organize the description into an attractive format:
- <p> – paragraph
- <h1> – title
- <h2> – subtitle
- <br/> – new line
- <ol> – a numbered list
- <ul> – an unnumbered list
- <i> – list item
- <i> – italics
- <b> or <strong> – bold
- <em> – Highlighted text
Extra Product Attributes (attrs) – recommended + optional
Based on the category, you may be required to submit a few extra attributes for certain products.
Here is a list of attributes that you may submit for the products under their respective categories:
After submitting your feed on Ceneo initially, if you are asked to add more attributes for products in certain categories, then first, list down those categories. Next, visit this attribute list and look for each of these categories to find their available extra attributes that you can submit.
Here, you will see, for each attribute, there is a tag, <iskeyattribute>. Some of them have values False and some of them have values True. Collect the attributes that have the <iskeyattribute> value as True, i.e., <iskeyattribute>True</iskeyattribute>.
These are the attributes that you need to include in the feed for the products in their respective categories.
In WooCommerce, for most of them, you have to save these attributes’ data in Product data via custom fields. Then you can use the values of the custom fields in the feed.
Weight (weight) – optional
You may submit the product weight if you want to.
Simply use the value in kilograms – no need to add the unit of measurement.
Stock (stock) – optional
If you manage stock in your WooCommerce store, then you may use the number of products available in stock to submit this attribute.
Basket (basket) – optional
If you are part of the special Ceneo “Kup Teraz” program, then you may submit a positive value for this attribute.
Accepted values are:
- 1 – to confirm inclusion of a product to the Kup Terz program.
- 0 – to indicate that a product is not part of the Kup Terz program.
Now that you have a good idea of the required product data you need to submit on Ceneo, let us look at how you can generate an XML feed of your WooCommerce products in just a few clicks.
7 Steps To Generate Ceneo Product Feed In Your WooCommerce Store
In WooCommerce, you will find a reliable plugin called Product Feed Manager For WooCommerce with which you can generate an XML feed for all of your products in just a few clicks.
In the steps below, I will show you how you can generate a product feed for Ceneo.pl using this plugin in minutes.
Step 1 – Import Ceneo Template For Feed Generation
1. On your dashboard, click on Product Feed and then click on Add New Feed option.
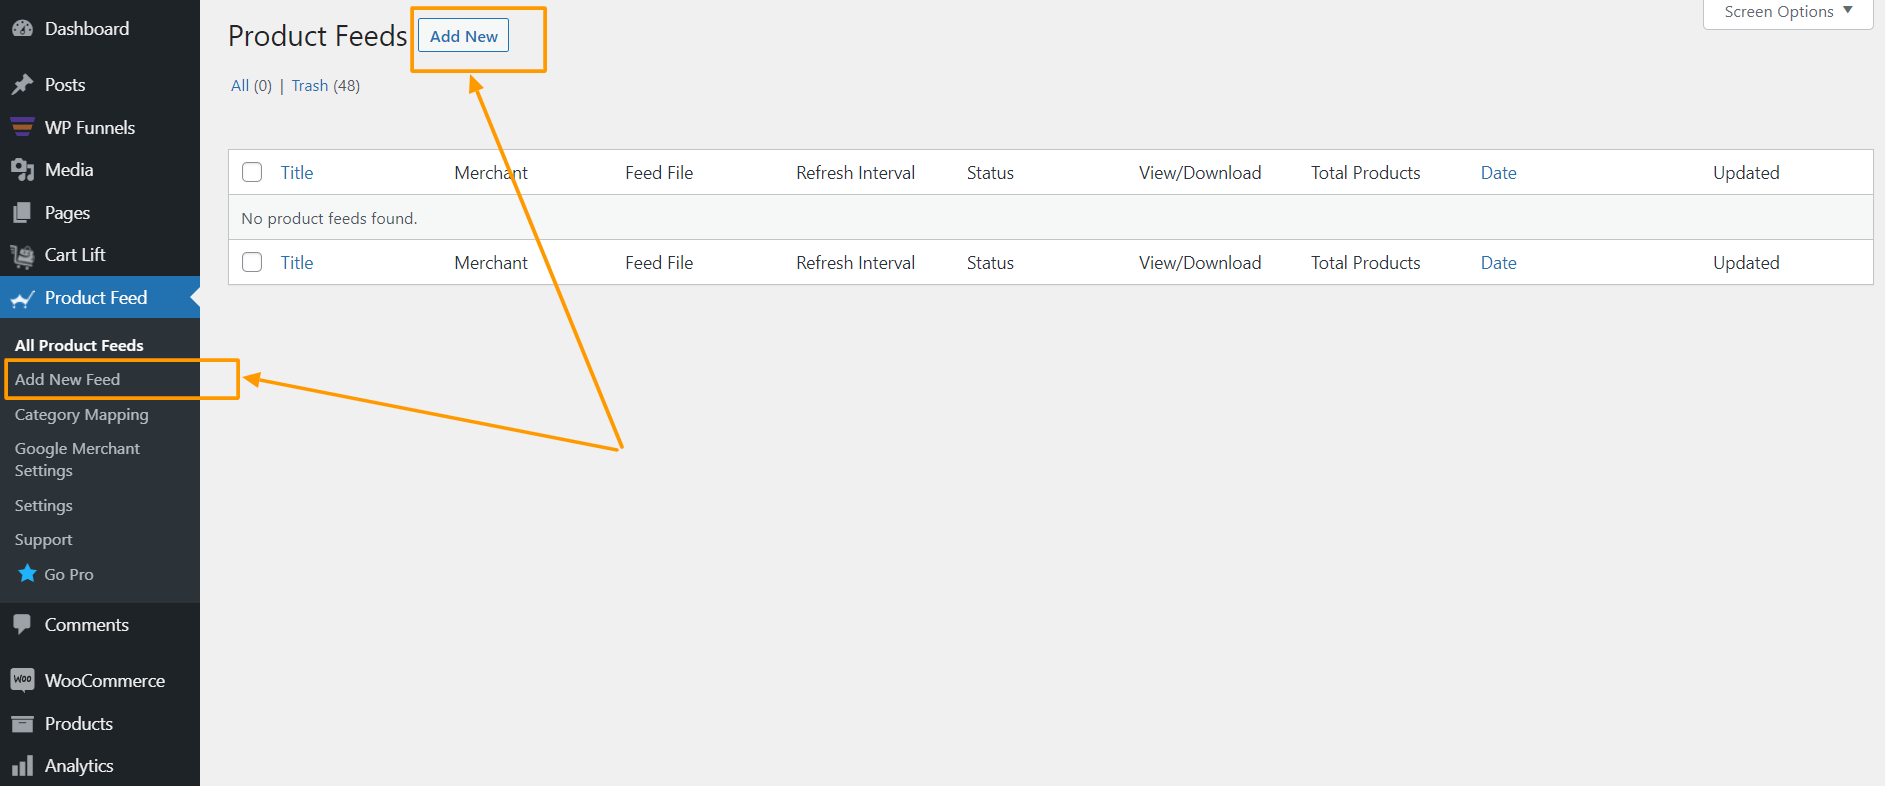
It will take you to the feed creation page

Here, on the top you will get an option to give a name to your feed, you can skip it too.
2. Click on the Feed Merchant Dropdown and you will get the list of all the supported merchants.
You can scroll down this merchant dropdown list or you can type Ceneo in the search box, and you will get the Ceneo option in the list.
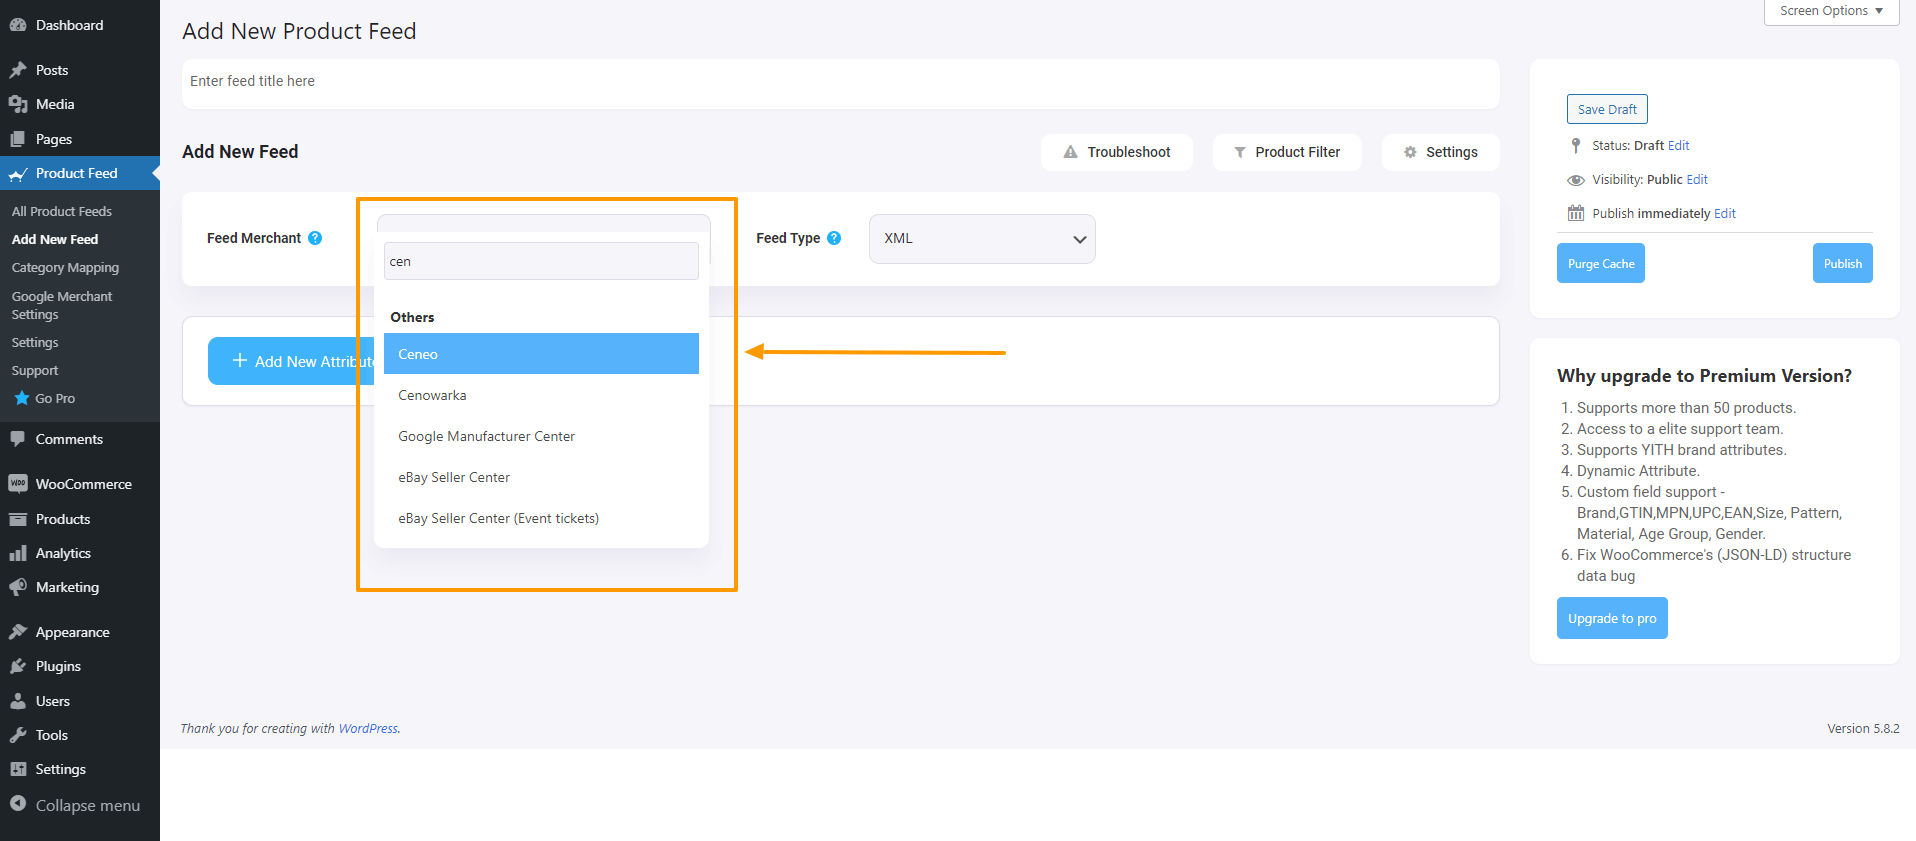
Select Ceneo, and all the required attributes of Ceneo will be loaded below.
Step 2 – Create A New Product Feed
Now, you can see three buttons under the Feed Title text box, Troubleshoot, Product Filter, and Settings.
1. If you are having any issues generating feed, click on this Troubleshoot button, it will take you to the Troubleshoot page, which could be helpful for you.
2. If you want to use any filter or condition, you can click on the Product Filter option, and a drawer will slide in from the right side of the window, and there you will get the following filters:
- All Featured Items
- Custom Filter
- Category Filter
- Tag Filter
- Product Filter (Pro)
You can select any filter option and use them as per your need and click on the Close button when done.
3. Now, to schedule your feed or to choose which type of products will be included in your feed, click on the Settings button, and you will get a list of options to exclude or include products.
Change the options as per your need and click on the Close button when done.
Step 3 – Use The Ceneo Feed Template
1. If you look at the Feed Merchant dropdown button, there you will get another dropdown “Feed Type”, you can click here to set the type of this feed. You can set different types of feeds depending on what types of feeds this merchant supports or what types of feeds this Product Feed Manager has the support for.
For Ceneo, select XML as the Feed Type.
2. Now, in the attributes section, you will see that all the attributes are under the Required Attributes column, and their values are set according to the attributes under the Assigned Values column.
You can change any values to any attributes, simply click on the value dropdown, and select your preferred value.
All the required attributes will appear below. Now, most of the attributes will already be configured but notice that some of these attributes are unassigned.
Step 4 – Assign The Right Values To Unassigned Attributes
- You will see that all the required attributes for Ceneo will appear below and it is already configured, except a few.
- Update the value for Avail attribute if required.
You can see, the value of avail is by default set to 1. This means you will send out the product for delivery within 24 hours. But if that’s not the case, i.e., let’s say you rather ship out the product within 3 days, then change the value to 3.

**However, if you require different times to ship out different products, in that case, you need to save the values in a custom field in each of your WooCommerce product data and then use the value of that field here.
Step 5 – Publish The Feed Initially And Set Up Category Mapping
The category attribute is also not configured, but to assign that, you first need to set up a category mapping.
- Scroll up and click on Publish, and the feed will be generated.
- Go to Product feed > Category Mapping.
Here, you will find all of your WooCommerce categories listed, with empty fields beside them.
- Give a Mapper Name.
- Set up the category mapping.
Since Ceneo has its own category list, what you have to do is you need to find out which category in your WooCommerce store matches the category in Ceneo’s marketplace category list.
Simply visit this list and search for categories that match your store’s category. Once you find a suitable one, copy that category path, and paste it in the respective empty field beside it in your Category mapping page in the plugin.
Do the same for all the categories listed here.
- Scroll down and Save it.
Now that you have saved a category mapper, it’s time to use it in the feed.
Step 6 – Assign Your Category Mapping List To The Category Attribute
- Go to Product feed > All Product Feeds and edit the feed you created earlier.
- Here, first, click on the Purge cache button on the right side.
- Next, scroll down to the feed configuration section. Click on the value field for Product Category and scroll down to the very bottom to choose the mapper you just created.
- Scroll up and click on update.
- Your feed will be generated, and you will be able to view or download the feed.
Step 7 – Start Promoting Your Products On Ceneo.pl
Now that you have the feed generated, the next thing to do is to log in to your Ceneo merchant account and submit the feed URL to list your products on Ceneo.
That’s it. That’s how easily you can generate a product feed and start promoting your products in Ceneo.
Conclusie
If you are a local online shop owner in Poland, then it’s high time you start promoting your WooCommerce products on Ceneo and take advantage of its huge audience.
Use Product Feed Manager for WooCommerce to generate the product feed in minutes and start boosting your sales.
Check out the plugin here:
– https://wordpress.org/plugins/best-woocommerce-feed/
– Product Feed Manager for WooCommerce Pro
In eerste instantie, test de gratis versie van de plugin, en zodra je zeker weet dat de plugin doet wat het beweert, kun je doorgaan en upgraden naar Pro.
Go ahead and start getting more sales through Ceneo.pl.