![How to Add Virtual House Tours to Any Zillow-Style Platform From WordPress [2026]](https://rextheme.com/wp-content/uploads/2026/03/Virtual-House-Tours-To-Property-Listings-1.webp)
Most agents still treat a virtual tour as something extra you add at the end. But in today’s home selling process, buyers don’t wait for the showing to decide.
They decide much earlier, while scrolling through listings across your site, property portals, and the MLS, choosing which homes are even worth a closer look.
That’s where many listings lose momentum.
According to statistics, 54% of buyers skip listings without a virtual tour, and listings that include one get 87% more views.
So it’s not just about having a tour. It’s about making sure buyers see it wherever they find your property, not just in one place.
To make that work, the tour needs to be part of your overall listing strategy. It should support your WordPress listing and carry through to every platform your property appears on. It creates a consistent experience for buyers at every step.
A practical way to handle this is to build your tour once and
Reuse Your Virtual House Tours across All Listing Platforms
When it lives on your own site, you can place the same tour wherever your property is published without rebuilding it or managing multiple versions.
It keeps everything consistent and under your control as your listing moves across platforms.
In this guide, you’ll follow that process step by step, from creating an interactive virtual house tour in WordPress to placing it across your listings so buyers get the same experience wherever they come across your property.
So let’s get started,
TL;DR – Virtual House Tour
- Build virtual house tours once in WordPress, then add them to any listing platform – your site, Zillow, Realtor.com, the MLS, client sites.
- The order that works:
- → build your listing
- → create the 360° tour
- → embed it on your site
- → share the link, embed, or QR code to every platform.
- Because you host your tour, no platform can delete it. You control the asset and just distribute the link.
- Add hotspots, a floor plan, and a clear button to guide buyers through the tour
- Result: fewer casual inquiries, more serious buyers ready to book
- Final verdict: Use WPVR to create a virtual house tour and share it on other platforms.
Why Virtual House Tour Everywhere Beats One Tour in One Platform
You don’t call before buying something expensive. You look, compare, and narrow it down first. Homebuyers do the same.
According to Redfin survey, 63% have made an offer on a property they only saw online.
That means the tour isn’t just a preview anymore. It’s where the decision starts, and often where it’s made.
And buyers aren’t seeing your listing in just one place. They move between your site, portals, and listing platforms. Wherever they land, that experience needs to hold up.
That’s why using WordPress as your base works better. You create the virtual tour once, keep it on your own site, and use it across every listing you have.
It stays live for current listings, continues working for pending ones, and can be shared anywhere without rebuilding.
On the other side, a portal-hosted tour can vanish when the rules change, as Zillow has removed Matterport 3D virtual tours from its listings.
Many real estate agents lost thousands of listing assets overnight due to dependency on Matterport. And suddenly they are looking for Matterport alternatives.
Now I am telling you that when you host it yourself, distribution is simple and you don’t have to depend on other tools.
You just share the same tour as a link, embed, or QR code wherever your buyers are looking.
How to Add Virtual House Tours to Any Platform From WordPress
Quick answer:
To add a virtual house tour to a WordPress listing, first build a structured property listing, then create a 360° tour with WPVR, and embed it using a Gutenberg block, a shortcode, or an iframe.
Place it above the description, add hotspots, a floor plan, and a call to action, then reuse the same tour link or QR code to Zillow, Realtor.com, and your MLS.
Let’s go step by step:
Step 1: Get Your Listing Structured
At first, you have to structure all your details in one place so that it will be helpful later. Let’s see how you can do so.
- Clear Headline: Use a specific title like “3BR Condo in Miami Beach” instead of vague phrases. This helps buyers instantly understand what the property offers.
- Key Details: Place price, location, bedrooms, bathrooms, and size at the top. Visitors shouldn’t have to search for basic information.
- Property Photos: Add 8–12 images covering all areas of the home. Arrange them in a natural order so it feels like a walkthrough.
- Real Description: Mention actual upgrades like new flooring or renovations. Specific details build trust and keep buyers interested.
- Tour Placement: Add your virtual tour below the key details or after a few images. This ensures visitors see it early and engage with it.
Step 2: Create Your Virtual House Tour in WordPress
![How to Add Virtual House Tours to Any Zillow-Style Platform From WordPress [2026] 3](https://rextheme.com/wp-content/uploads/2026/03/WPVR-Hotspot.webp)
In the home selling process, your first job is simple: give buyers a way to experience the property before they visit.
Most sellers overpay for external platforms. You don’t need to. You can create a virtual house tour directly in WordPress using WPVR.
It turns your 360° photos into an interactive tour, hosted on your own site so you can share it anywhere.
Build your first tour
After installing and activating WPVR:
- Go to WP VR → Add New Tour
- Add a title (use the property address)
- Upload your first 360° image (live preview appears)
- Add scenes for each room
- Connect scenes with hotspots
- Click Publish
What you need
Just 360° photos of each room. No expensive camera, no crew, no third-party platform.
Why this step matters
Buyers don’t spend time on listings unless something pulls them in. A virtual tour keeps them engaged and helps them understand the space instantly.
That means better inquiries and fewer wasted visits.
Next, you’ll add this tour to your property listing so buyers actually see it.
Step 2: Add the Tour to Your WordPress Listing
Once your tour is ready, place it where buyers actually see it: your property listing.
WPVR gives you three simple ways to embed a published tour. You can also adjust width, height, and border radius to match your layout.
Where you can add the tour
- Gutenberg block: In the listing editor, add the WPVR block and select your tour
- Elementor widget: Drag the WP VR widget and choose your tour
- Shortcode: Copy the shortcode (e.g., [wpvr id=”123″]) and paste it anywhere
The block and widget are the easiest options. The shortcode works with almost any theme or listing plugin.
Why this step matters
A tour only works if buyers see it. Placing it inside your listing keeps people engaged longer and helps them understand the space before contacting you.
Step 3: Add the Same Tour to Any Zillow Style Platform
This is where WordPress pays off. You create the tour once and reuse it everywhere. WPVR gives you three ways to share it:
- Link or shortcode: Use this for your own pages and portal fields. It’s the simplest way to distribute your tour without rebuilding it anywhere else.
- Iframe embed: Use this for non-WordPress sites with the Embed Add-on. It lets you place the same tour across landing pages and partner sites.
- QR code: Use this for print and signage. Buyers can scan and open the tour instantly on their phone without needing a webpage.
Where to use each
Different platforms require different formats, but you don’t need to recreate anything. You just reuse the same tour in the format that fits.
- MLS: Paste the tour link into the “Virtual Tour URL” field. Most MLS systems then push it automatically to Zillow, Realtor.com, Homes.com, and Redfin.
- Zillow and Realtor.com: Add the same link in the virtual tour or media section. This works if you are not listing through MLS.
- Other sites or client CMS: Use the iframe embed to place the tour anywhere. This is useful for agencies reusing one tour across multiple pages.
- Offline: Print the QR code on signs, flyers, and open house materials. This lets walk-by traffic explore your property instantly.
Important tip: Use an unbranded link for MLS fields. Many portals remove branded tours.
Why this step matters
Your tour lives on your site, not a third-party platform. If any platform changes its rules (like Zillow removed Matterport in 2025), you can still reuse and share the same tour without losing it.
Make Your Virtual House Tours Work Harder
A basic walkthrough shows the space. But if you want buyers to act, the tour needs to answer questions on its own. Remove doubt while interest is high.
1. Add hotspots
Hotspots turn passive viewing into interaction. Buyers can tap and instantly understand key features without leaving your tour.
For example, a hotspot on a kitchen counter can say: “Quartz countertops installed in 2026.” Another in the living room might highlight “South-facing windows with all-day light.”
This keeps buyers engaged longer. It also reduces back-and-forth questions later.
2. Add a floor plan
A floor plan helps buyers understand the layout instantly. It answers how spaces connect without needing to guess.
For example, a simple overlay can show the primary bedroom on the first floor and the kitchen opening into the dining area. That clarity builds confidence.
When buyers understand flow, they picture living there. That makes your listing more memorable.
3. Add a call to action
A call to action captures interest at the right moment. When someone finishes exploring, they’re already engaged.
For example, add a button inside the tour that says “Schedule a Visit” or “Request Details.” Place it where the tour naturally ends.
This removes friction from the next step. Buyers don’t need to search for how to contact you.
4. Add an inquiry form
An inquiry form turns interest into leads. It gives buyers a direct way to reach out while the tour is still fresh.
For example, a short form asking for name, email, and preferred viewing time works best. Keep it simple so more people complete it.
This helps you capture serious buyers. It also filters out casual viewers
Where to Place Your Tour
Most visitors move fast. They scan photos first, then decide if the listing is worth more attention. If your tour is buried at the bottom, many will never reach it.
Place the tour right after the main photo gallery or just above the description. This creates a natural flow from static images to an interactive walkthrough, keeping users engaged.
This rule applies everywhere, not just your website. Whether it’s MLS, Zillow-style platforms, or landing pages, placement directly impacts how often your tour gets used.
Before publishing, always preview on both desktop and mobile. Make sure the tour loads smoothly and fits the layout without breaking the page.
Small placement decisions like this often determine whether buyers explore your tour or skip it entirely.
Which Setup Is Right for You?
The best setup depends on how you build and manage your listings. You don’t need every option – just the one that fits your workflow.
- Block (Gutenberg): This is the fastest option if you’re using a modern page builder. It lets you place the tour visually and adjust positioning without touching code.
- Shortcode: This is the most reliable fallback when themes or builders conflict. It works almost everywhere and gives you full control over placement.
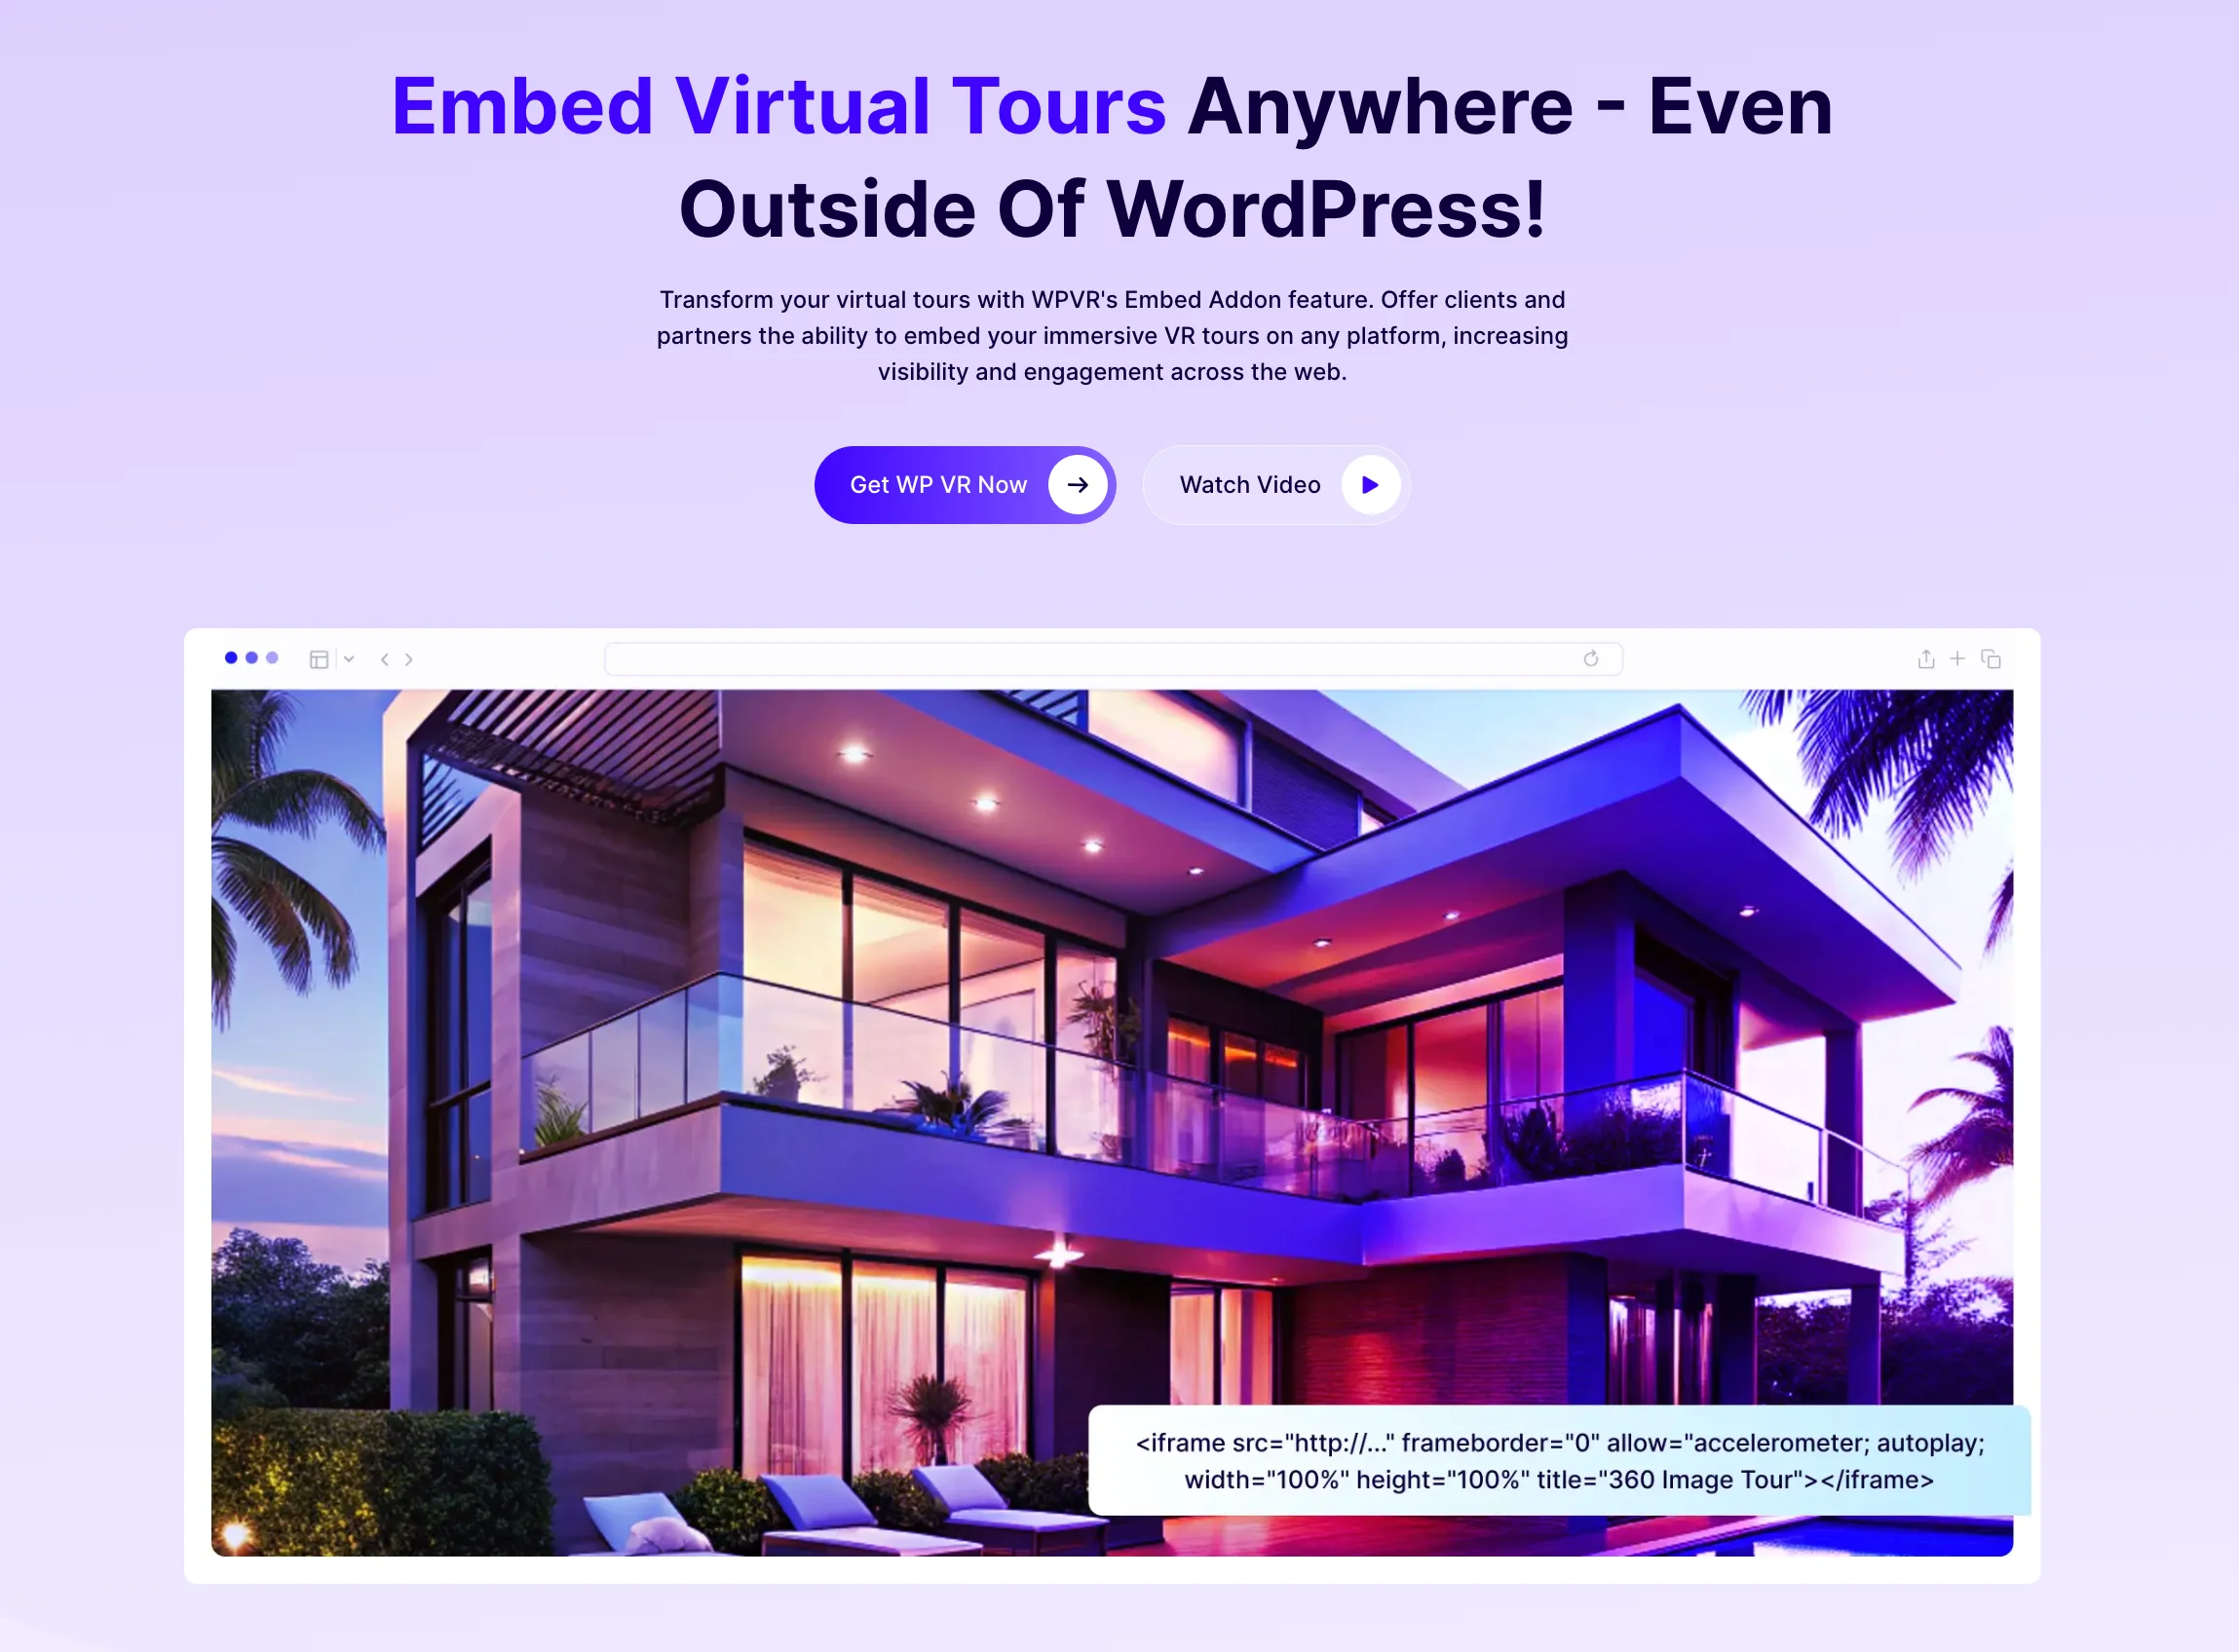
- Iframe embed: This is ideal if you manage multiple platforms or external pages. One tour can run across your site, landing pages, and third-party platforms without duplication.
There’s also a bigger decision behind all this: own it or rent it.
Hosted platforms usually charge ongoing fees and limit control. WPVR flips that model by letting you host tours on your own site, start free, and scale when needed.
That control matters. Your tour stays live 24/7, works across platforms, and keeps generating interest even when you’re offline.
With the WPVR Embed Add-on (available in the Agency Plan), you can generate an embed code for your tour and place it on any website.
Why Virtual House Tours Close More Deals
A virtual tour works best as a filter, not just a feature. It helps buyers qualify themselves before they ever reach out.
When people can walk through the home online, your inquiries improve. You get fewer casual clicks and more serious buyers who already understand the space.
That shift saves time. Showings become more focused, with fewer surprises and stronger intent from each visitor.
There’s also a measurable impact.
Listings with virtual tours can sell up to 31% faster and often at higher prices.
By the time a buyer requests an in-person visit, they’re already closer to saying yes.
Schlussfolgerung
Adding a virtual tour is simpler than most sellers expect. You don’t need complex tools or outside platforms to make it work.
Start with a clean WordPress listing and build your tour once. Then place it where buyers naturally engage and share it across platforms.
The advantage is control. You own the tour, decide where it appears, and avoid being locked into recurring systems.
When buyers understand the home upfront, decisions happen faster. You spend less time explaining and more time closing.
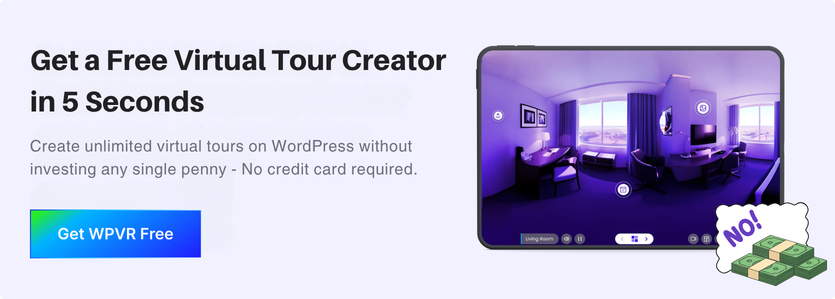
If you want a simple way to do this, try WPVR. It lets you create, host, and share tours from your own site without extra complexity.
** FAQs **
1. How do I add a virtual house tour to my WordPress property listing?
Build your tour in the WPVR plugin, then drop it into your listing with a block, shortcode, or Elementor widget. If your setup has no page builder, the shortcode works almost anywhere. Publish it, and buyers can walk your home straight from the listing.
2. How do I show my tour on Zillow when it won’t accept my link?
Here’s the trick a lot of realtors use: generate a QR code for your tour in WPVR, then place that QR code image inside one of your Zillow listing photos. When a buyer opens your listing, they see the code and scan it to open your full virtual tour on their phone. It’s a clean workaround for portals that won’t take an external tour link – just check your MLS photo rules first, since some limit text on images.
3. Can I use one tour across all my listing platforms?
Yes, because the tour lives on your own site, you share the same link, embed, or QR code everywhere. Put it on your WordPress property page, in your MLS “Virtual Tour URL” field, and on any client or partner site. You never rebuild the house tour for each platform.
4. Do I need a camera crew or a paid app to make a house tour?
No, you just need 360° photos of each room, the WPVR plugin, and a listing page. There’s no monthly platform fee and no special app, and you can start on the free version. That keeps professional virtual 3D tours within reach on almost any real estate budget.
5. Where should I place the virtual tour on my property page?
Put it near the top, right below your photo gallery or just above the description. Most buyers scan the images first, so an early spot means they actually reach your virtual house tour instead of scrolling past. The same rule holds on every platform you post to.